It’s time to pick up where we left off with the camper remodel updates. As you know, the roof in our back room had fallen in and was in need of repair (go read part 2 if you would like to see it falling in!) Luke added the ice and water shield to the roof in part 3 if you would like to read about that as well. We purchased EPDM Rubber Roofing to replace the old roof, but as Luke did research, he found out that rubber roofing is not supposed to be in contact with asphalt roofing. So, he had to put a layer of lauan board down to attach the rubber roofing to.
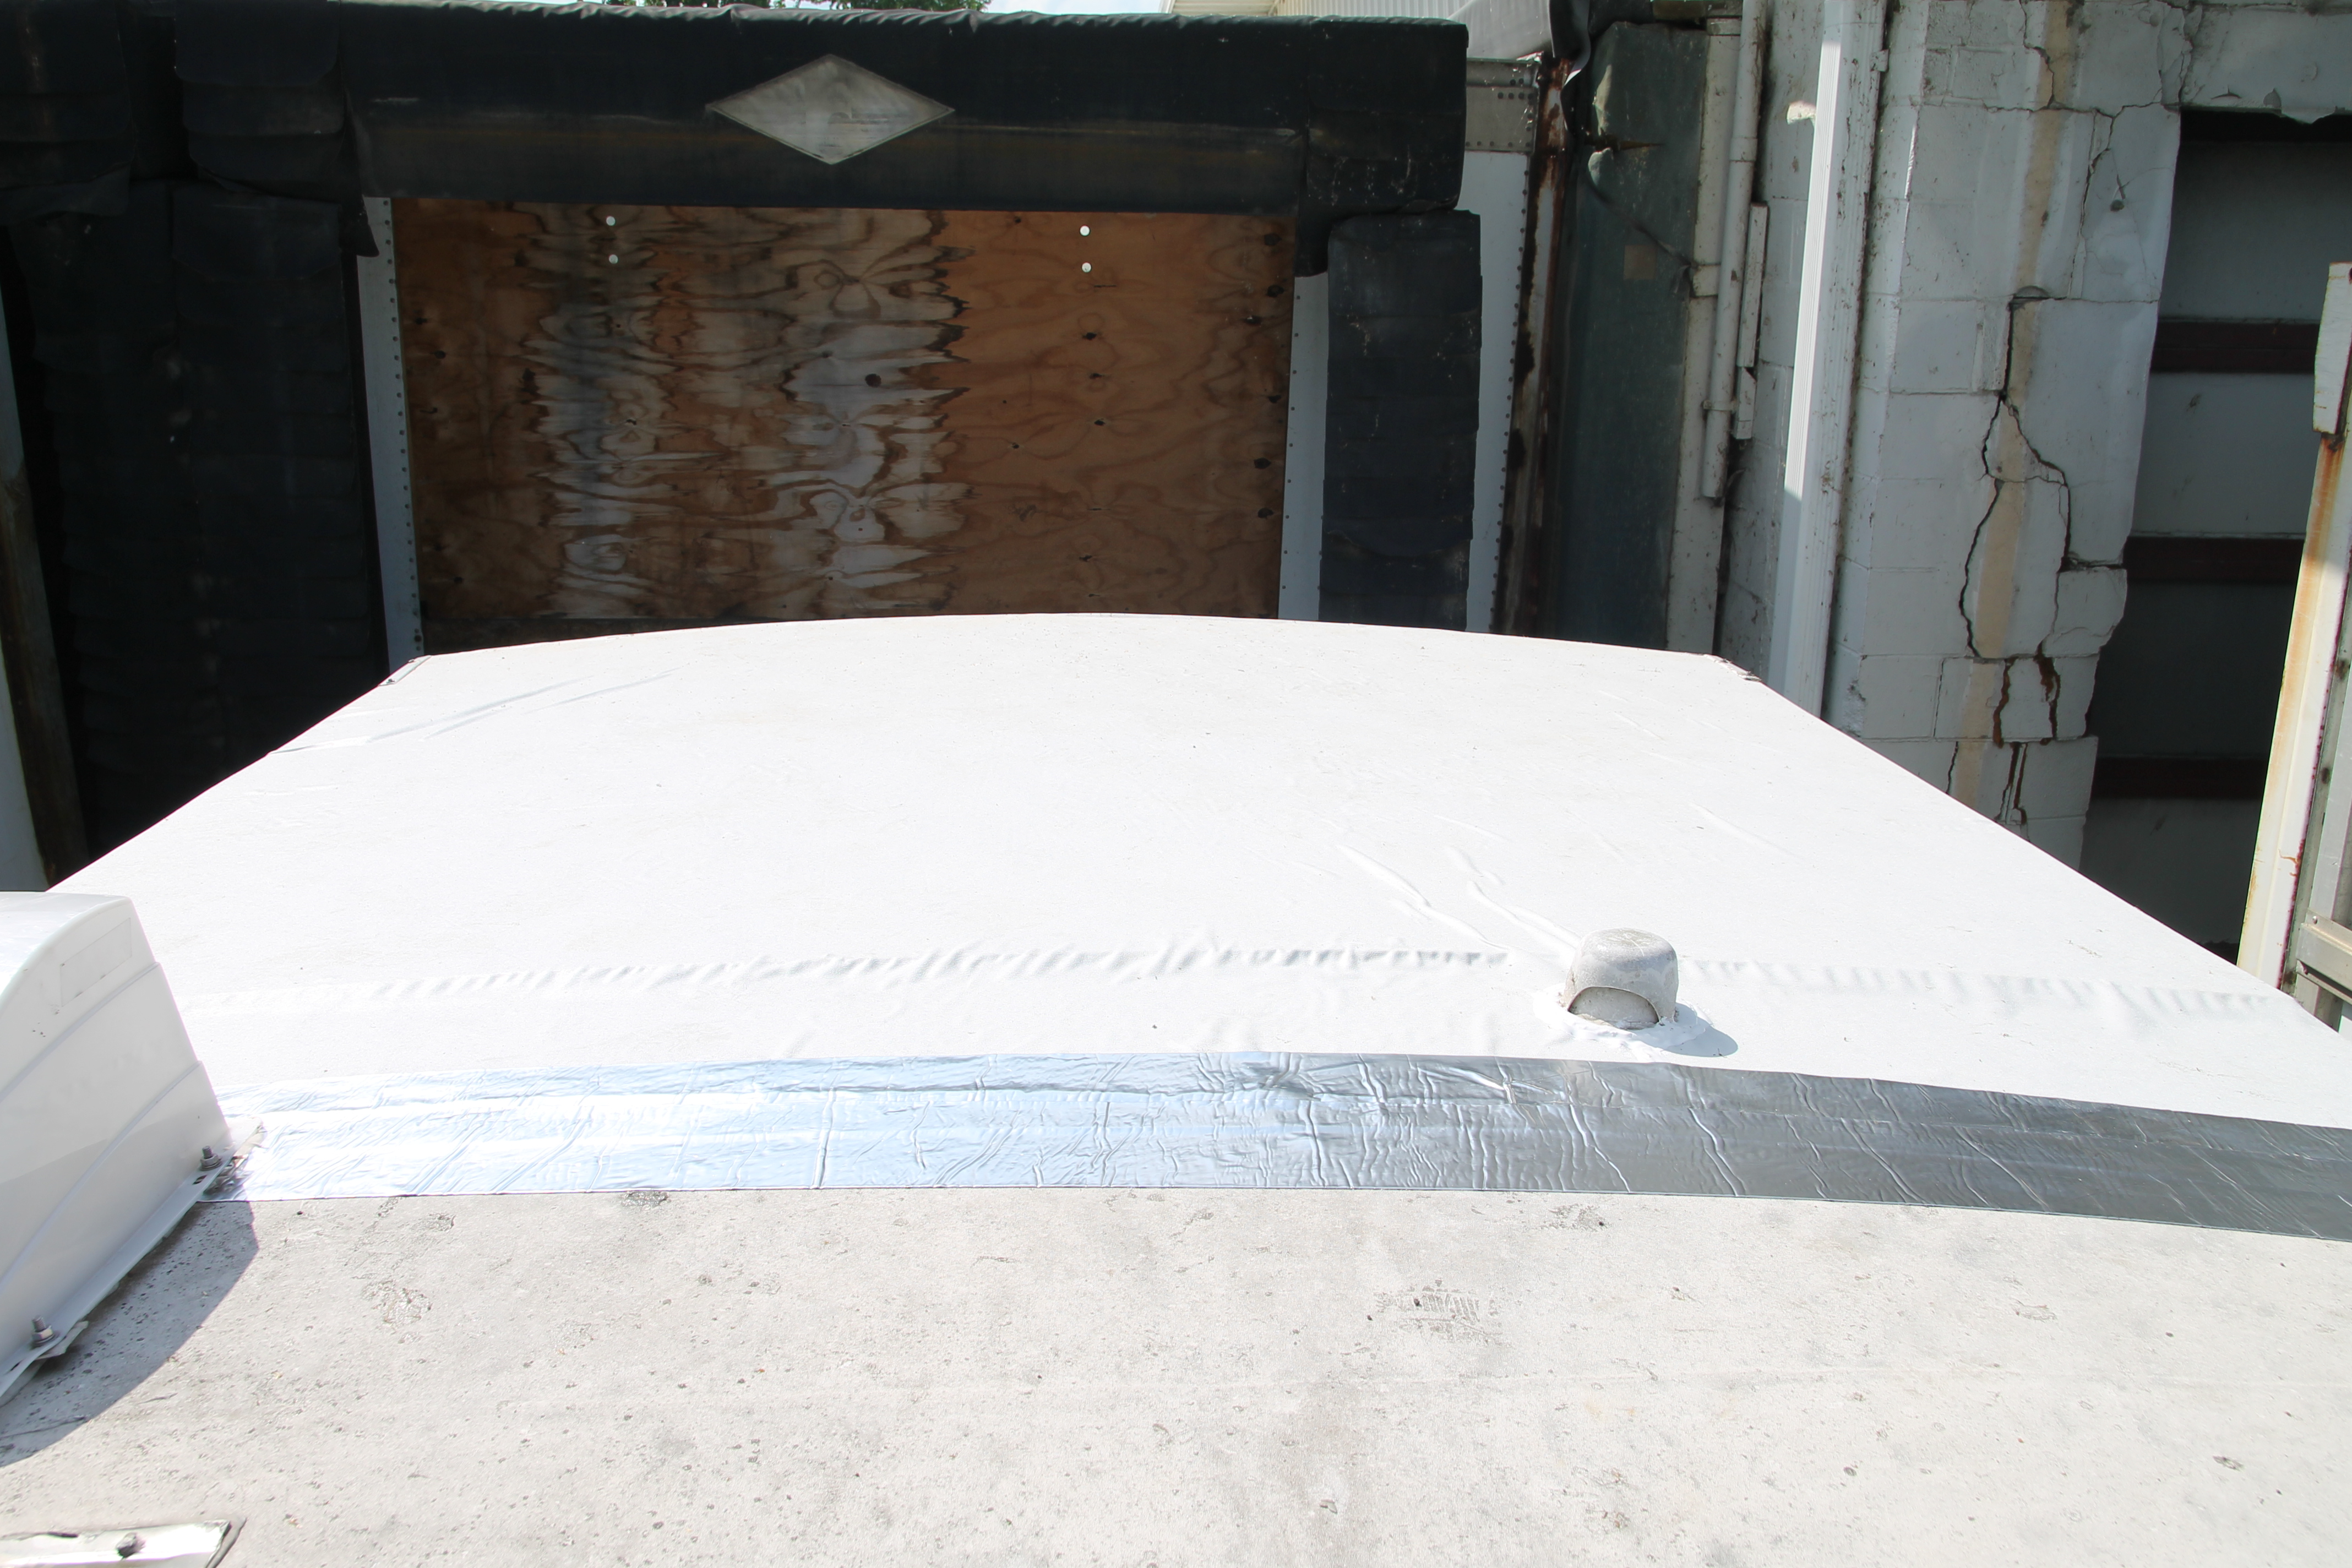
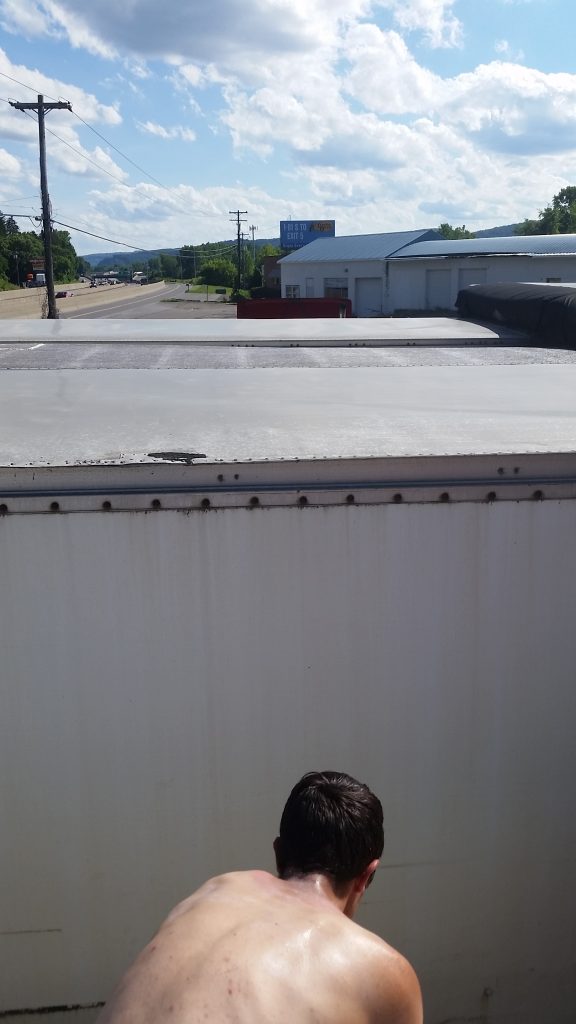
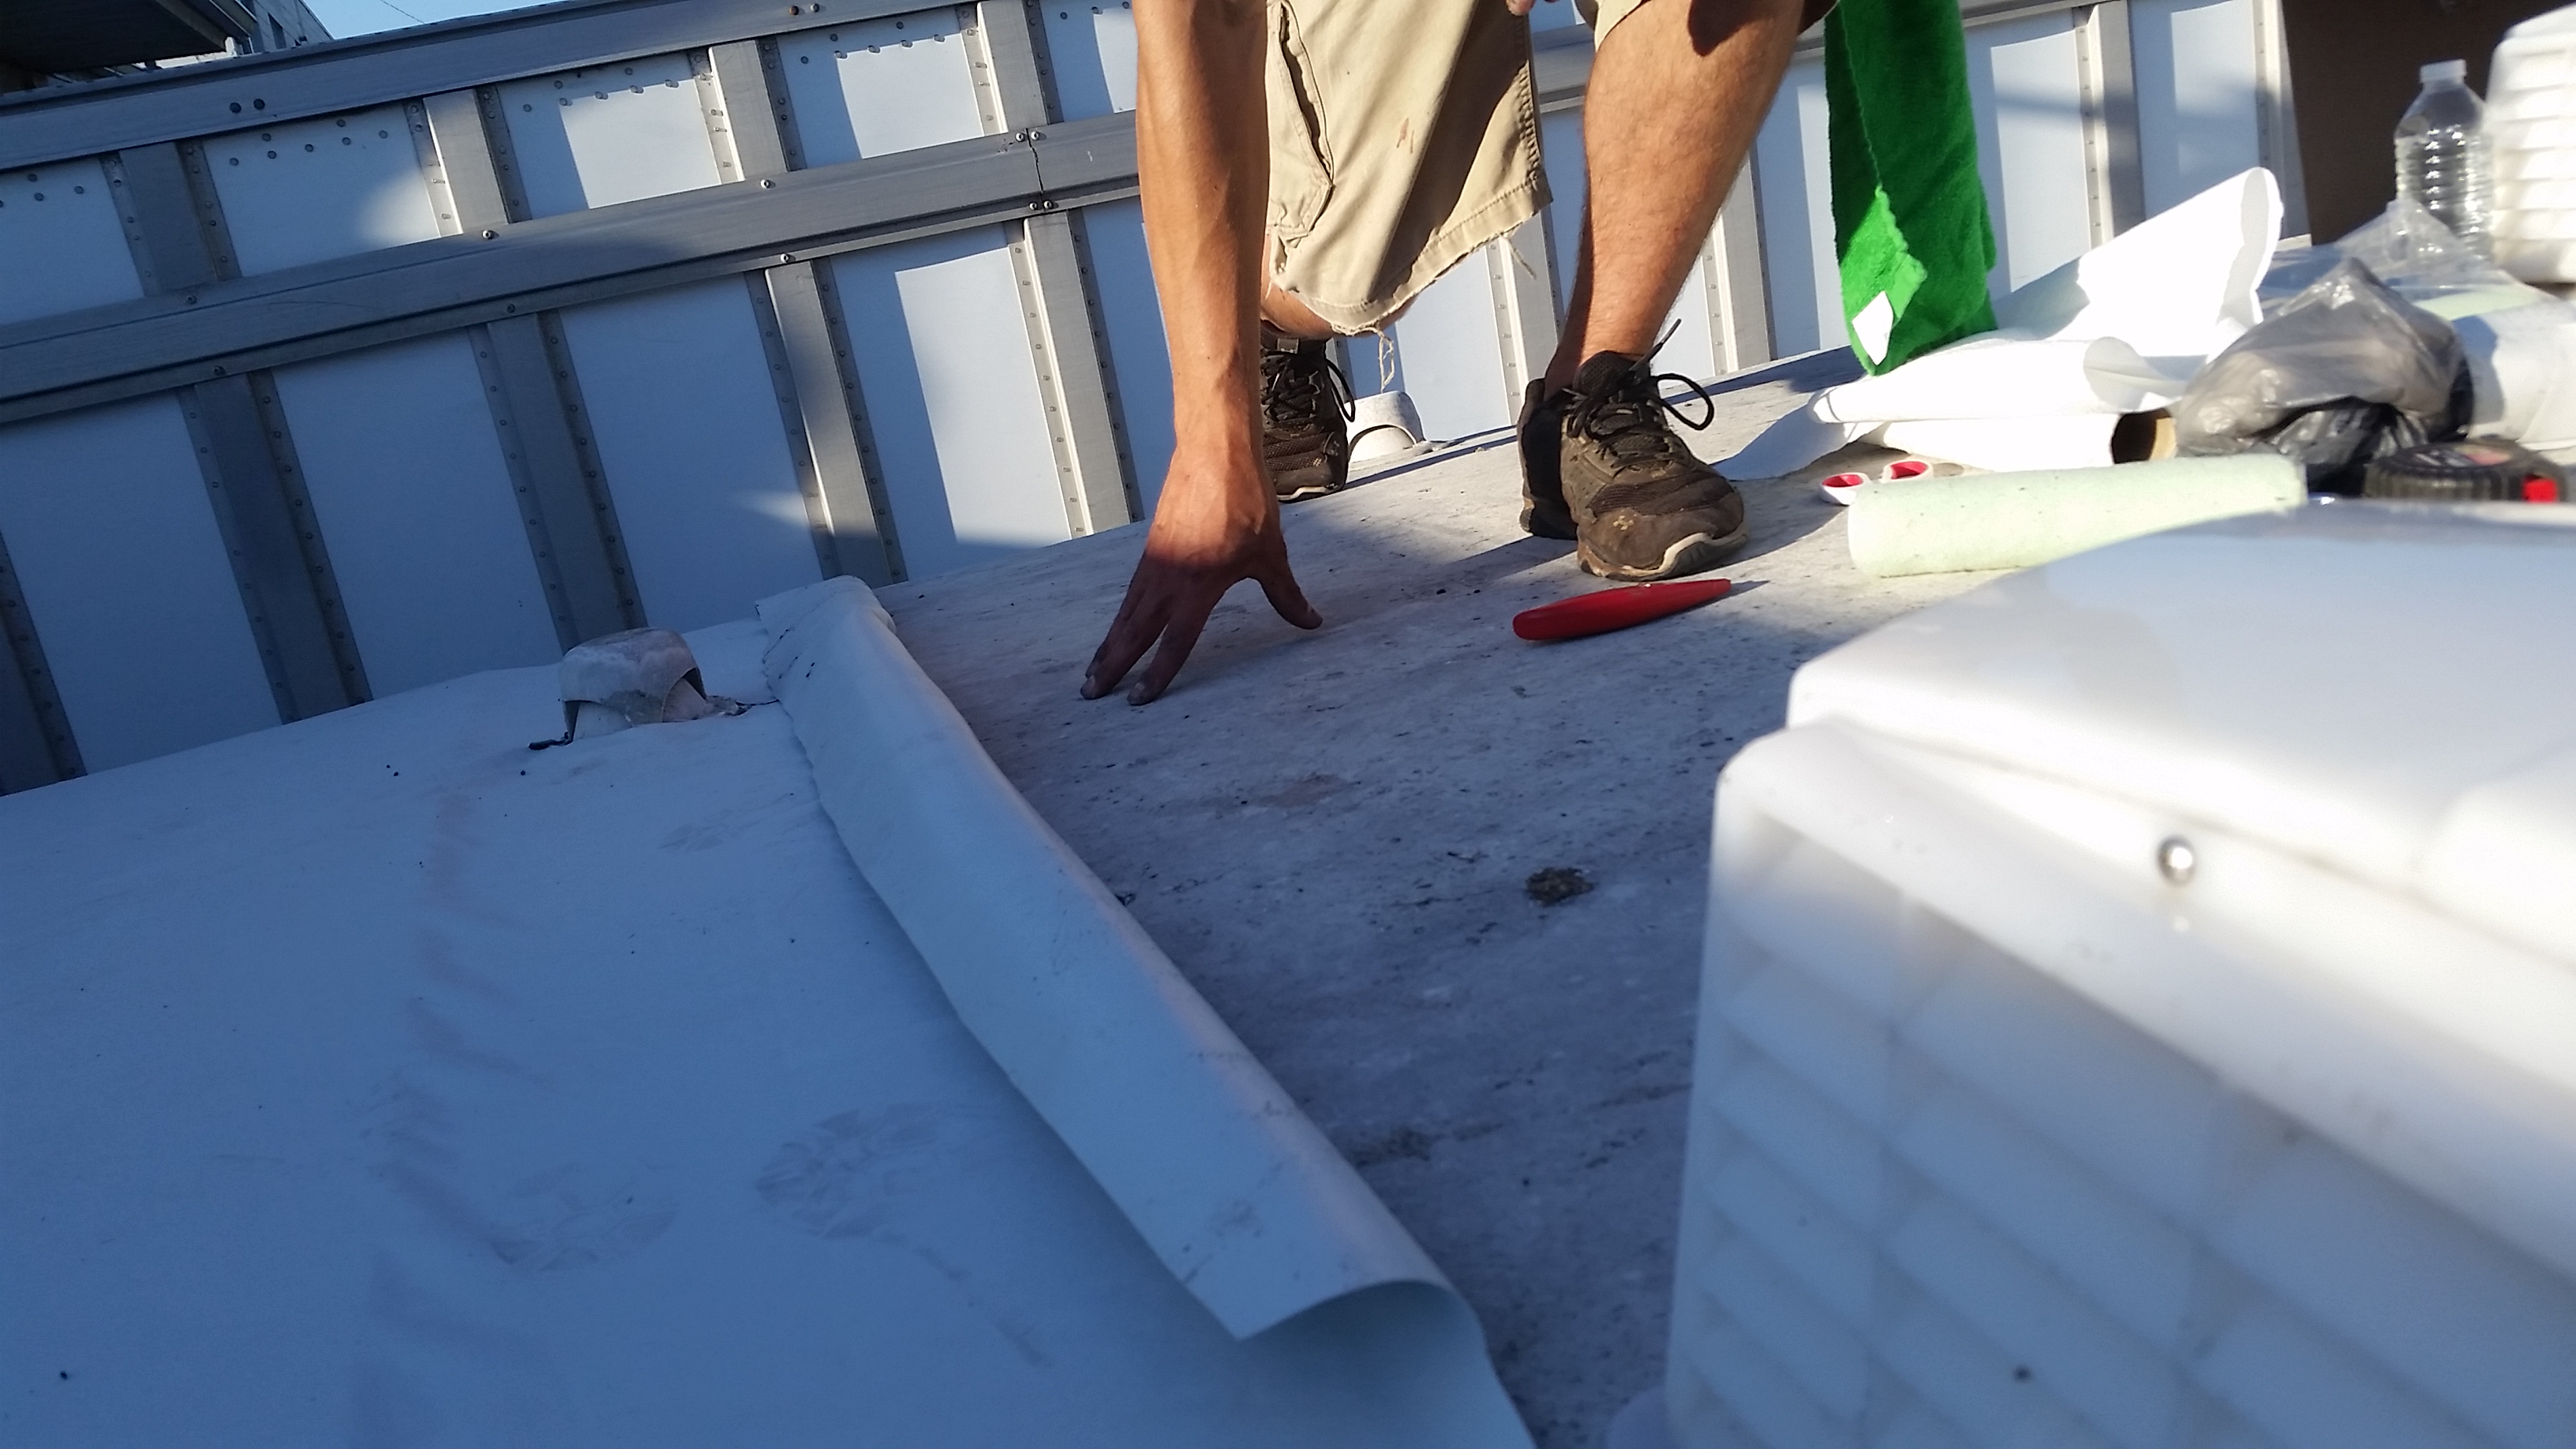
Here’s the view from the top of our camper, as we lived above a trucking company and they let us park our camper in between their trucks!
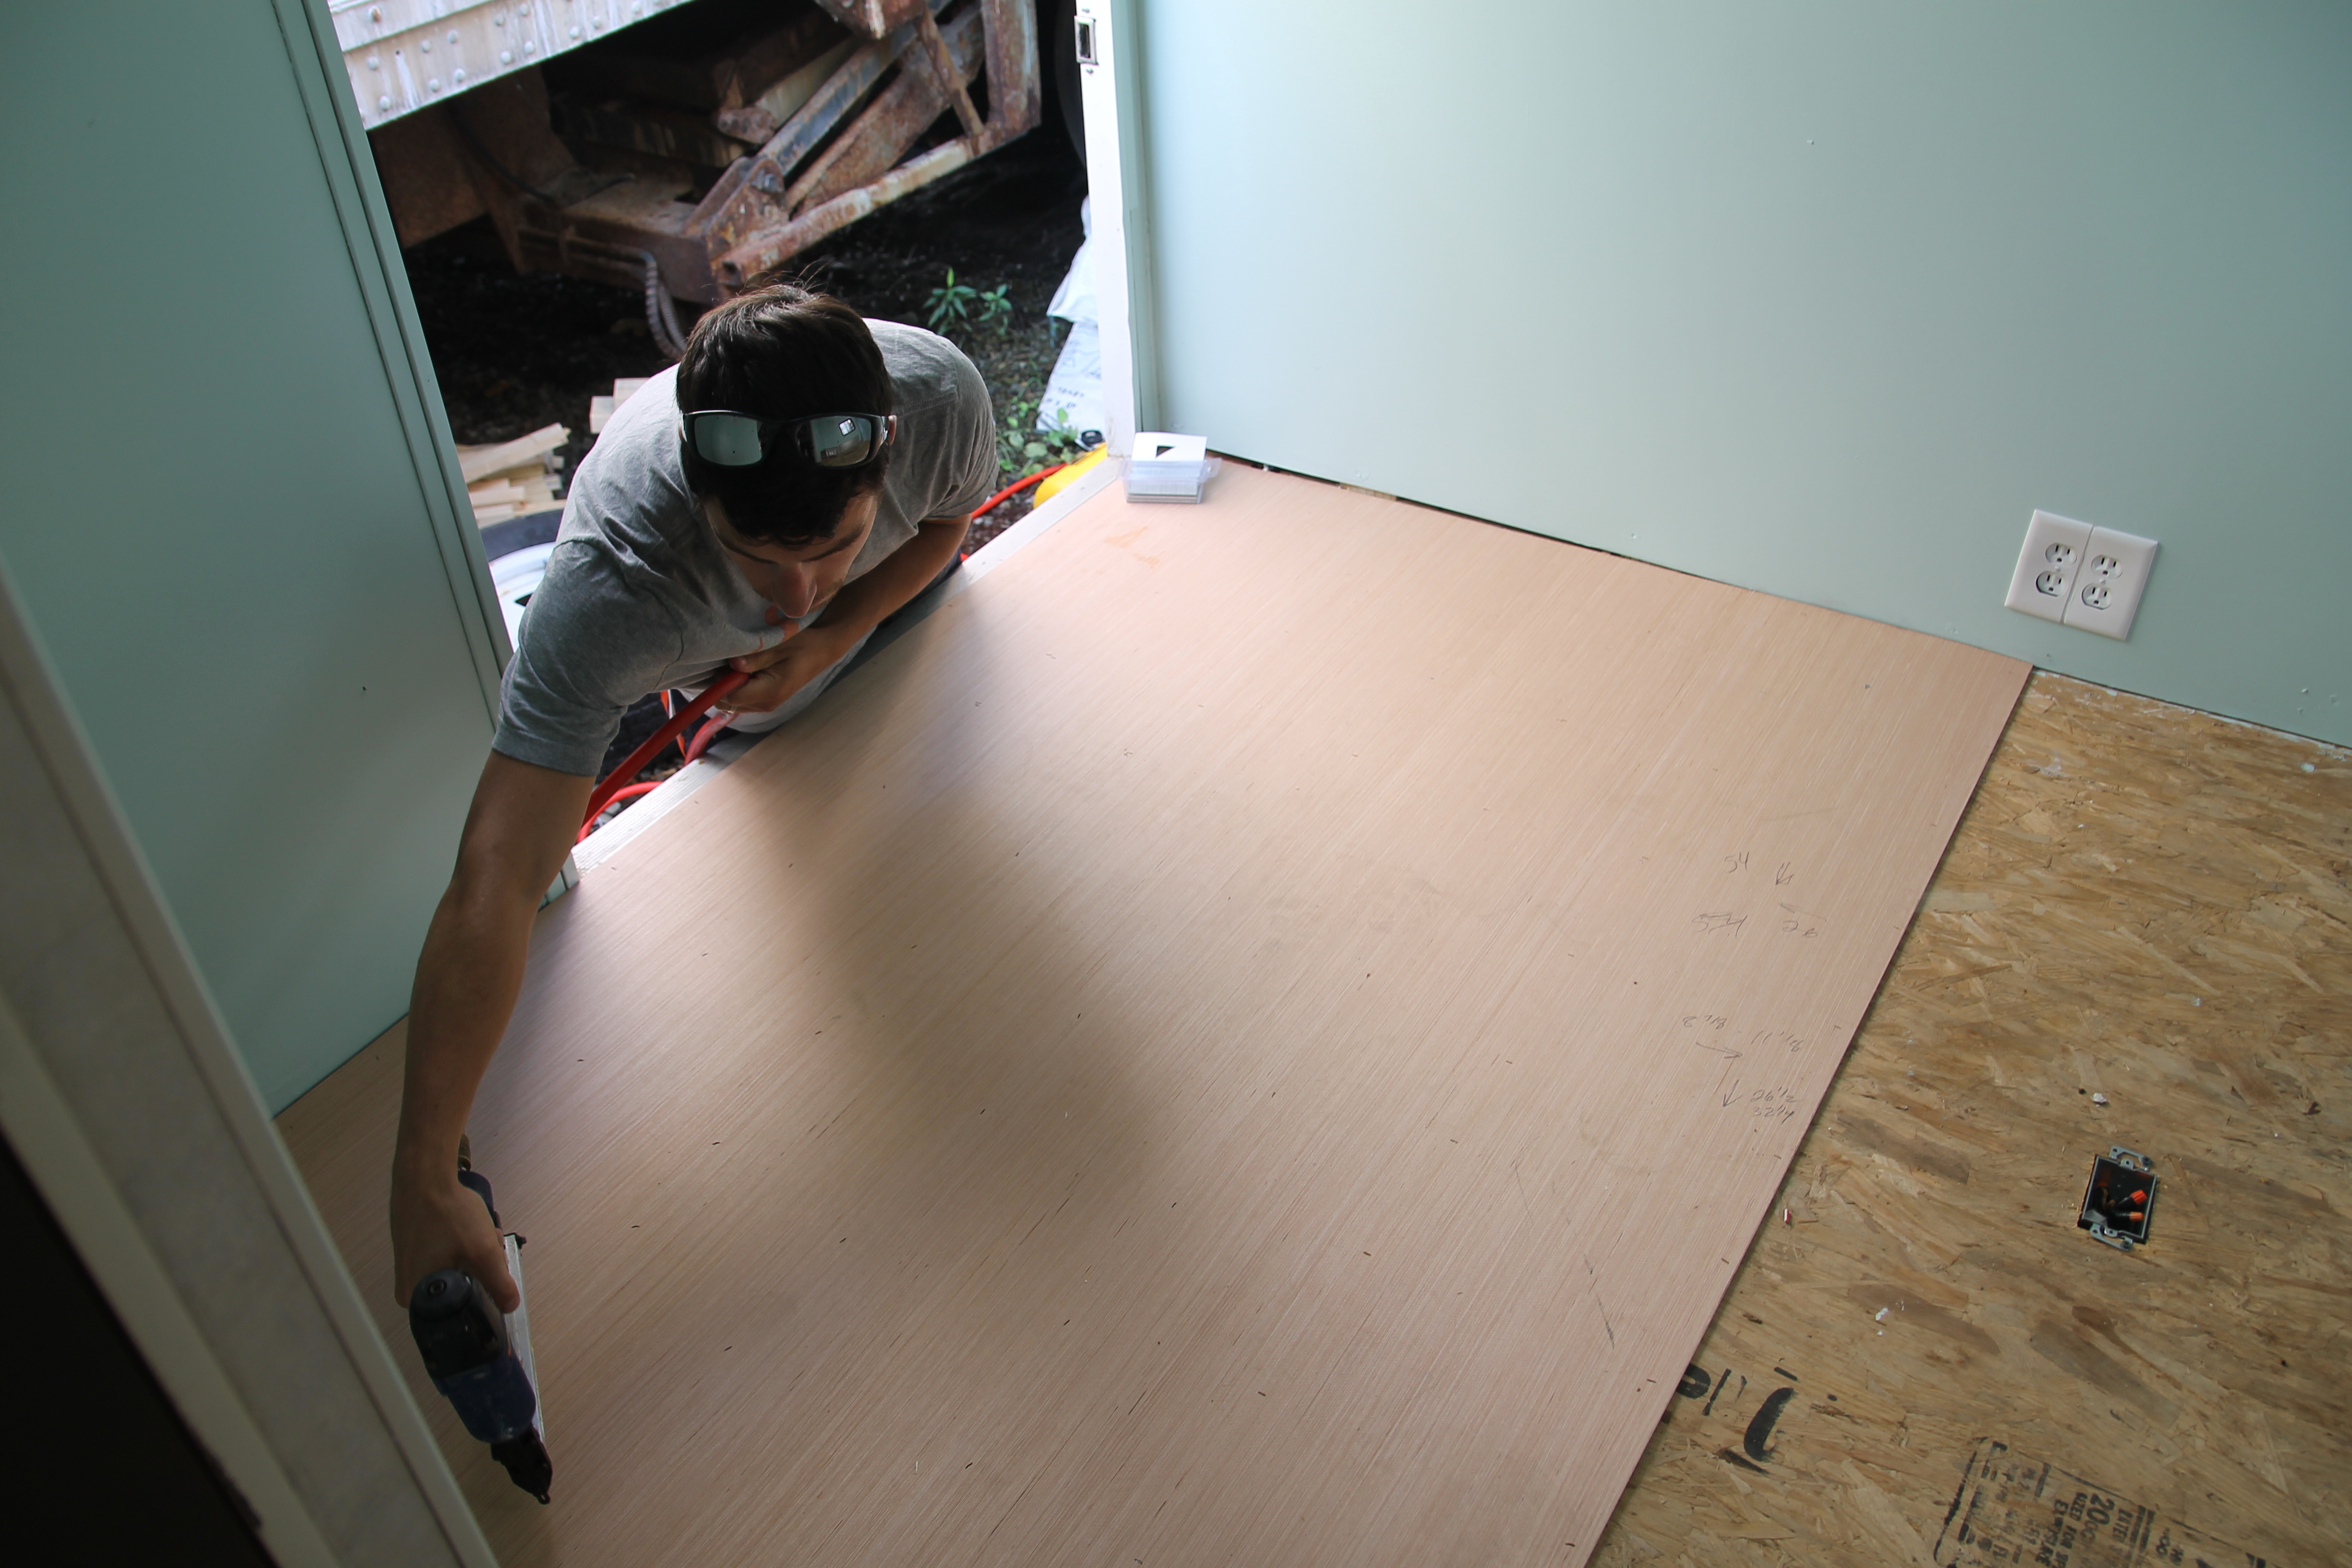
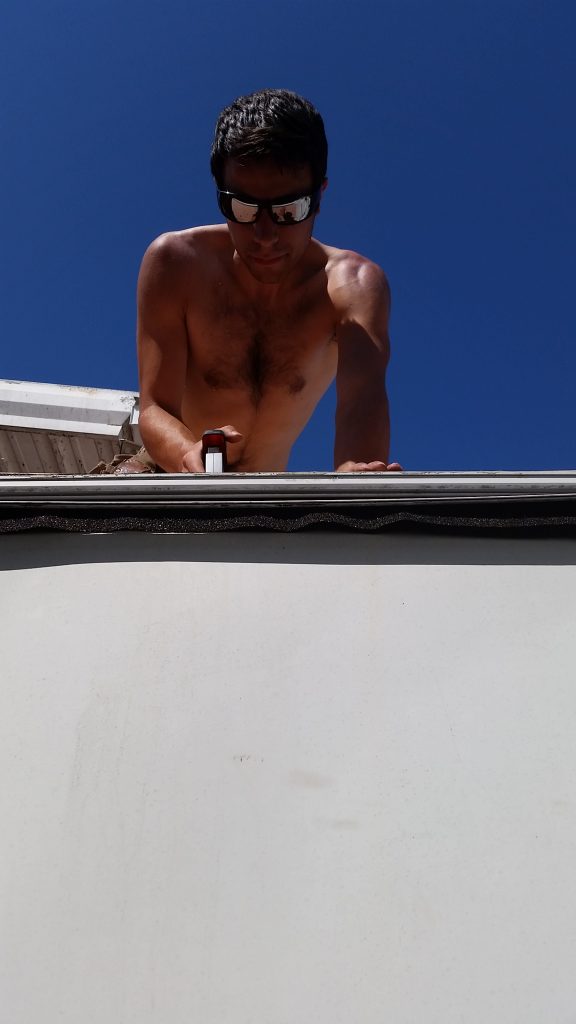
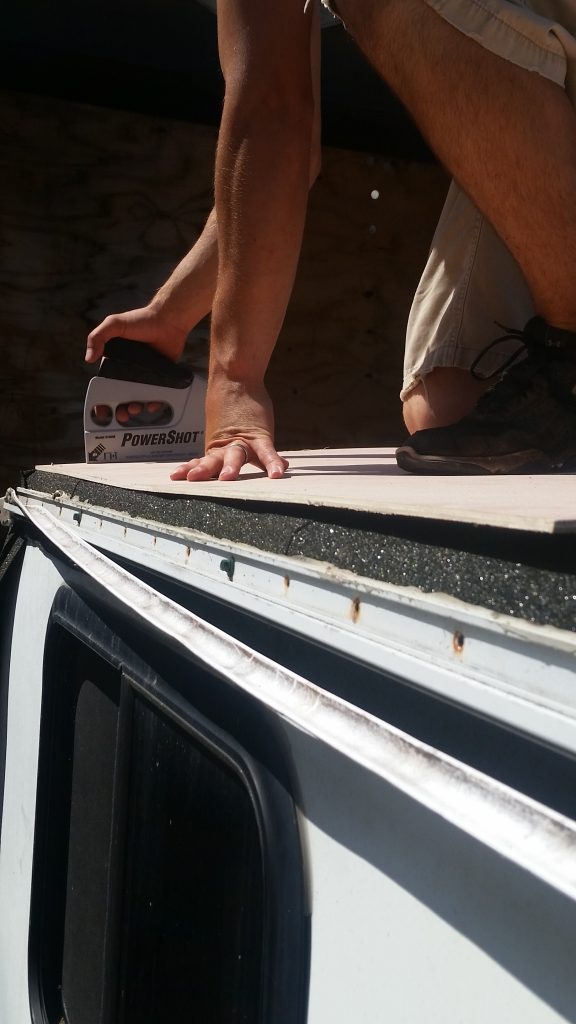
Luke used a staple gun to attach the Lauan board as you can see!
When we put the rubber roof on, we had to remove this trim piece and tuck the edges in, then screwed it back in.
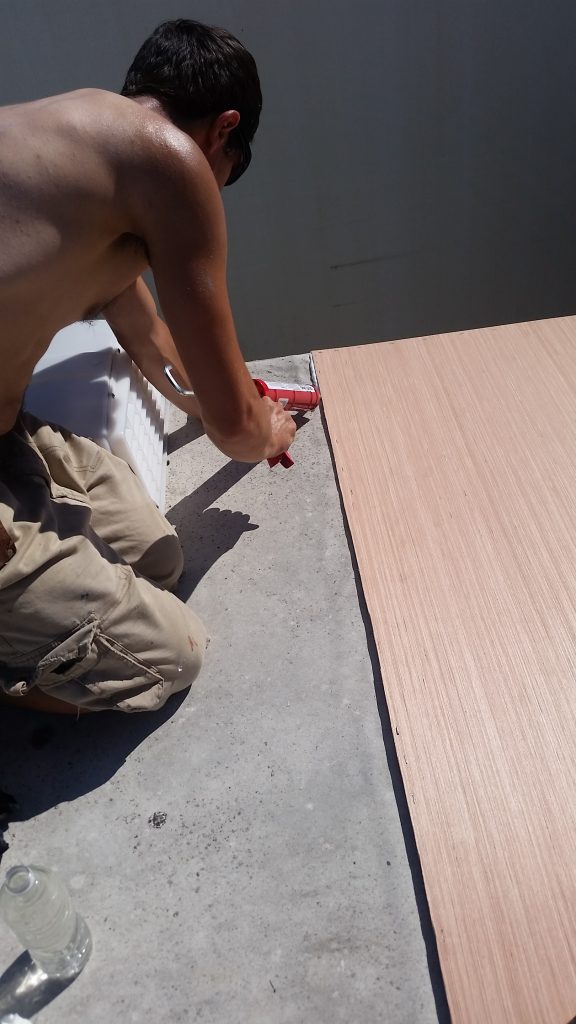
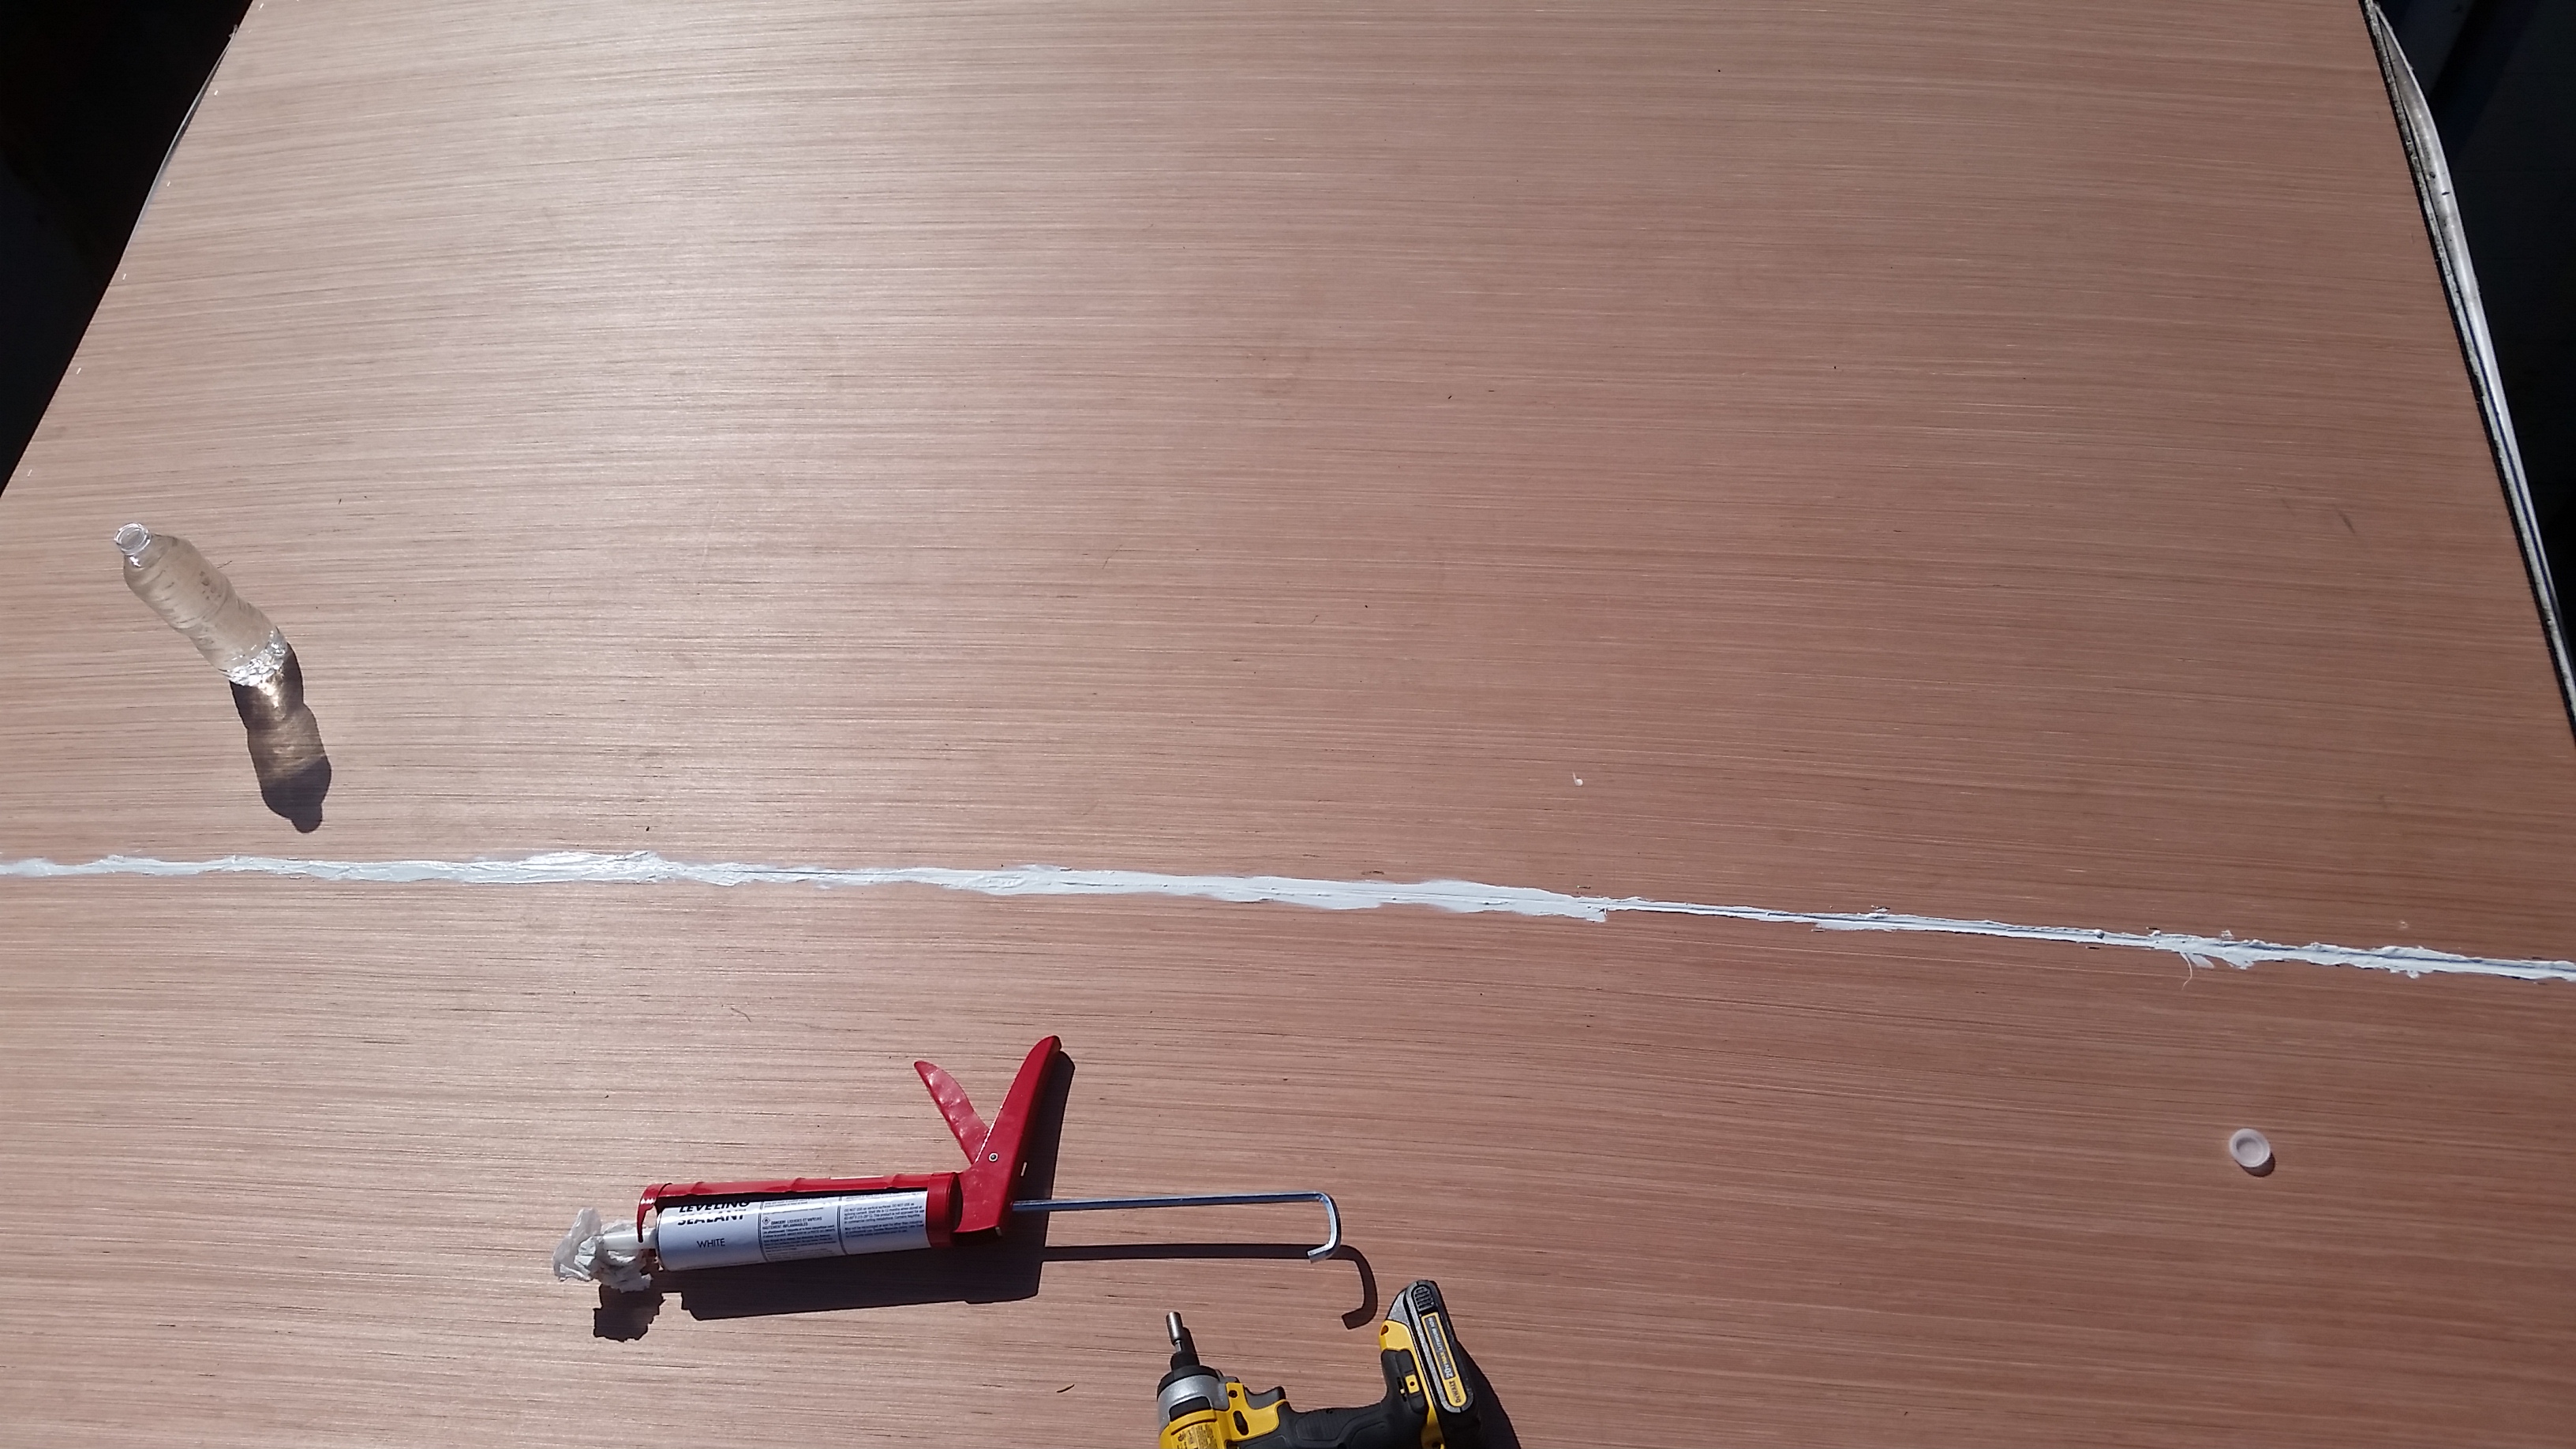
Next was using self-leveling sealant to seal the edge of the board to the old roof.
Here’s the finished product, and Luke sealed where the two pieces of lauan board came together. We don’t have photos of this since Tawny got involved with the action at this point, but she rolled RV Rubber Roof Adhesive onto the lauan board with a paint roller. Since we had to move fast so the glue wouldn’t dry, this was very fast-paced and stressful! It would have been helpful to have one or two other people helping with this part to ensure that the rubber roofing stuck down evenly and without wrinkles. Luke took a clean paint roller and did his best to push out all the bubbles and get the wrinkles out, but you know how that goes!
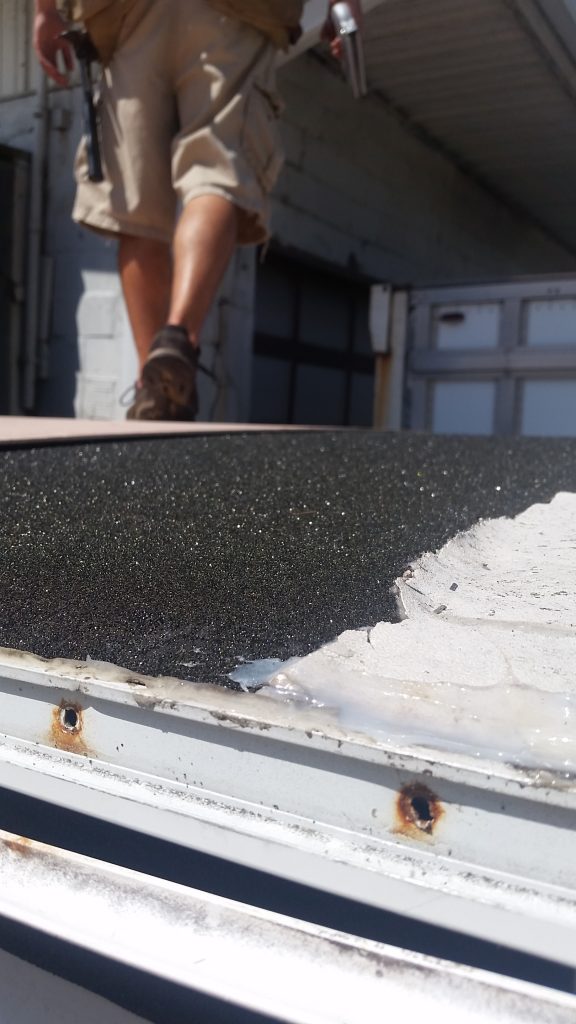
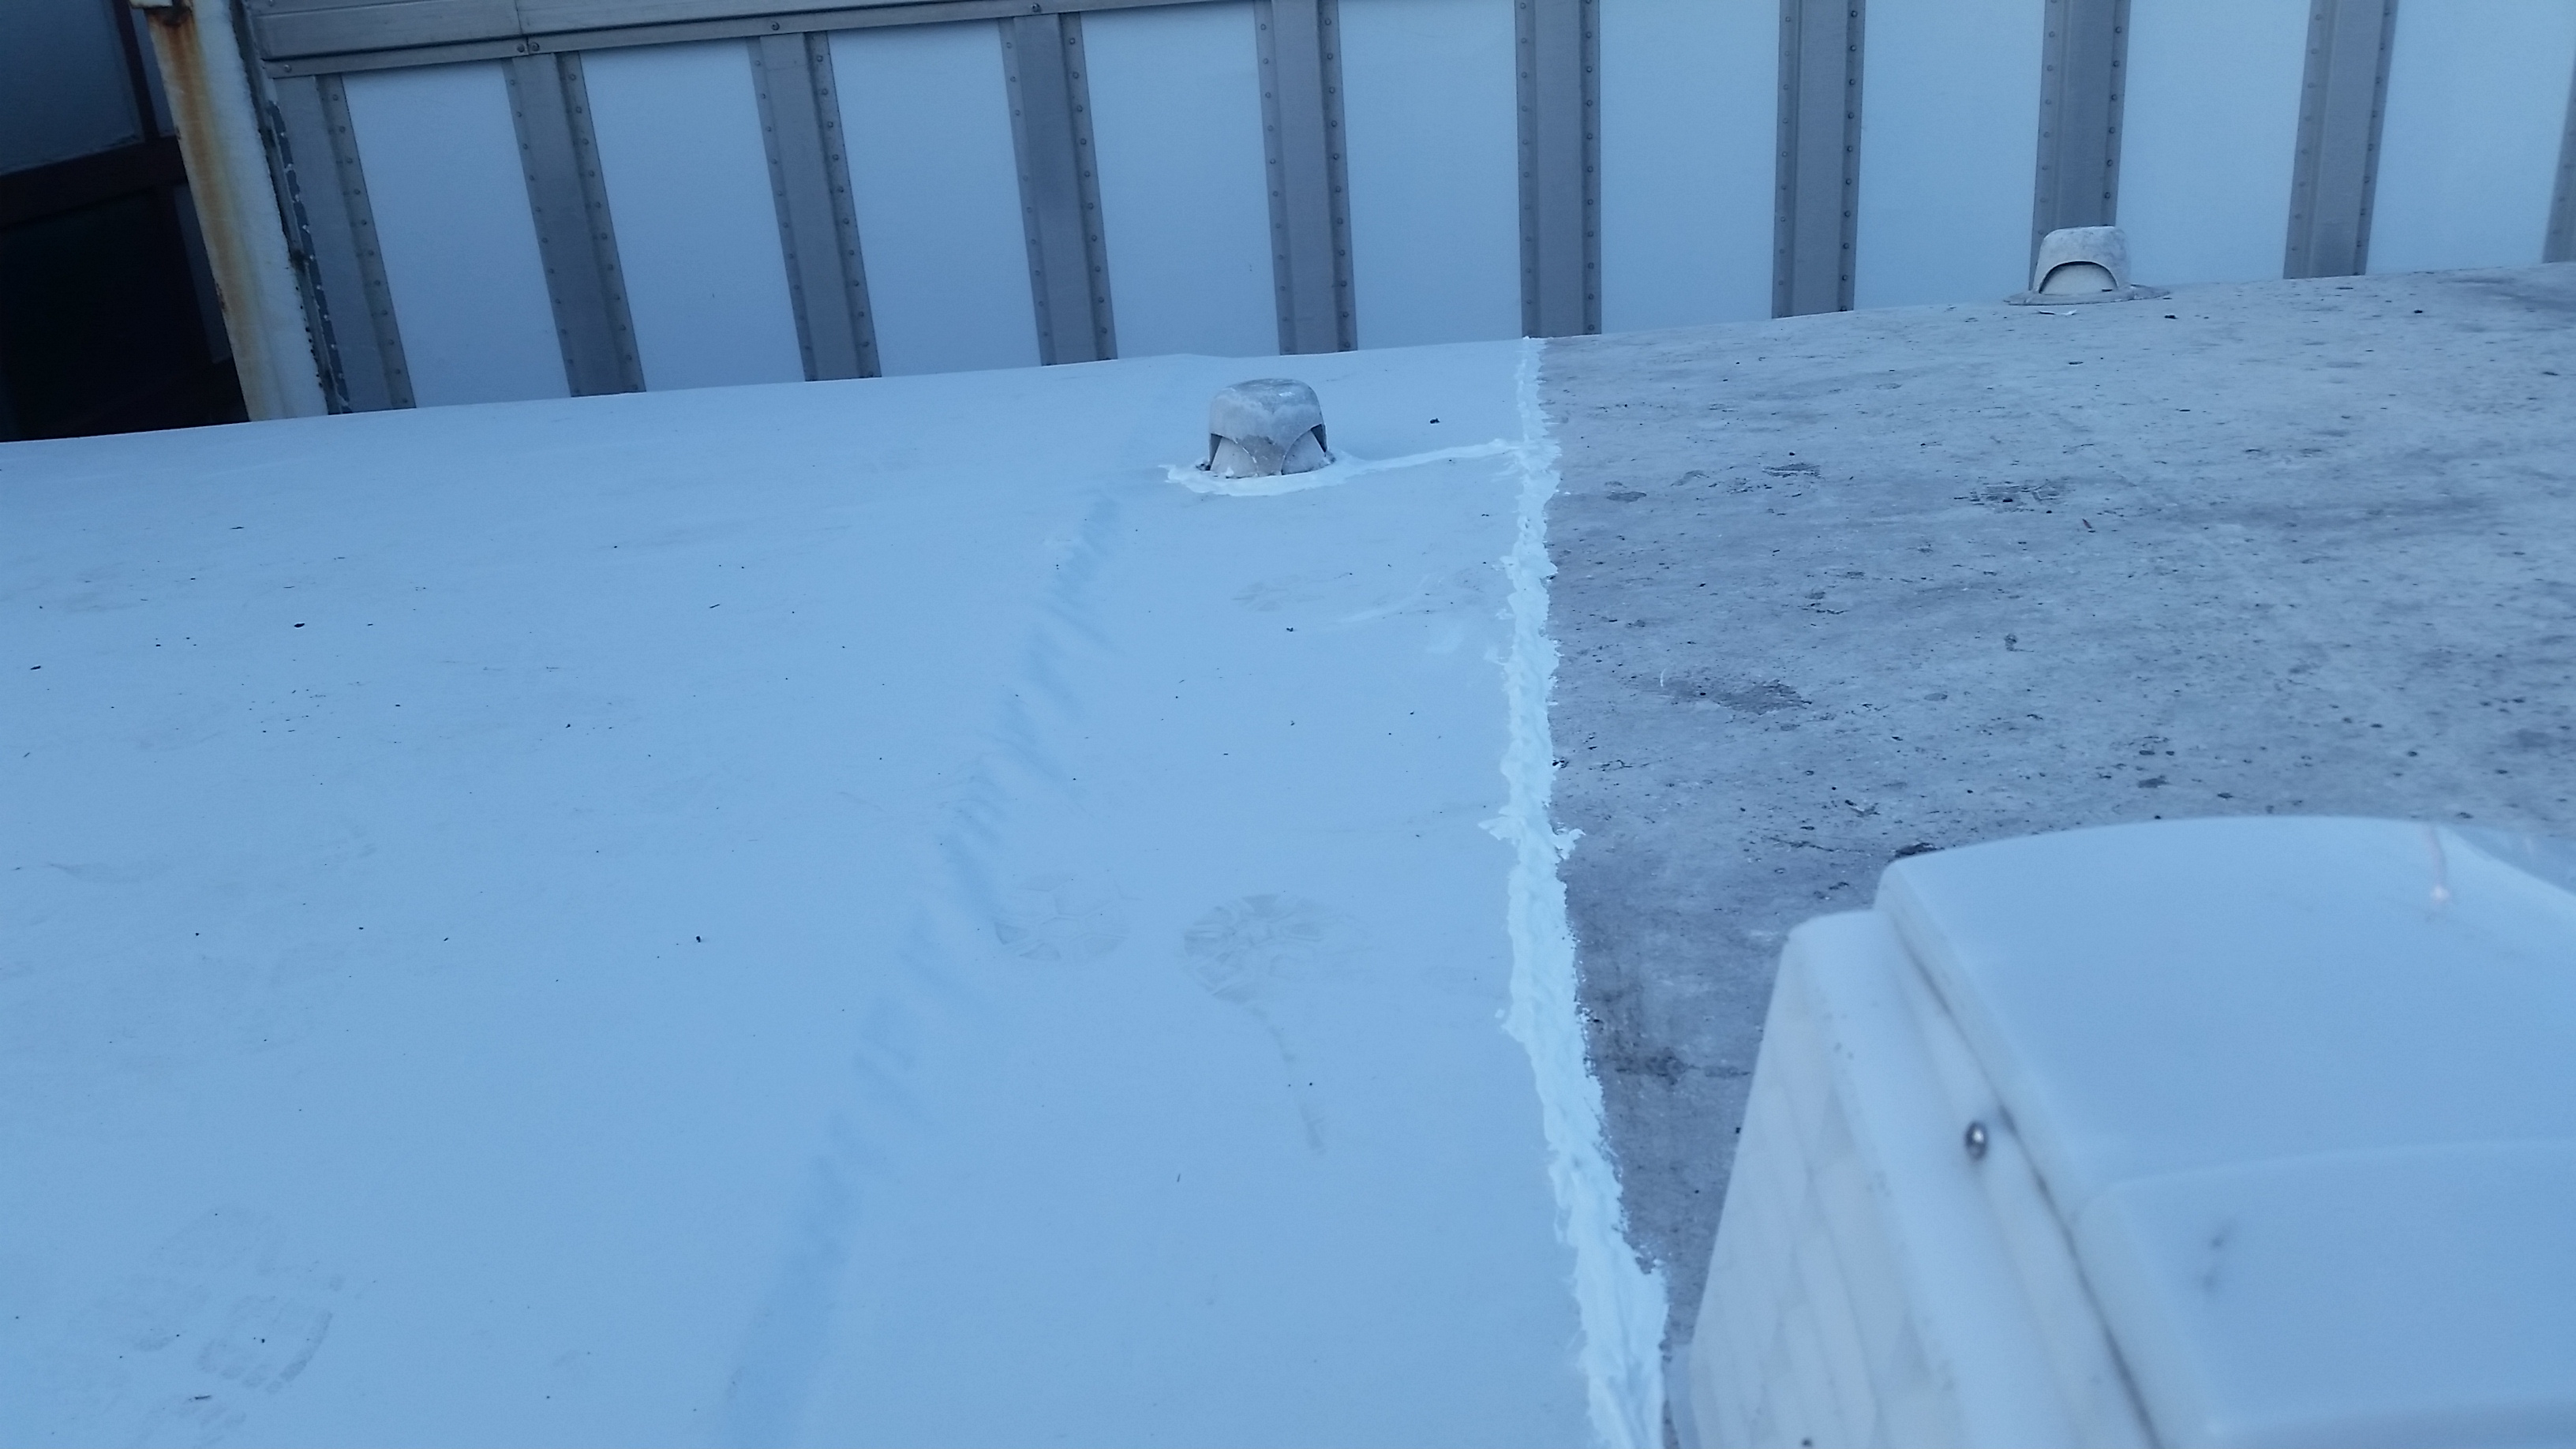
Luke used the same self-leveling sealant to seal the edge where the new roof met the old roof. The difference between the old and new is astounding!
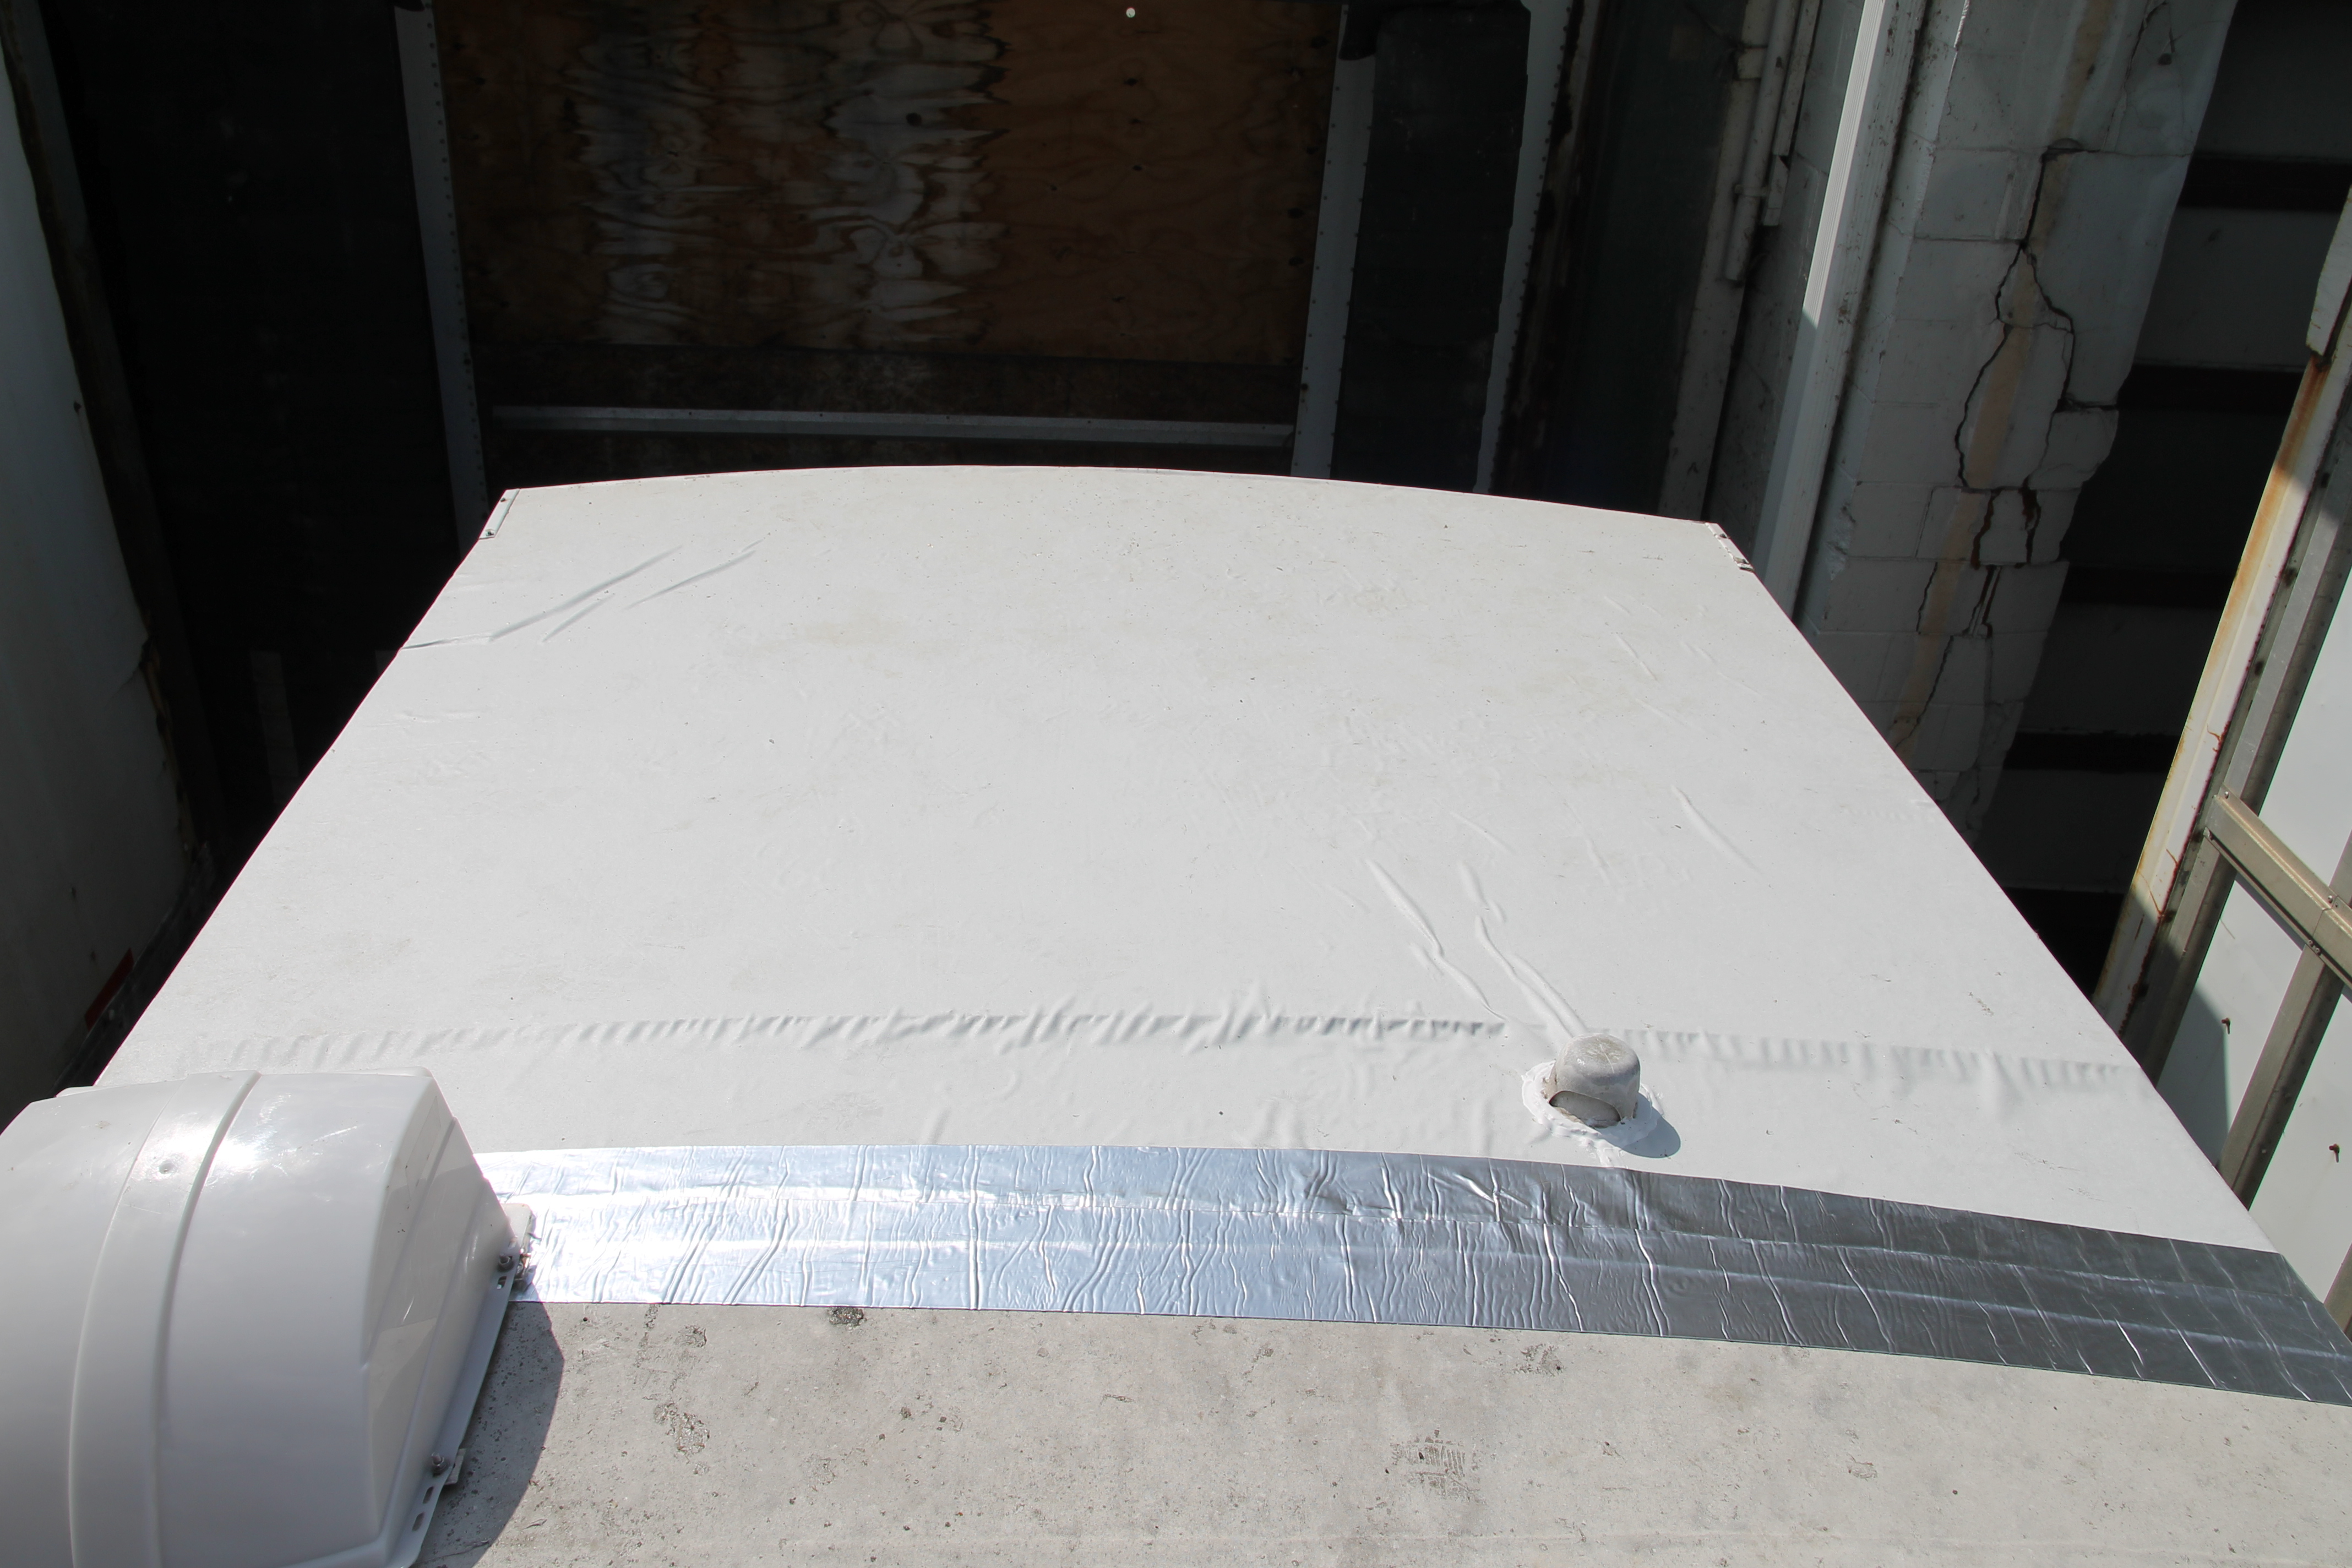
For added protection, Luke added seal-tape on top of where the two roofs met. He wanted to be absolutely sure that there would be NO MORE LEAKS!

As of February 2018, it has successfully survived many Florida downpours with no leaks!
Stay tuned for our next installment of the Camper Chronicles!
Read More: Part 1 | Part 2 | Part 3 | Part 4 | Part 5 | Part 6 | Part 7| Part 8 | Part 9 | Part 10 | Before & After