Welcome back to another update on our camper journey! We started getting some serious work done on the camper at this point. Remember that we knew about the water damage when we bought it, but didn’t know the complete extent of the damage and the repairs that would need done until we opened it all up! I’m not completely sure what all was done here, so I’m going to turn it over to Luke to explain everything that he did when my dad joined him for a day. I wasn’t there while they were working, so unfortunately we don’t have a lot of photos of the back room rebuild, and the ones we do have were taken on Luke’s phone, so not super high-quality.
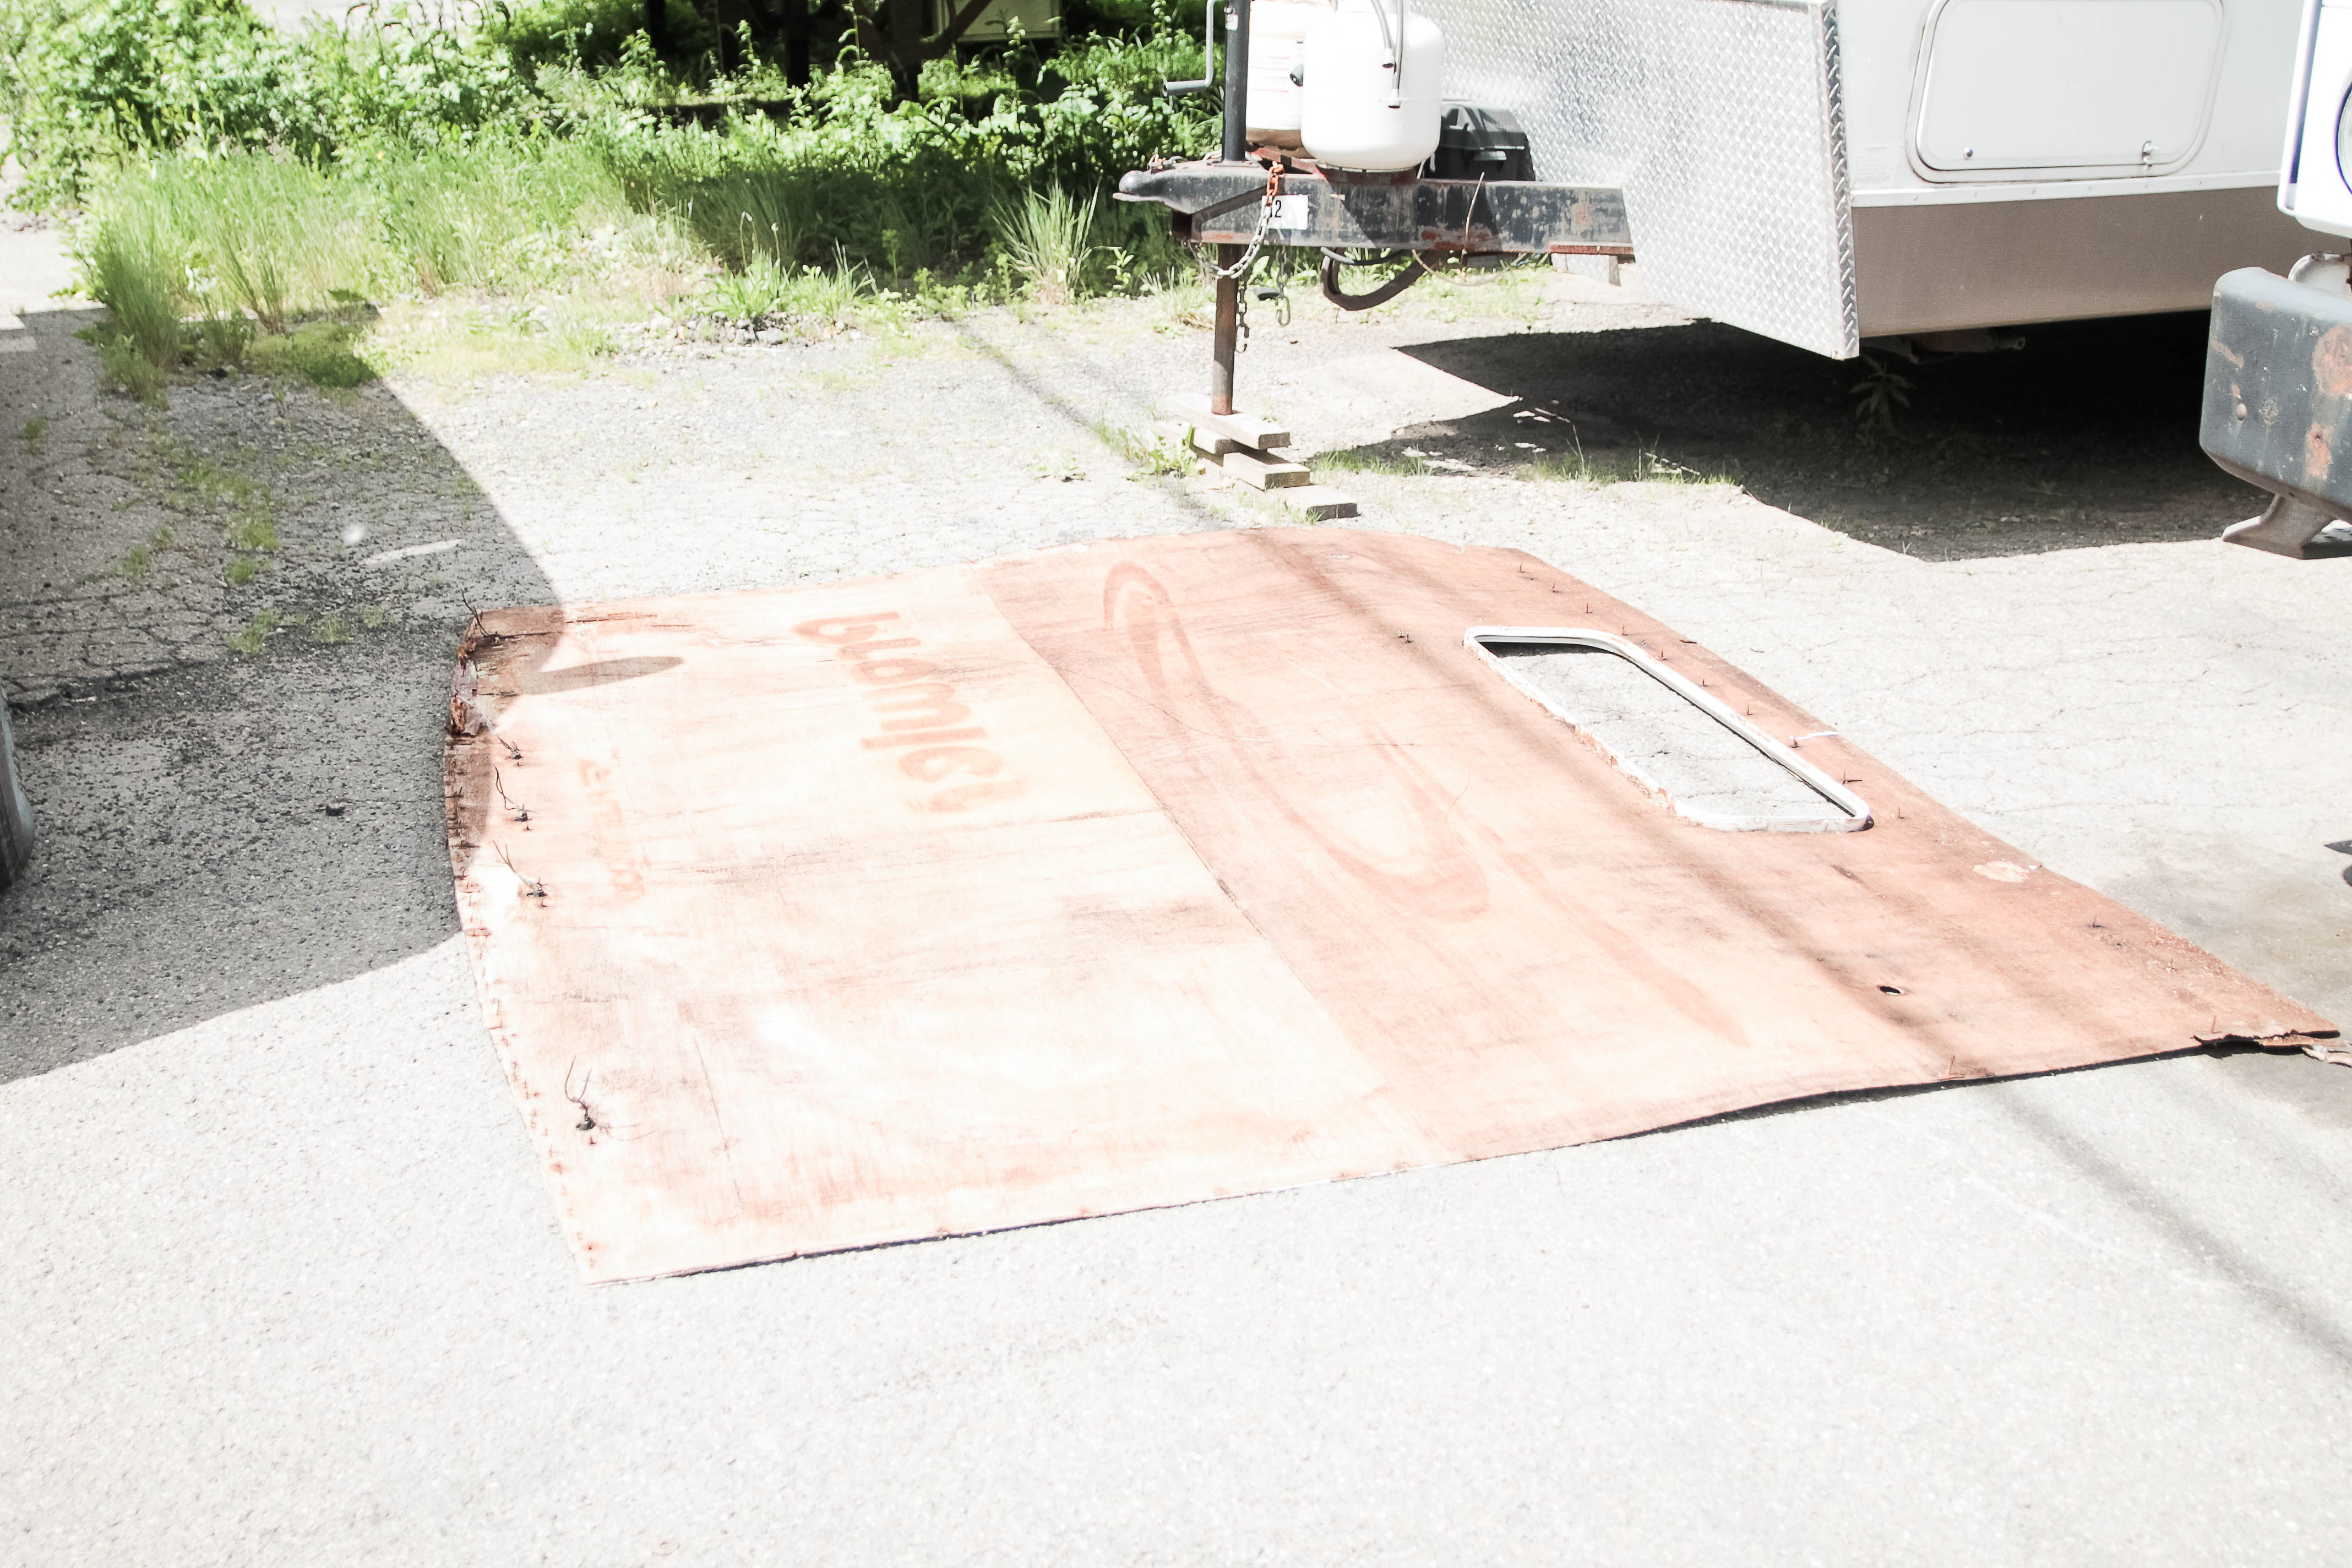
The first step was to take down the back piece of siding to expose the wall. Of course this has to be put back up so Tawny’s dad and I carefully set it aside out in the sun to dry out. This piece was actually quite brittle so we had to handle it very gently. We also kept all the trim pieces to reuse later. In the end, there wasn’t enough time in the day to put it back on so we just stored this piece under the camper until I have time to put it back up. But that’s getting ahead of things.
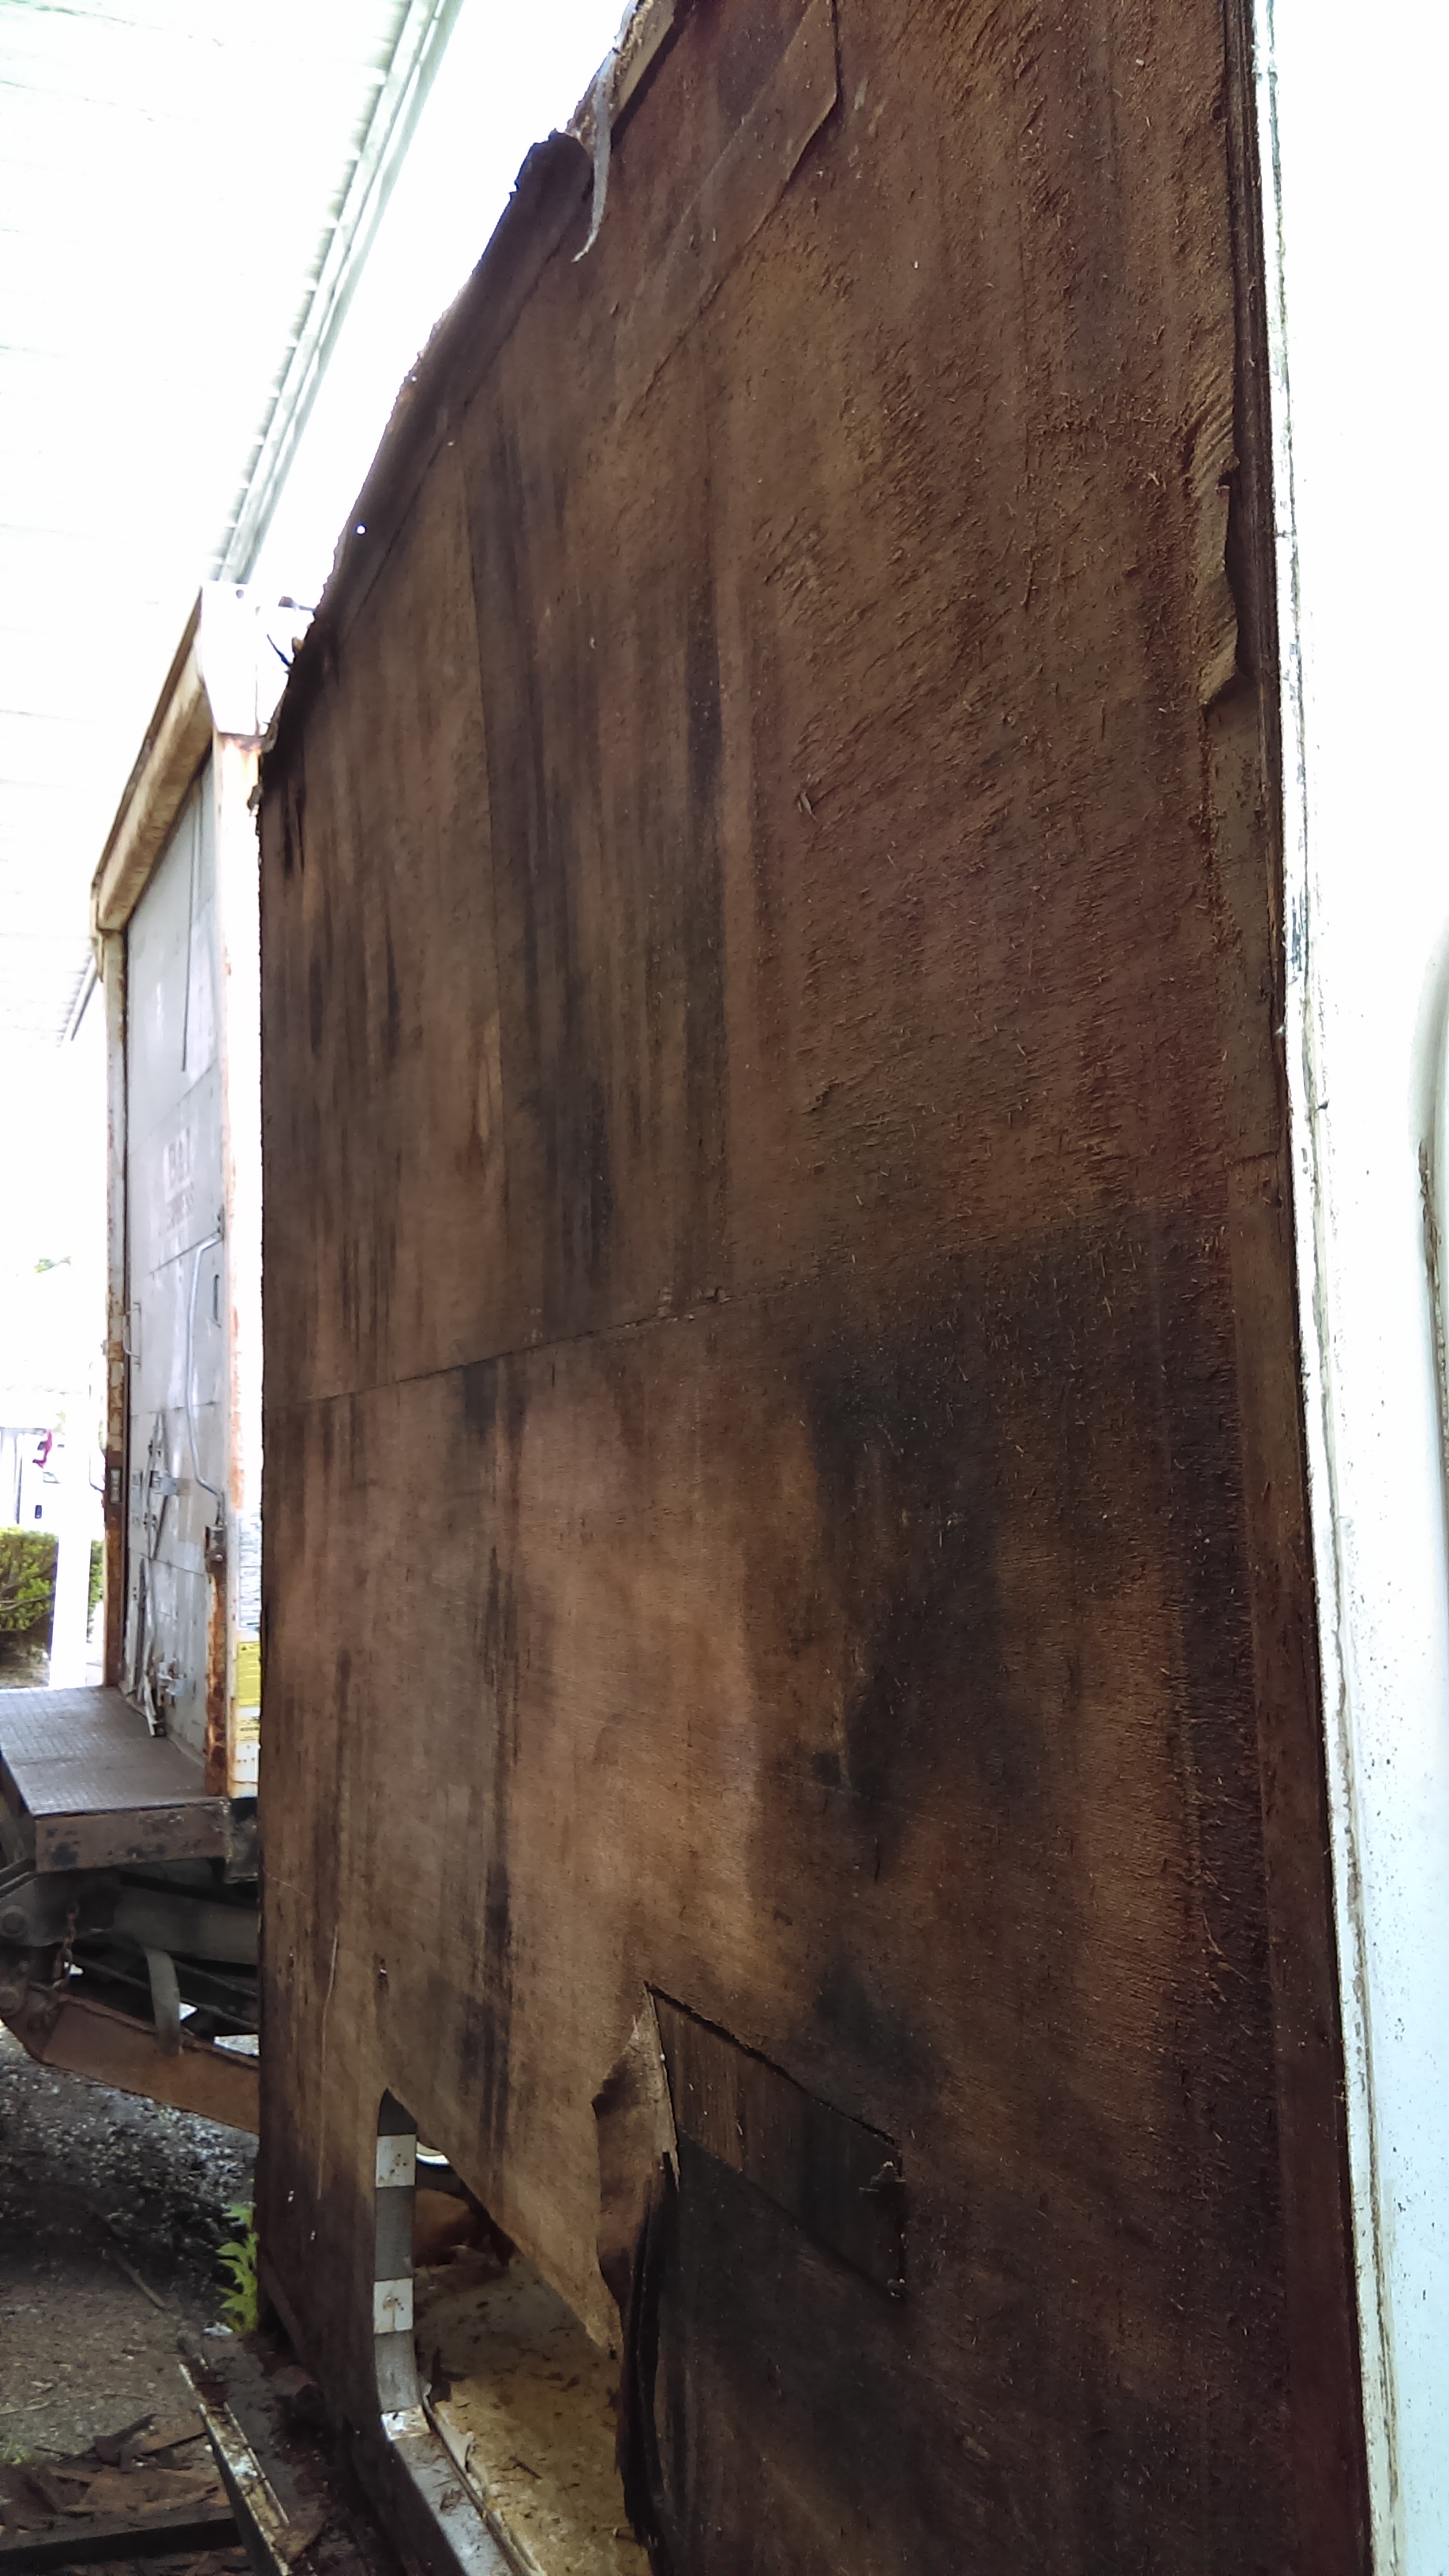
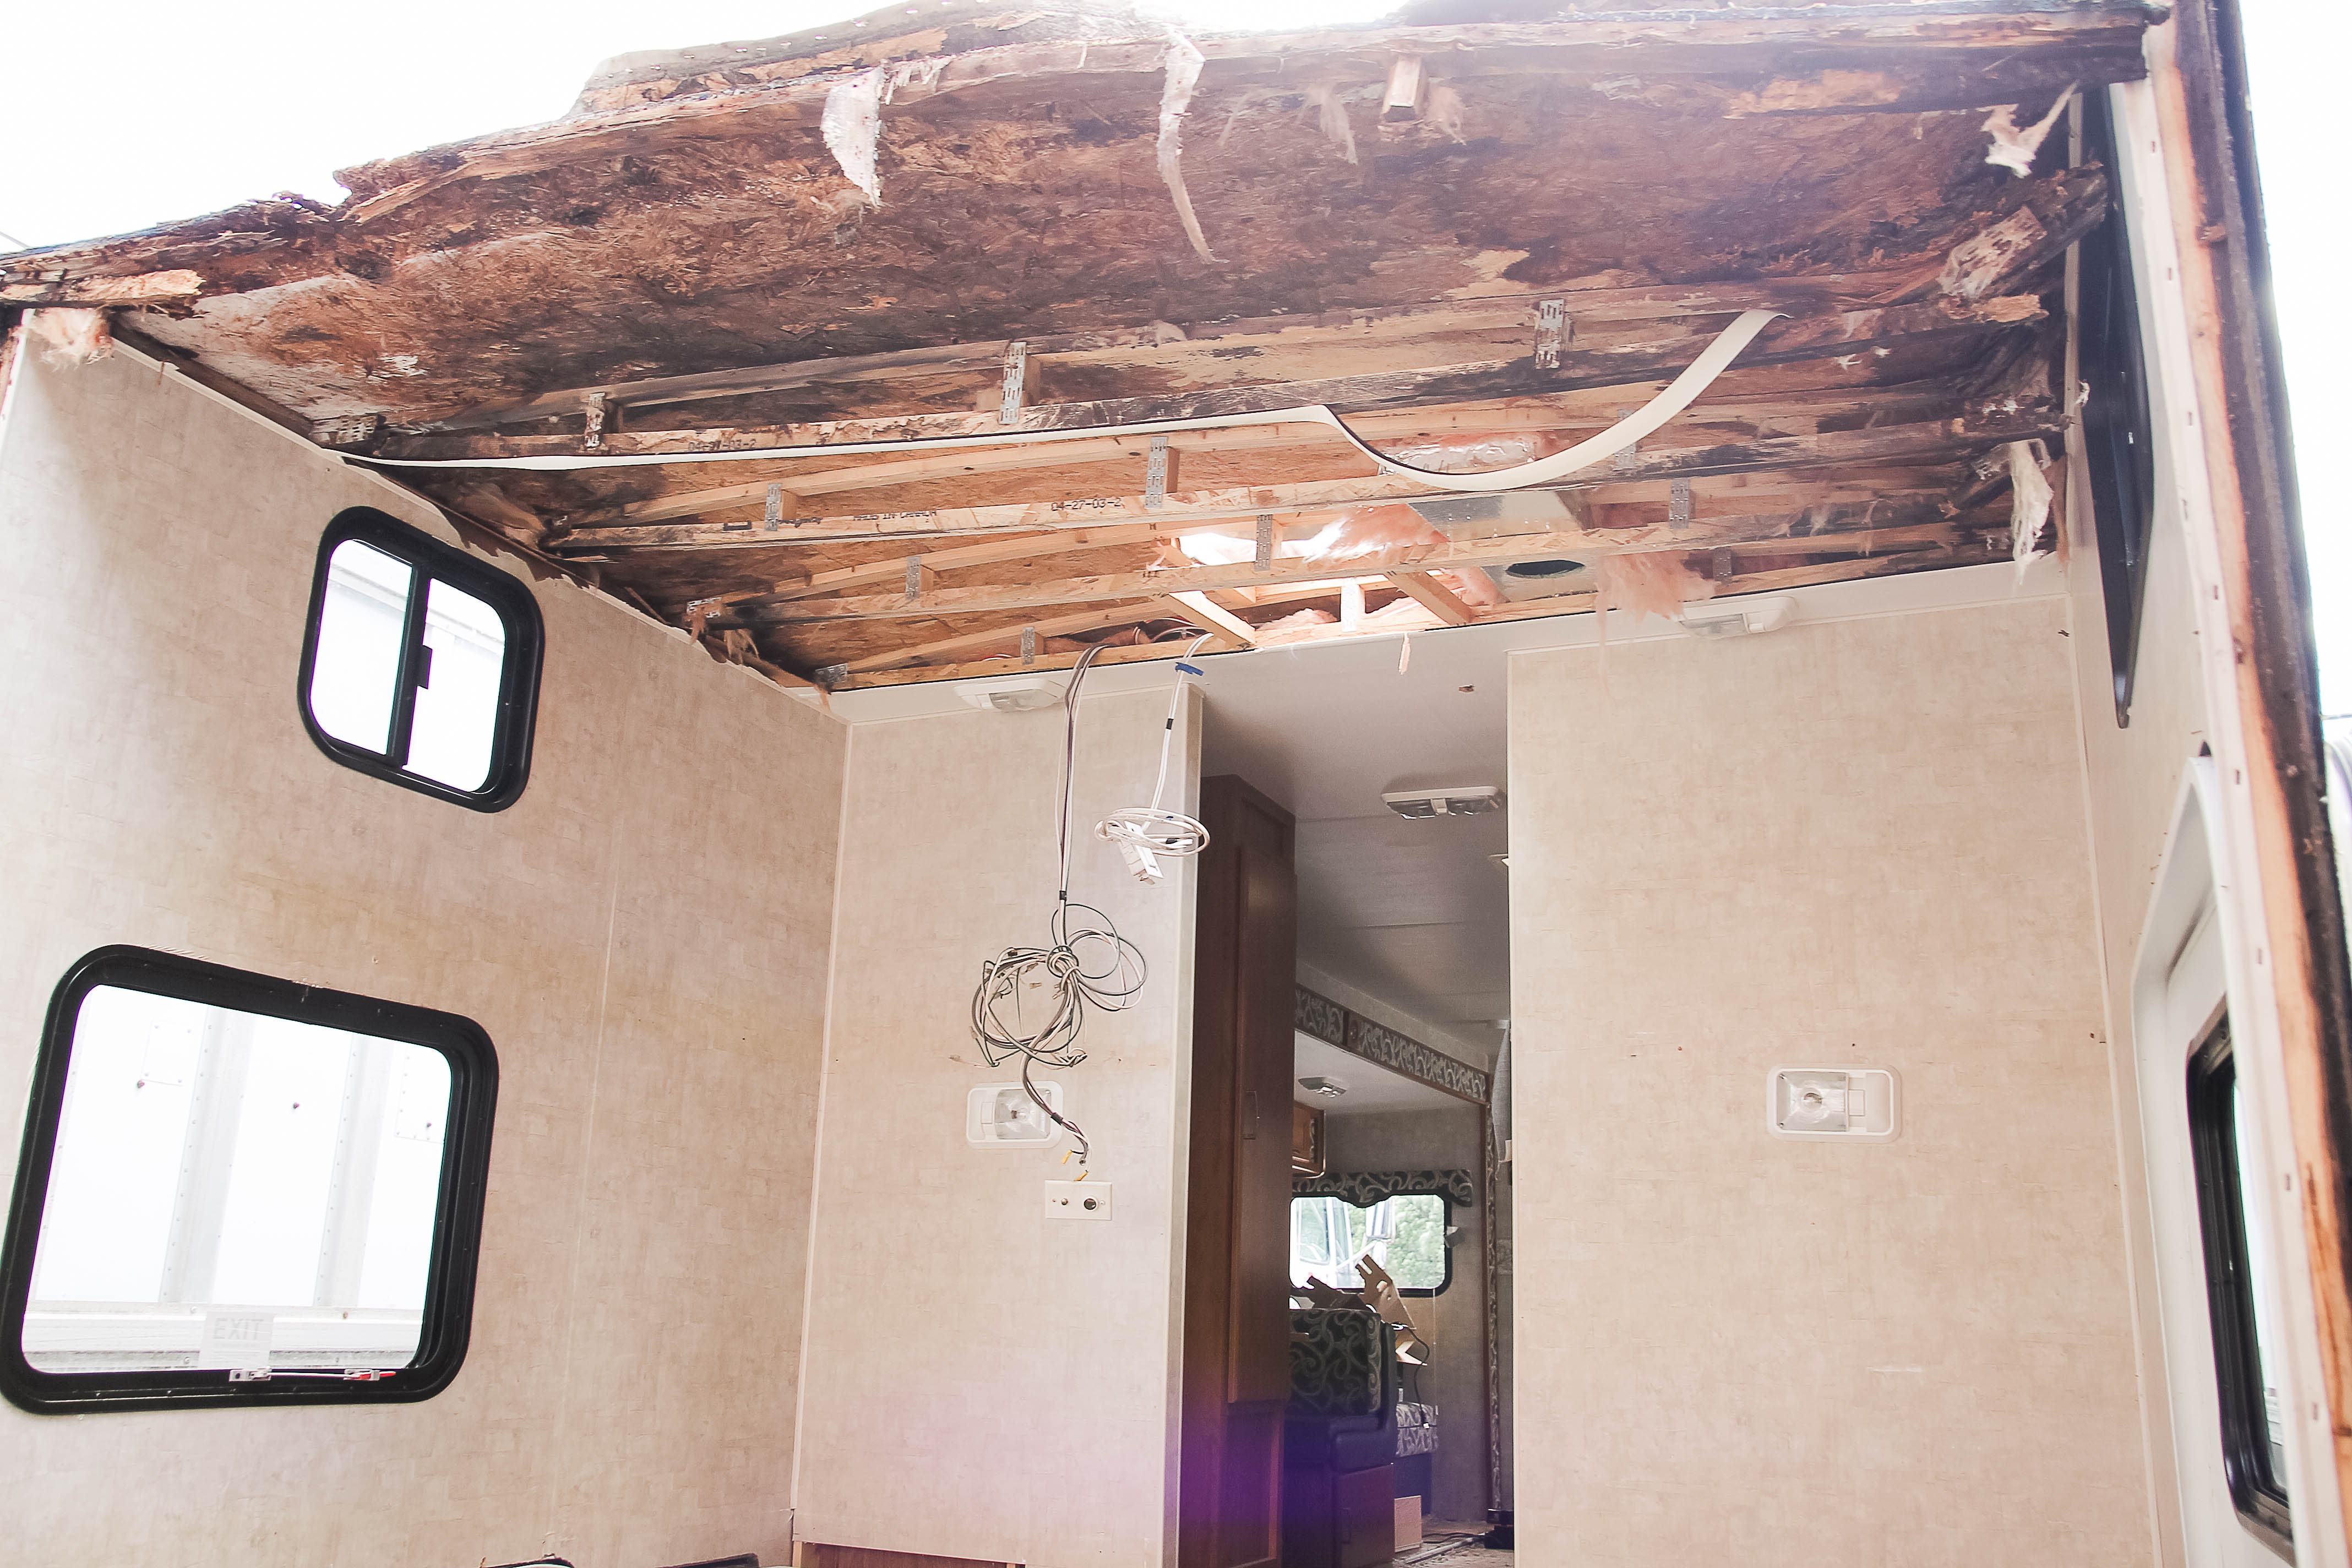
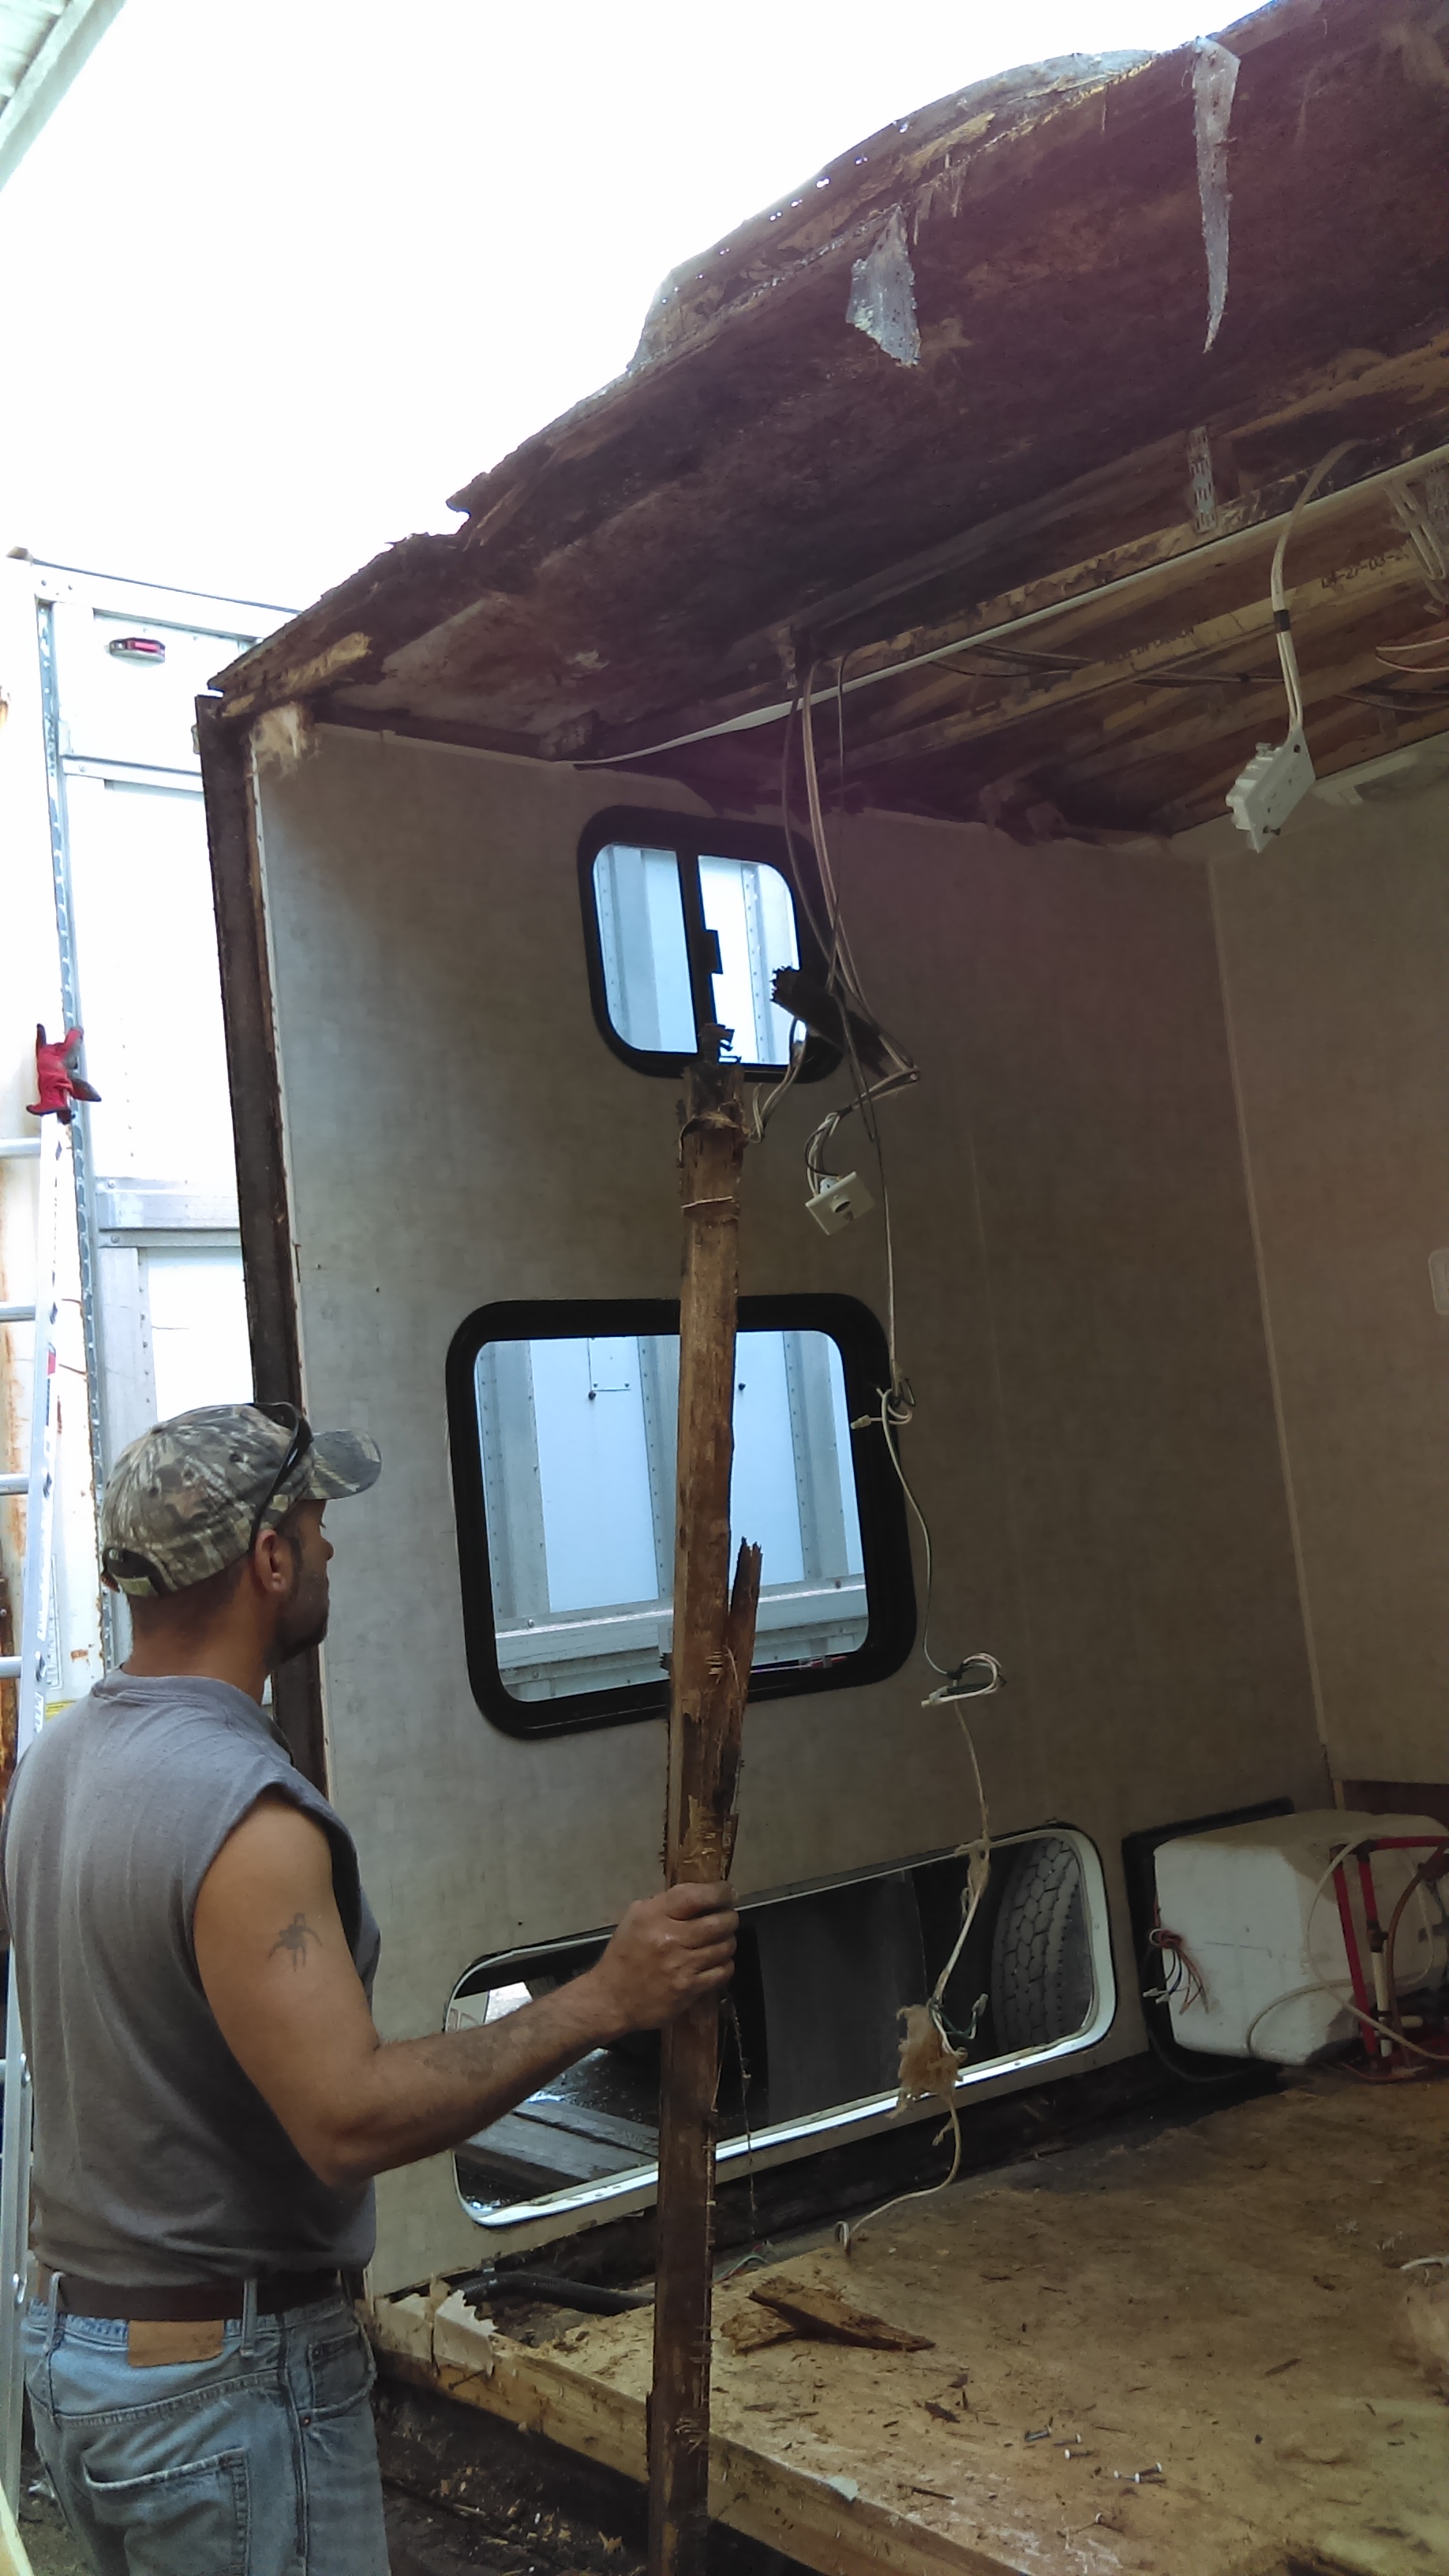
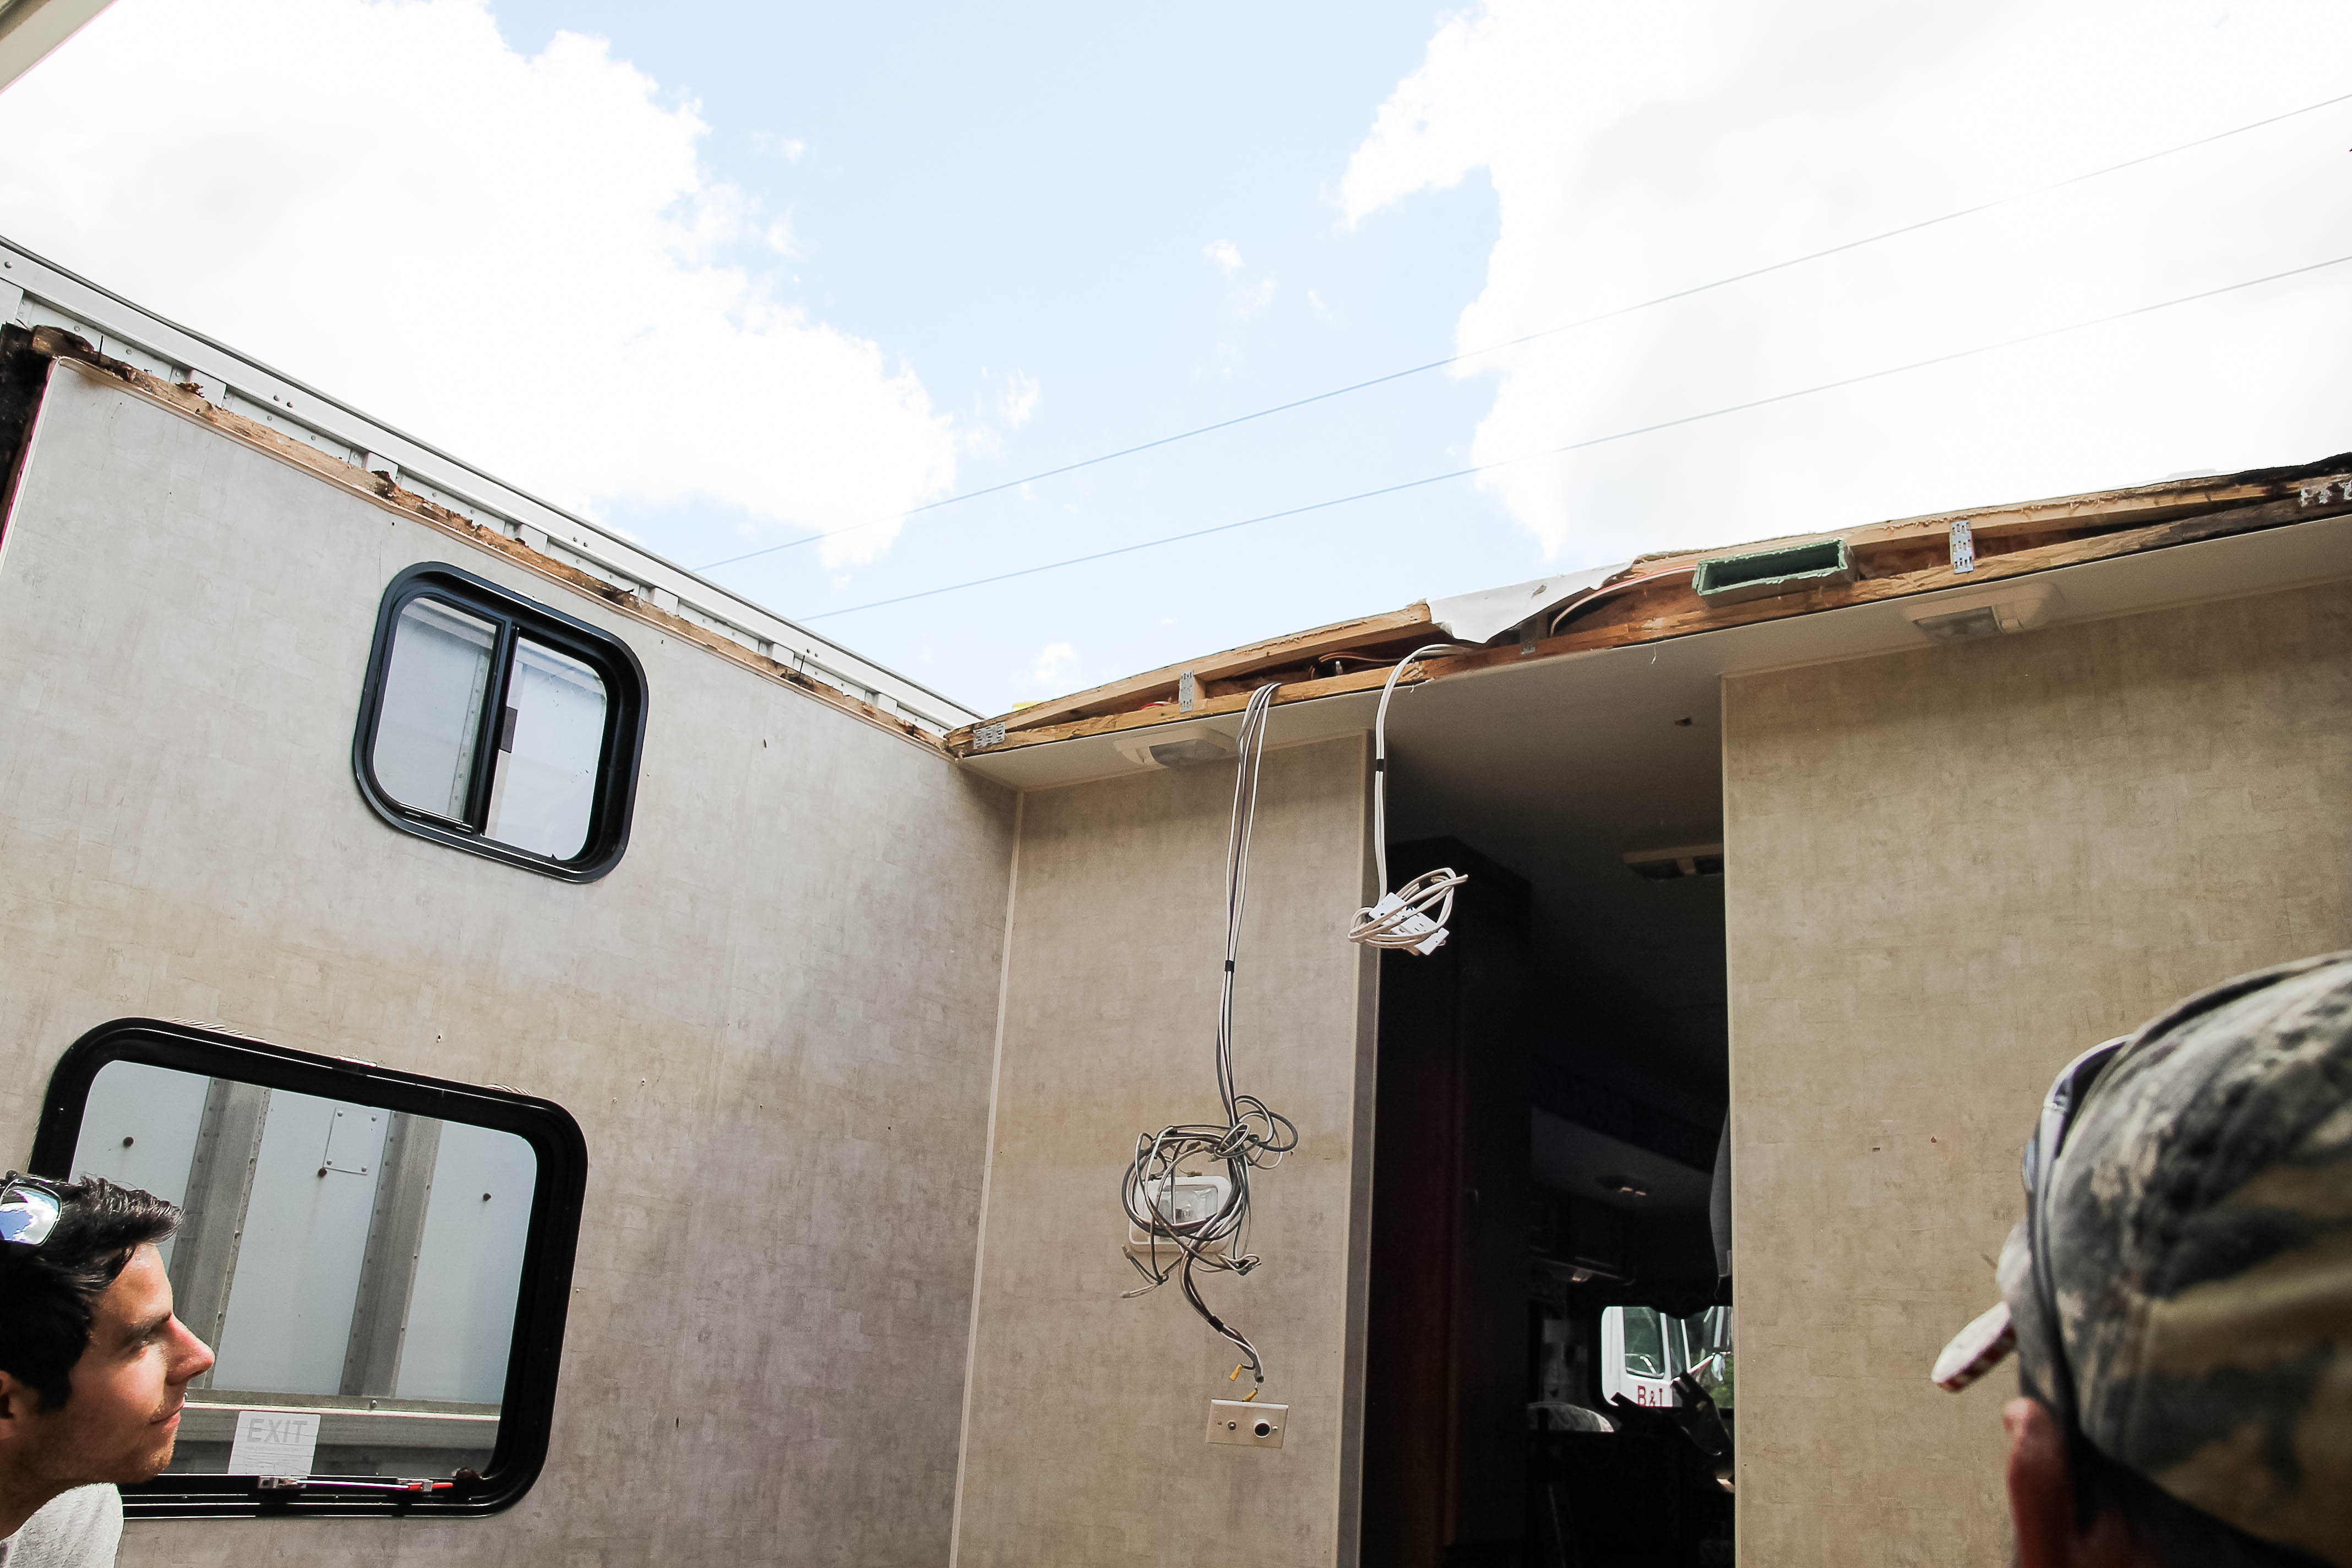
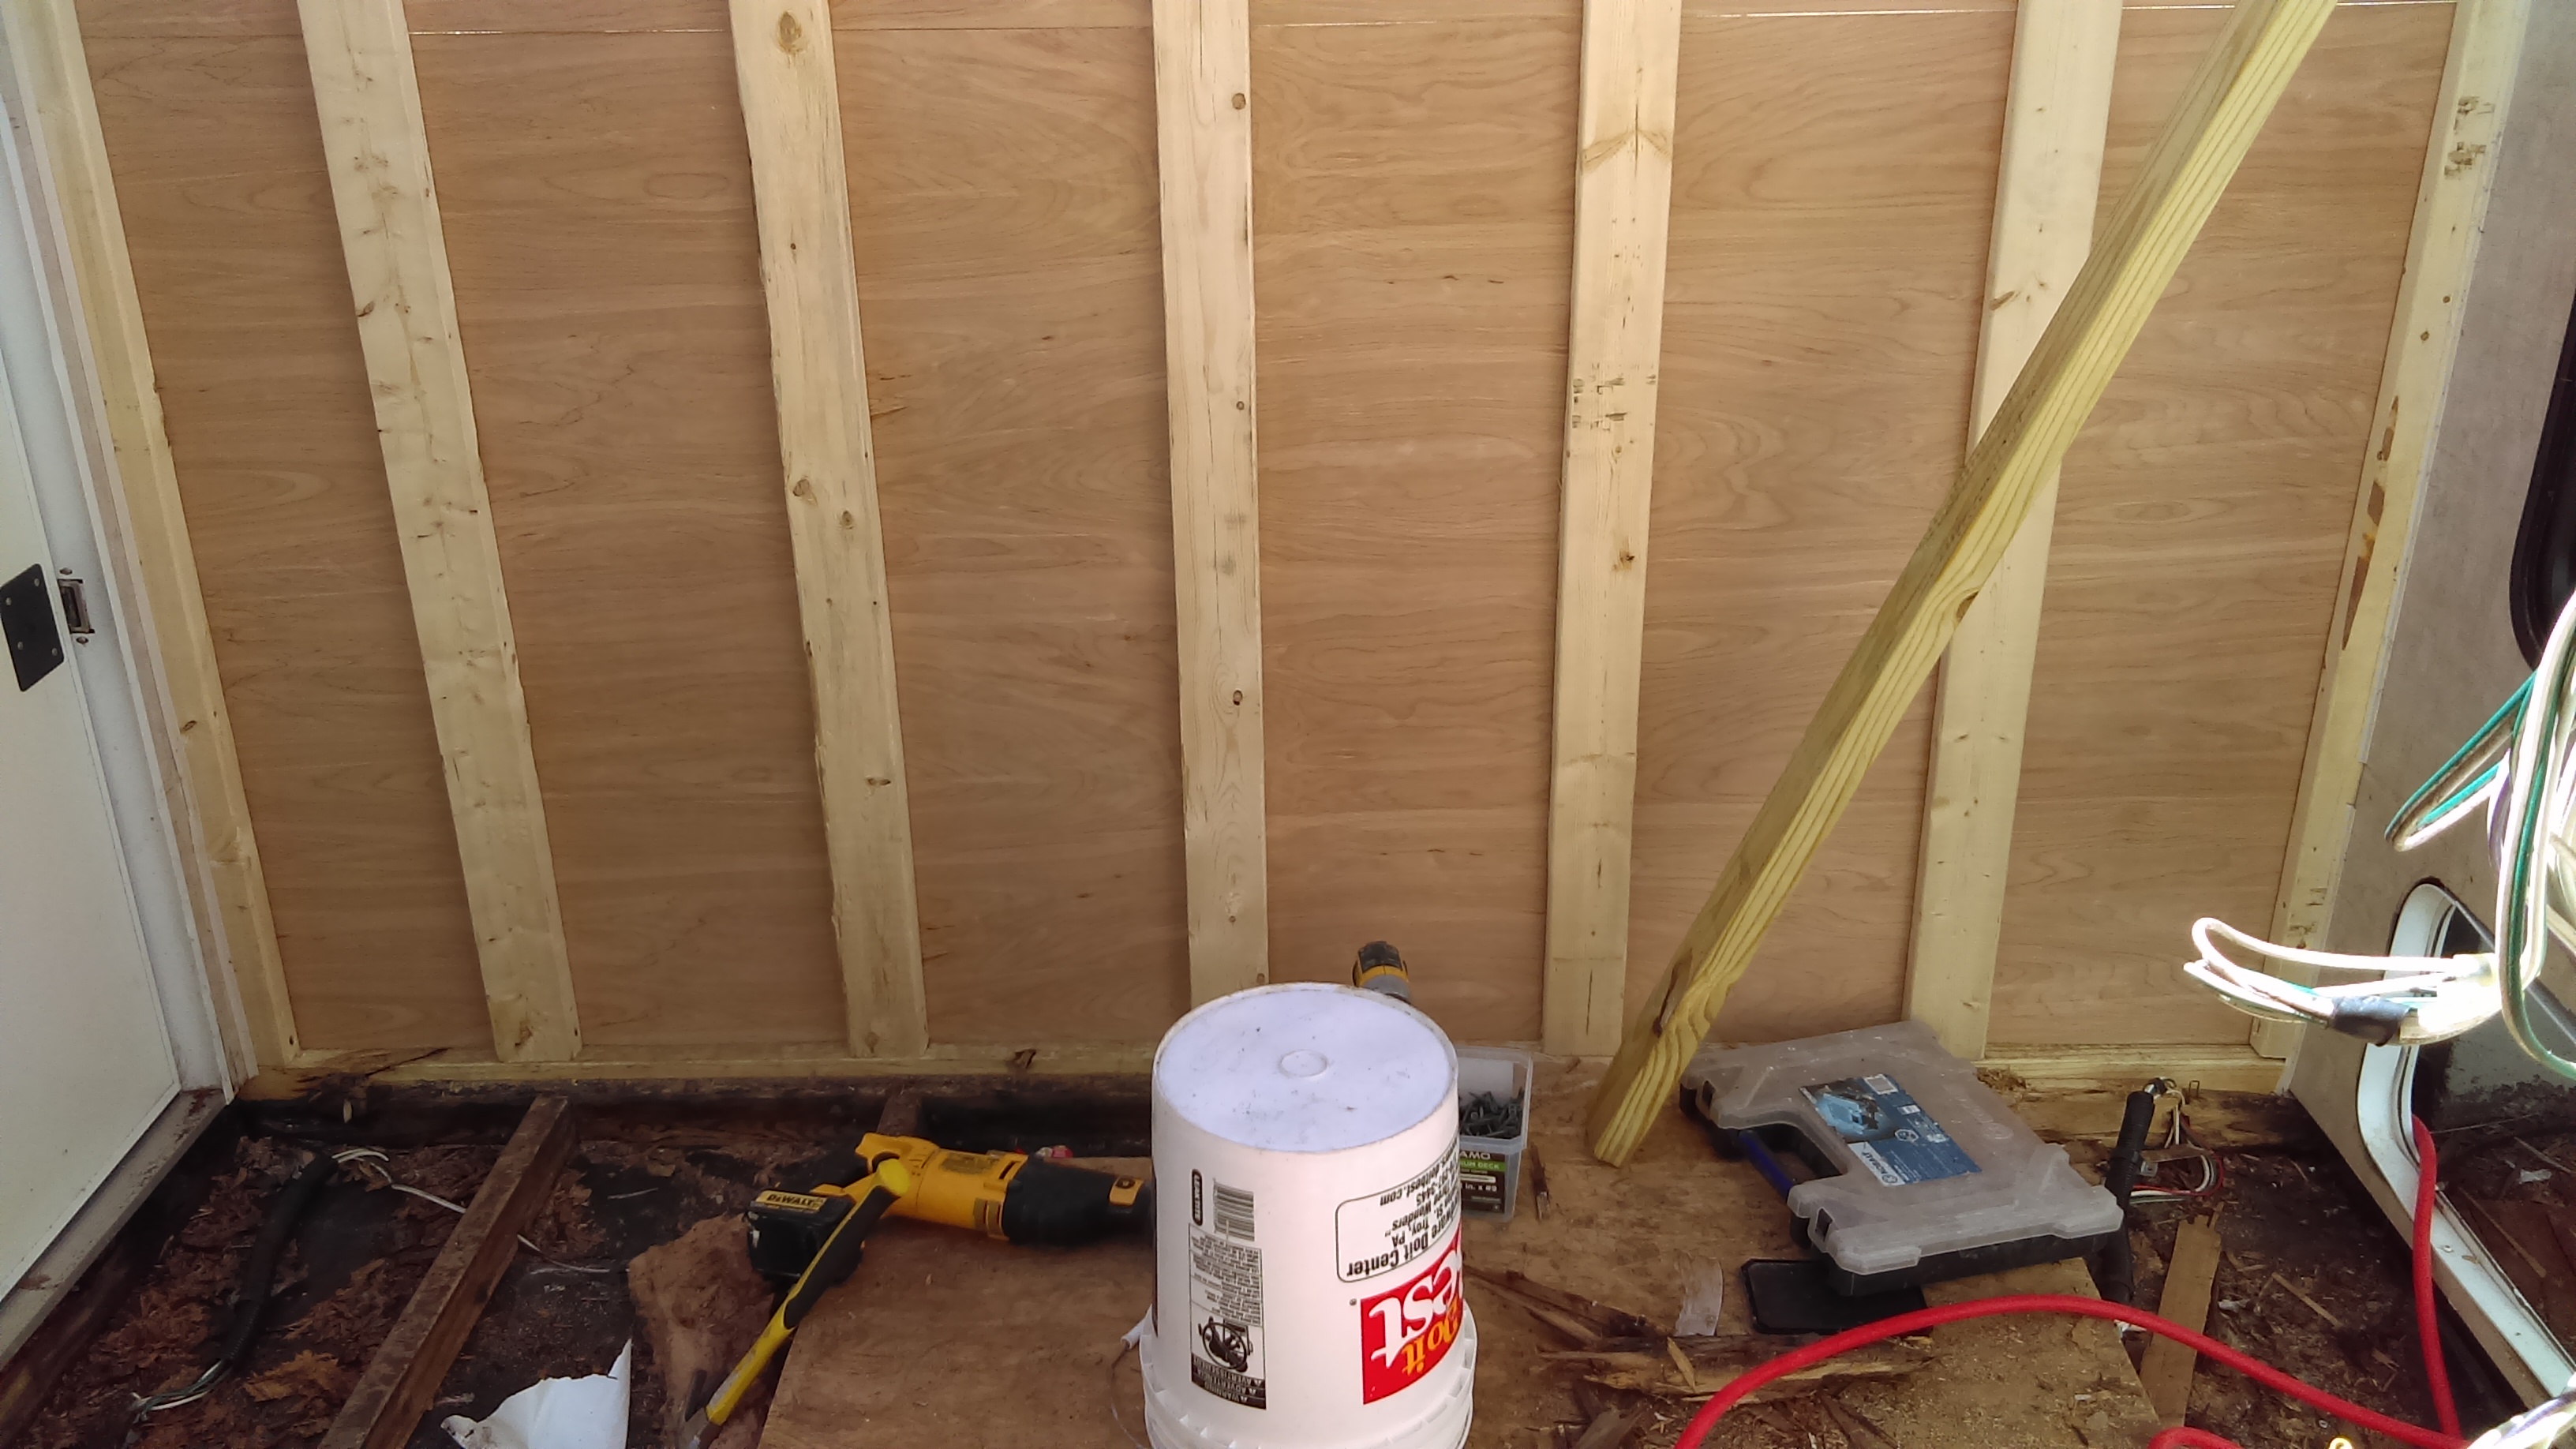
Here’s the back wall after we took the siding off. Lots of water damage and rotten wood!
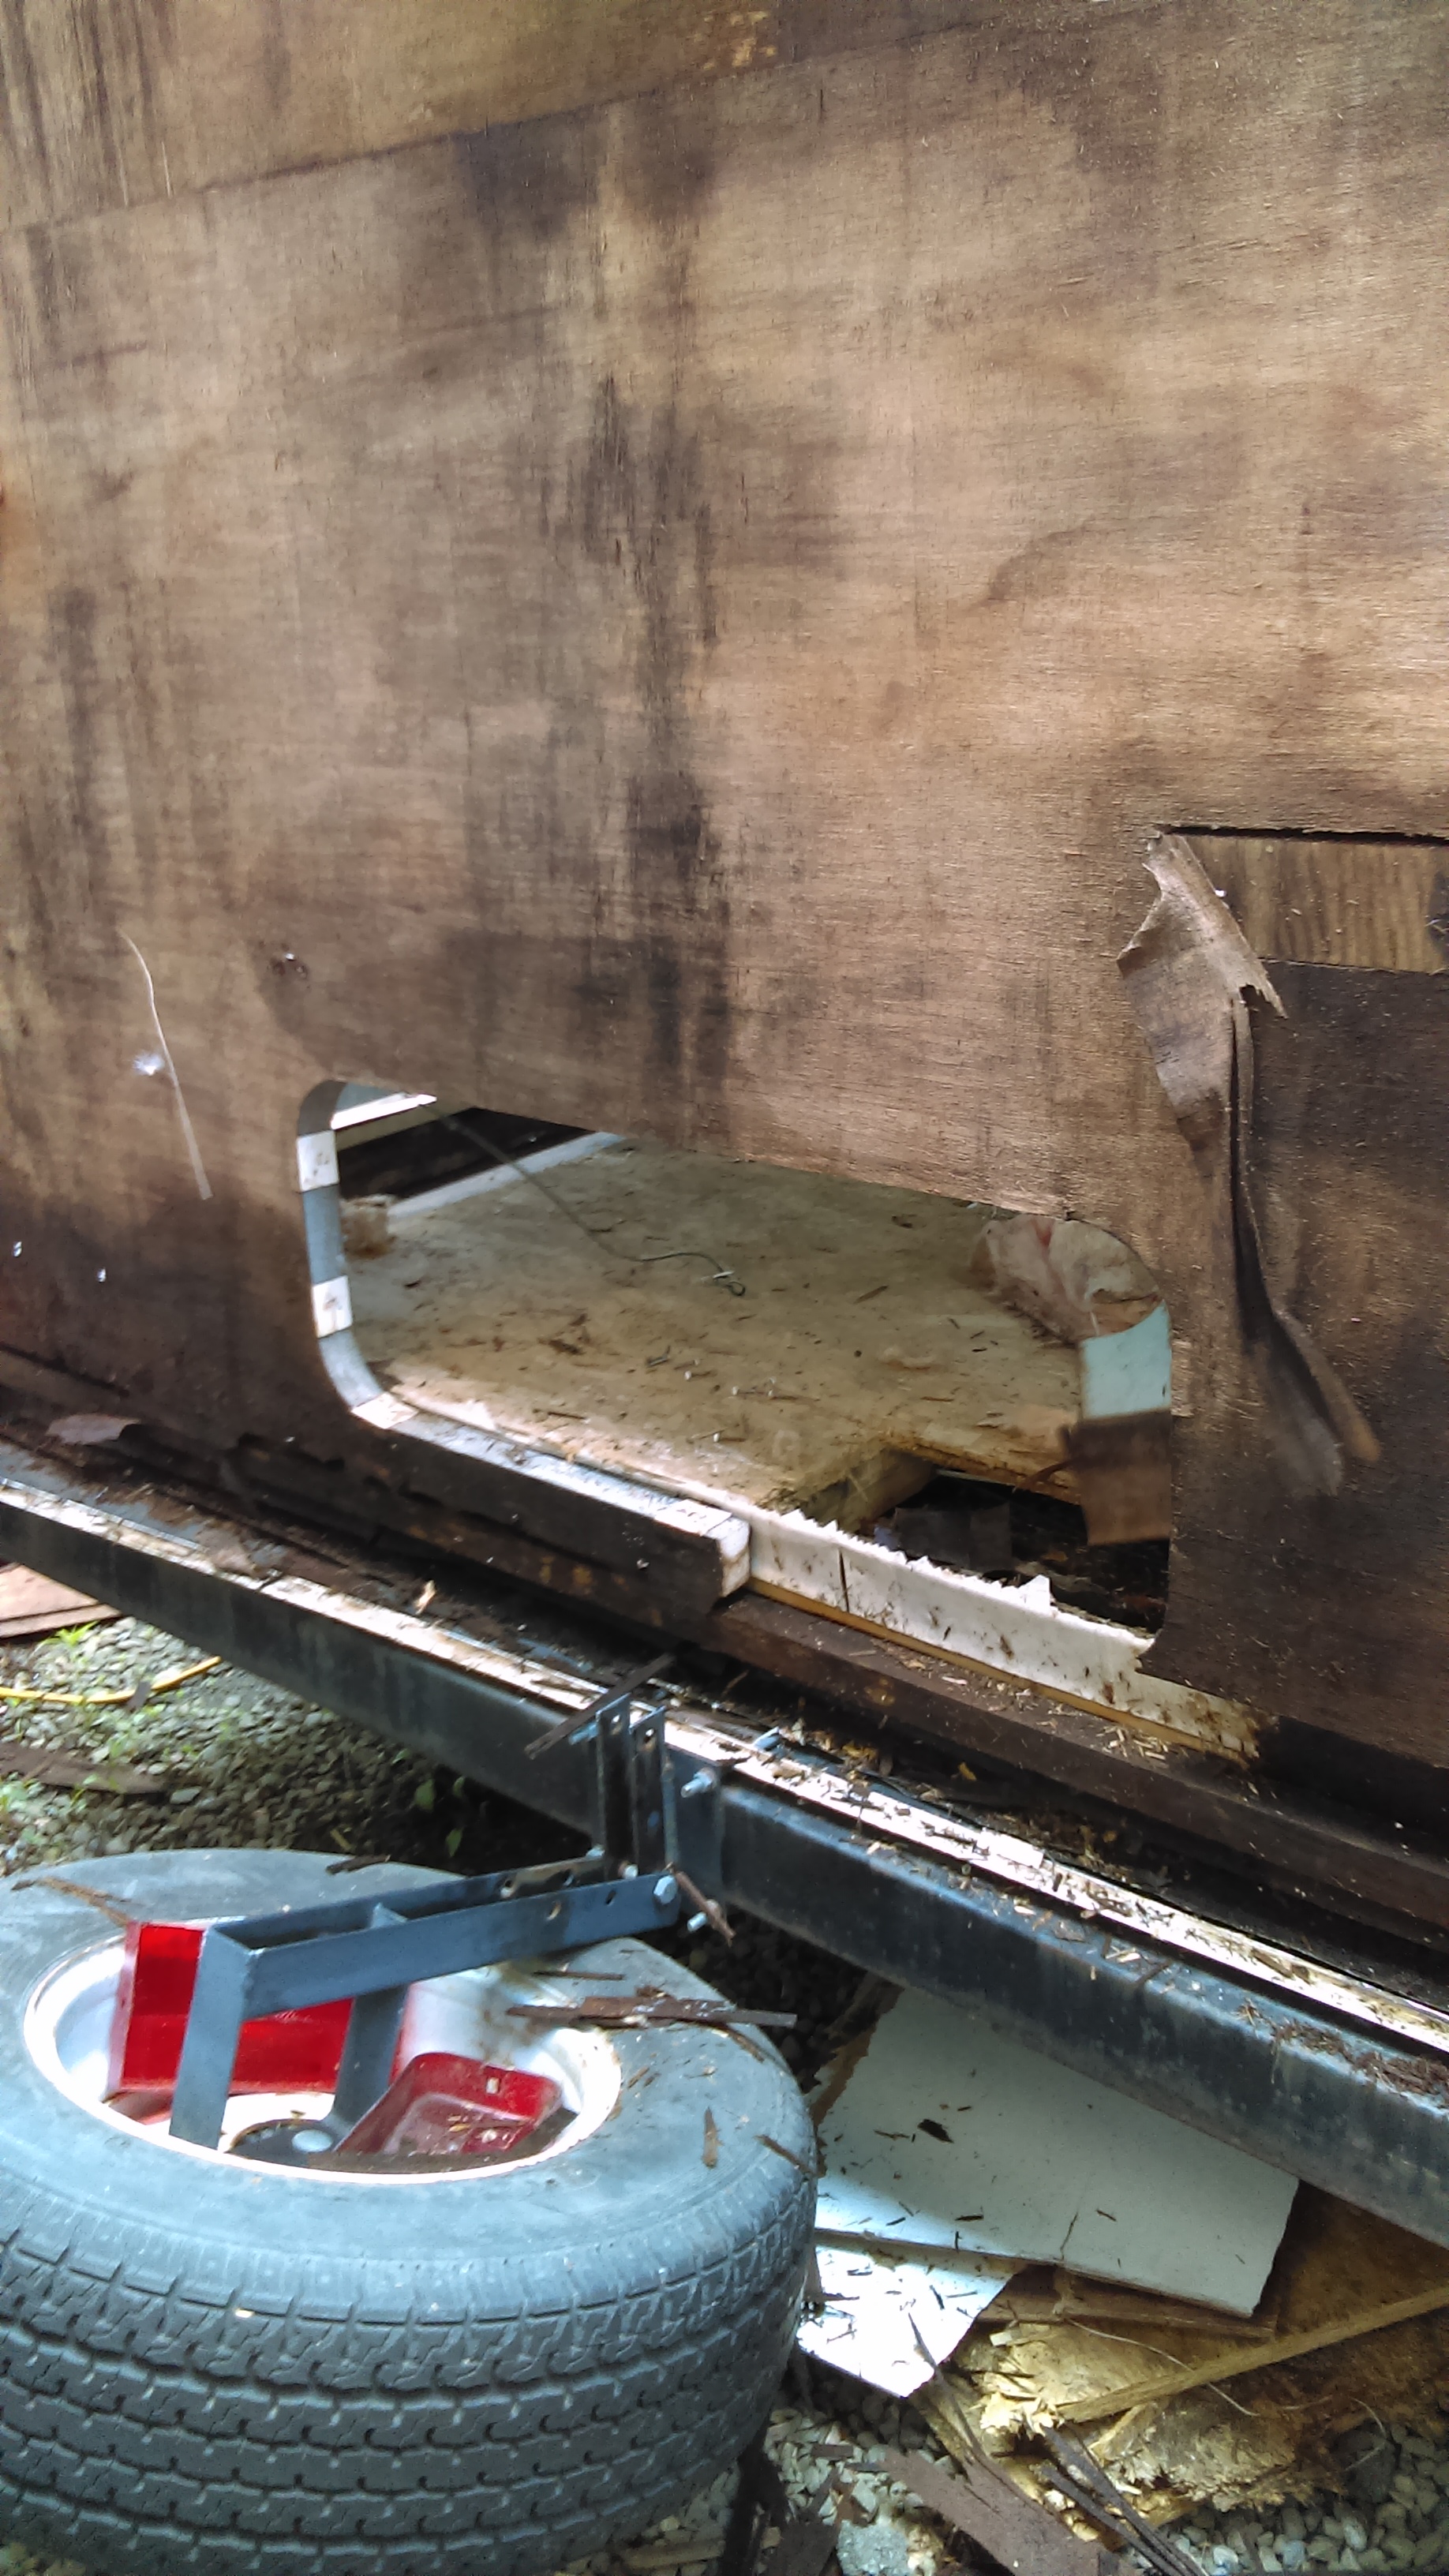
Side note: the tail lights I pulled off and put inside to be put back on later.
The back wall is down! One good thing about all that rotten wood is that it came down easy!
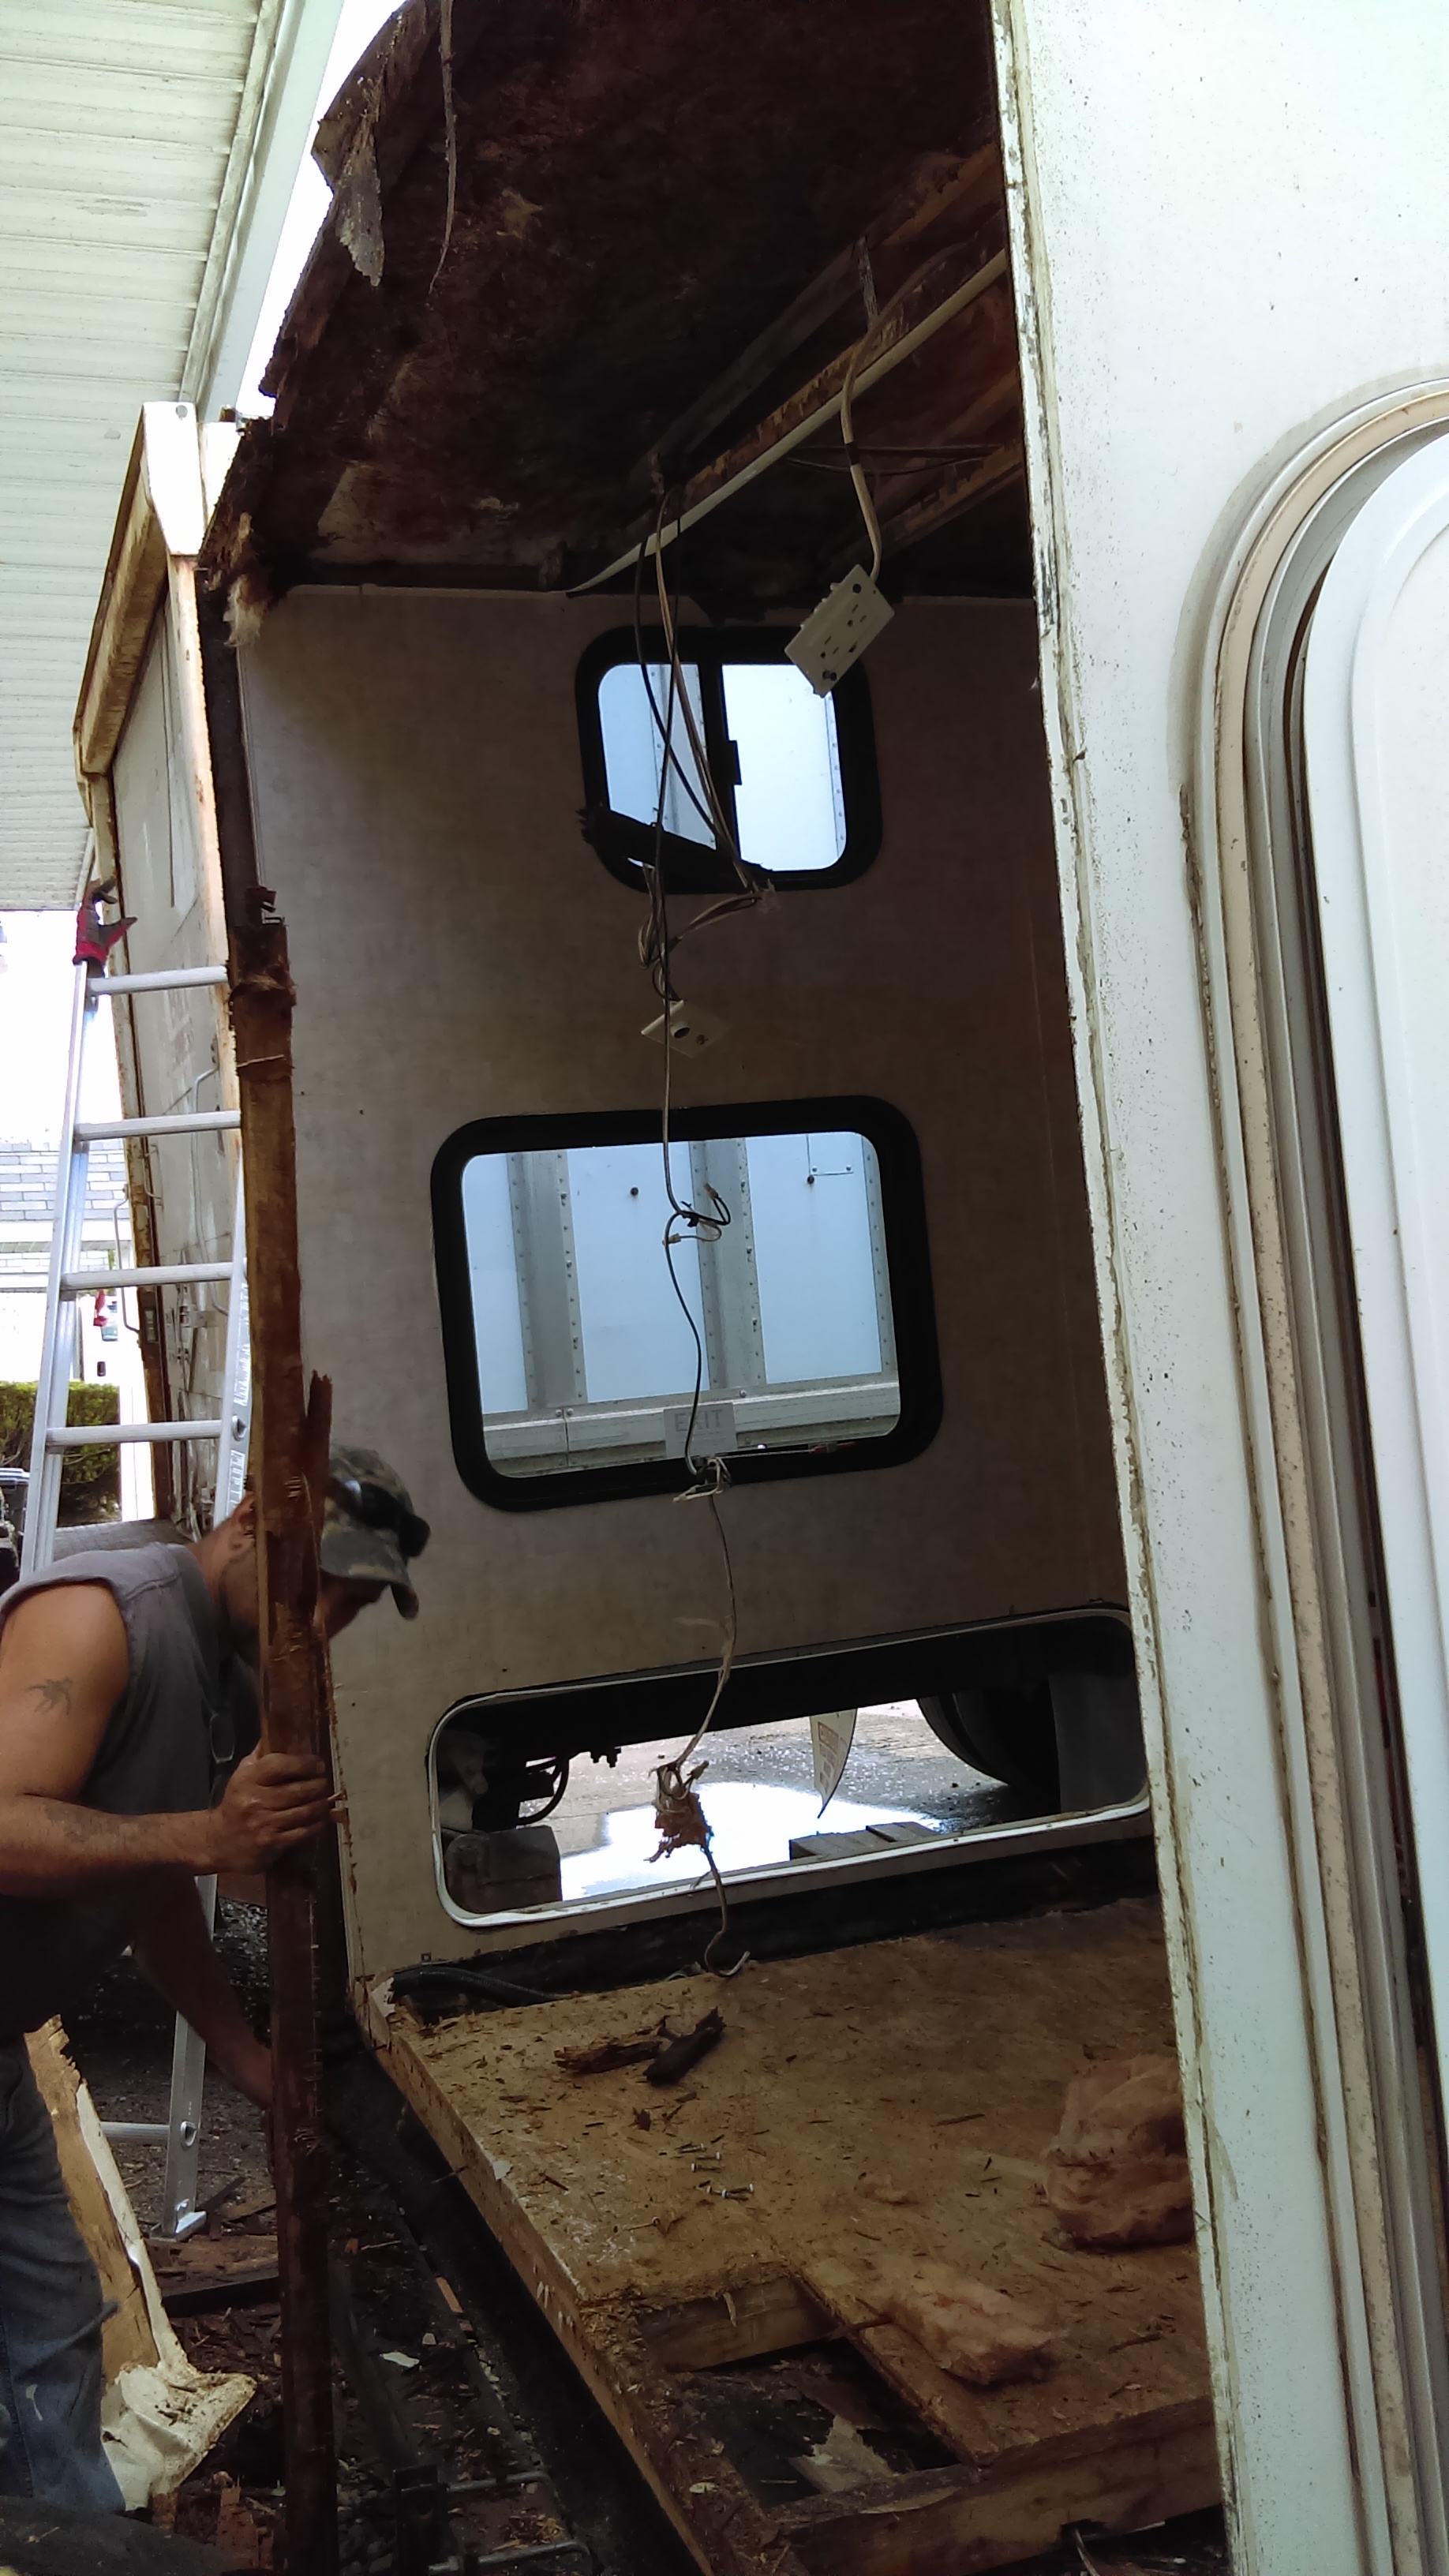
As for the wiring, we just snipped everything and the plan is to connect it back once the new wall and roof are in place.
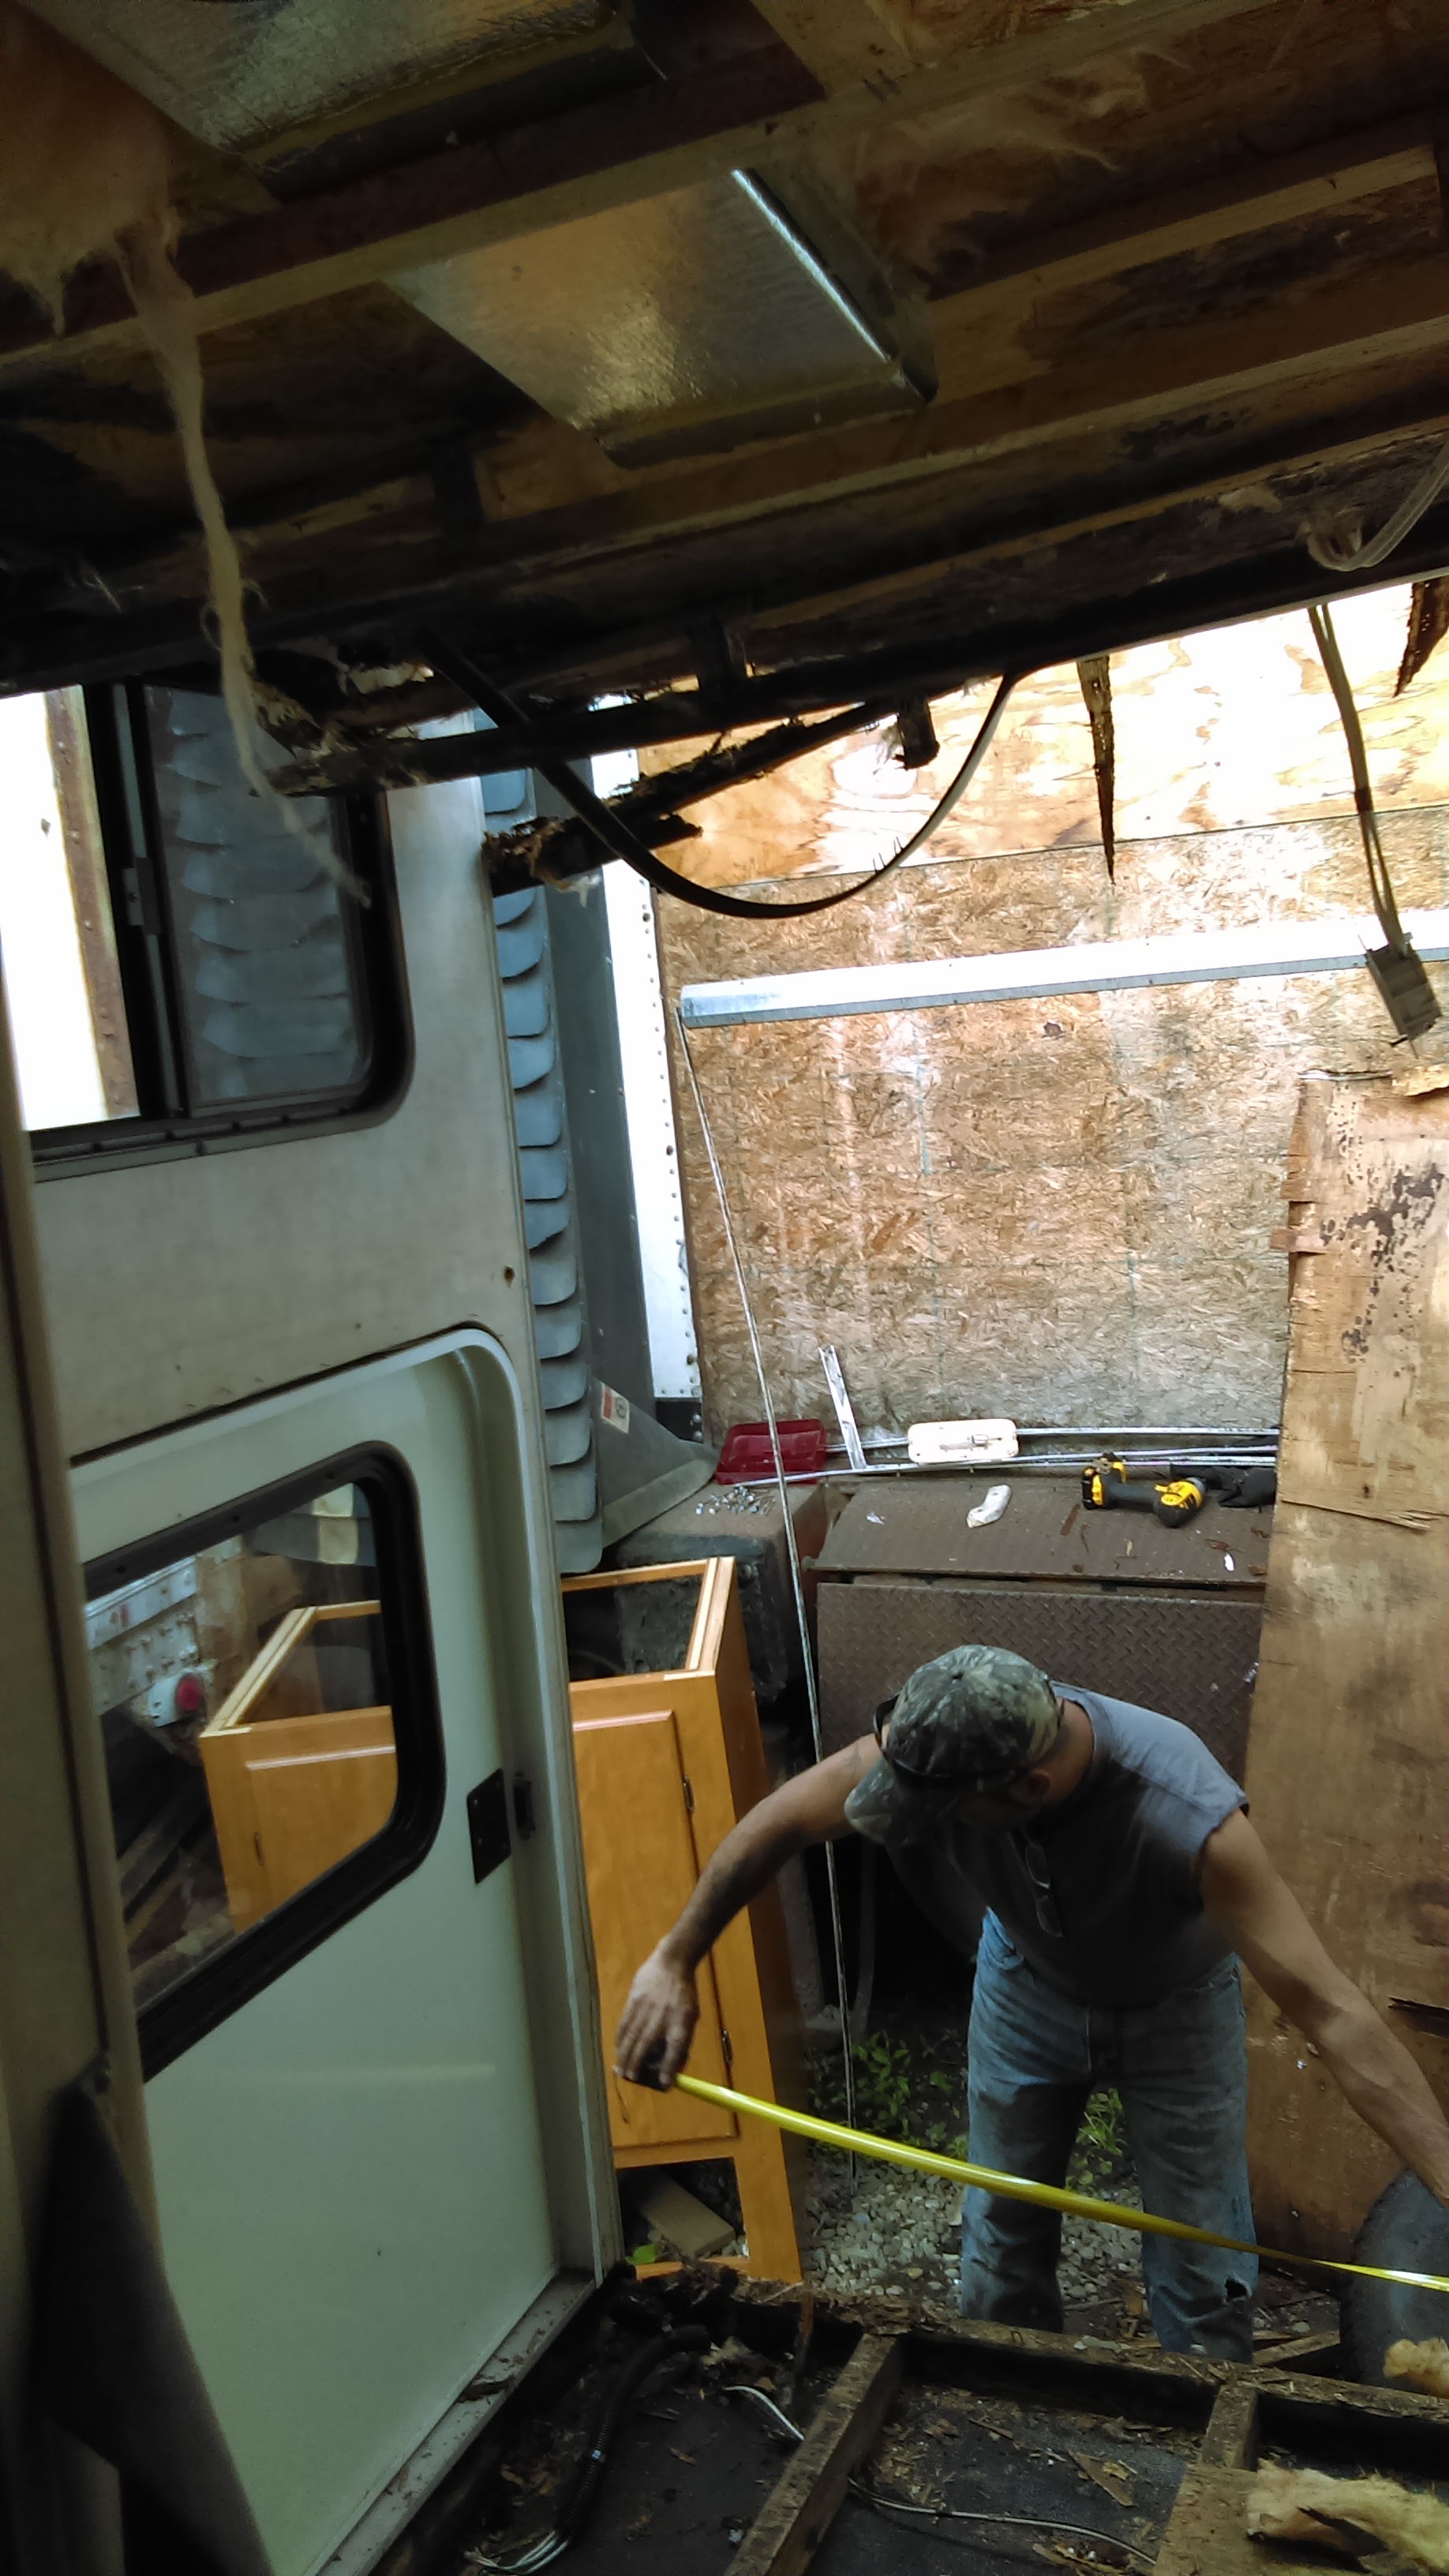
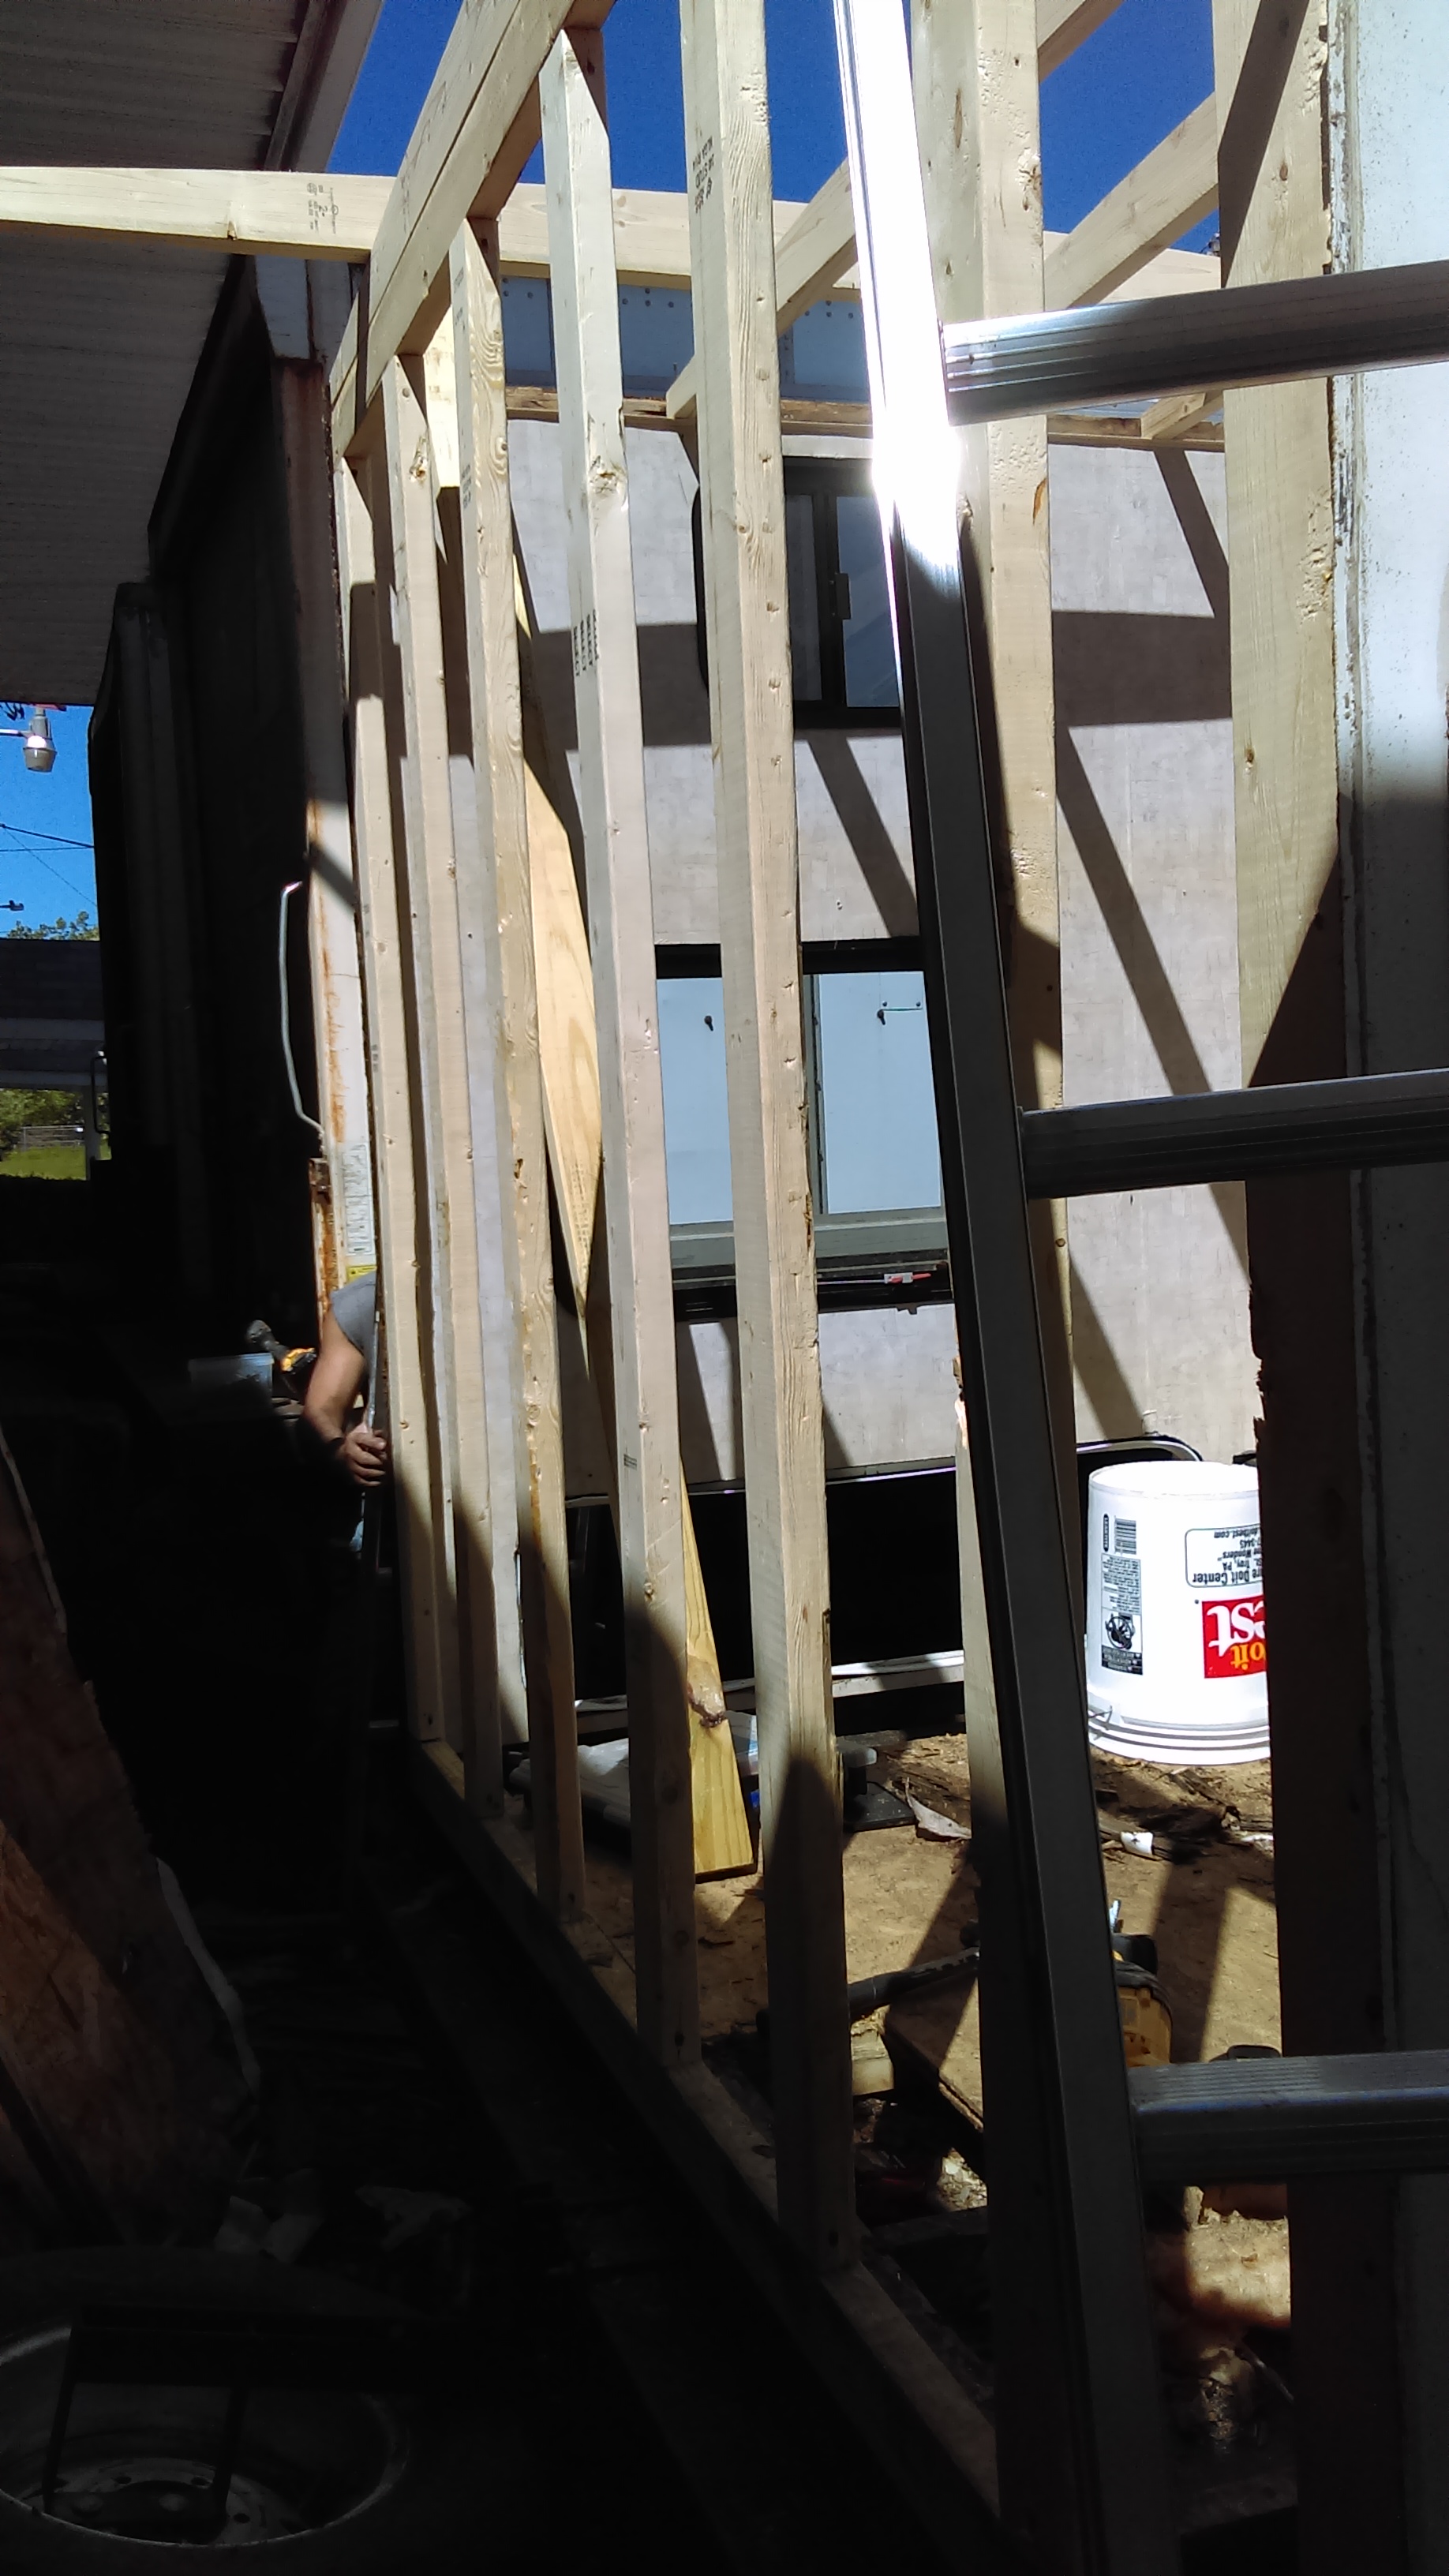
With the wall gone, the roof sagged a little lower and we had to be careful not to bump into it. Tawny’s dad made sure to keep measurements so the new wall would be the same size as the old one.
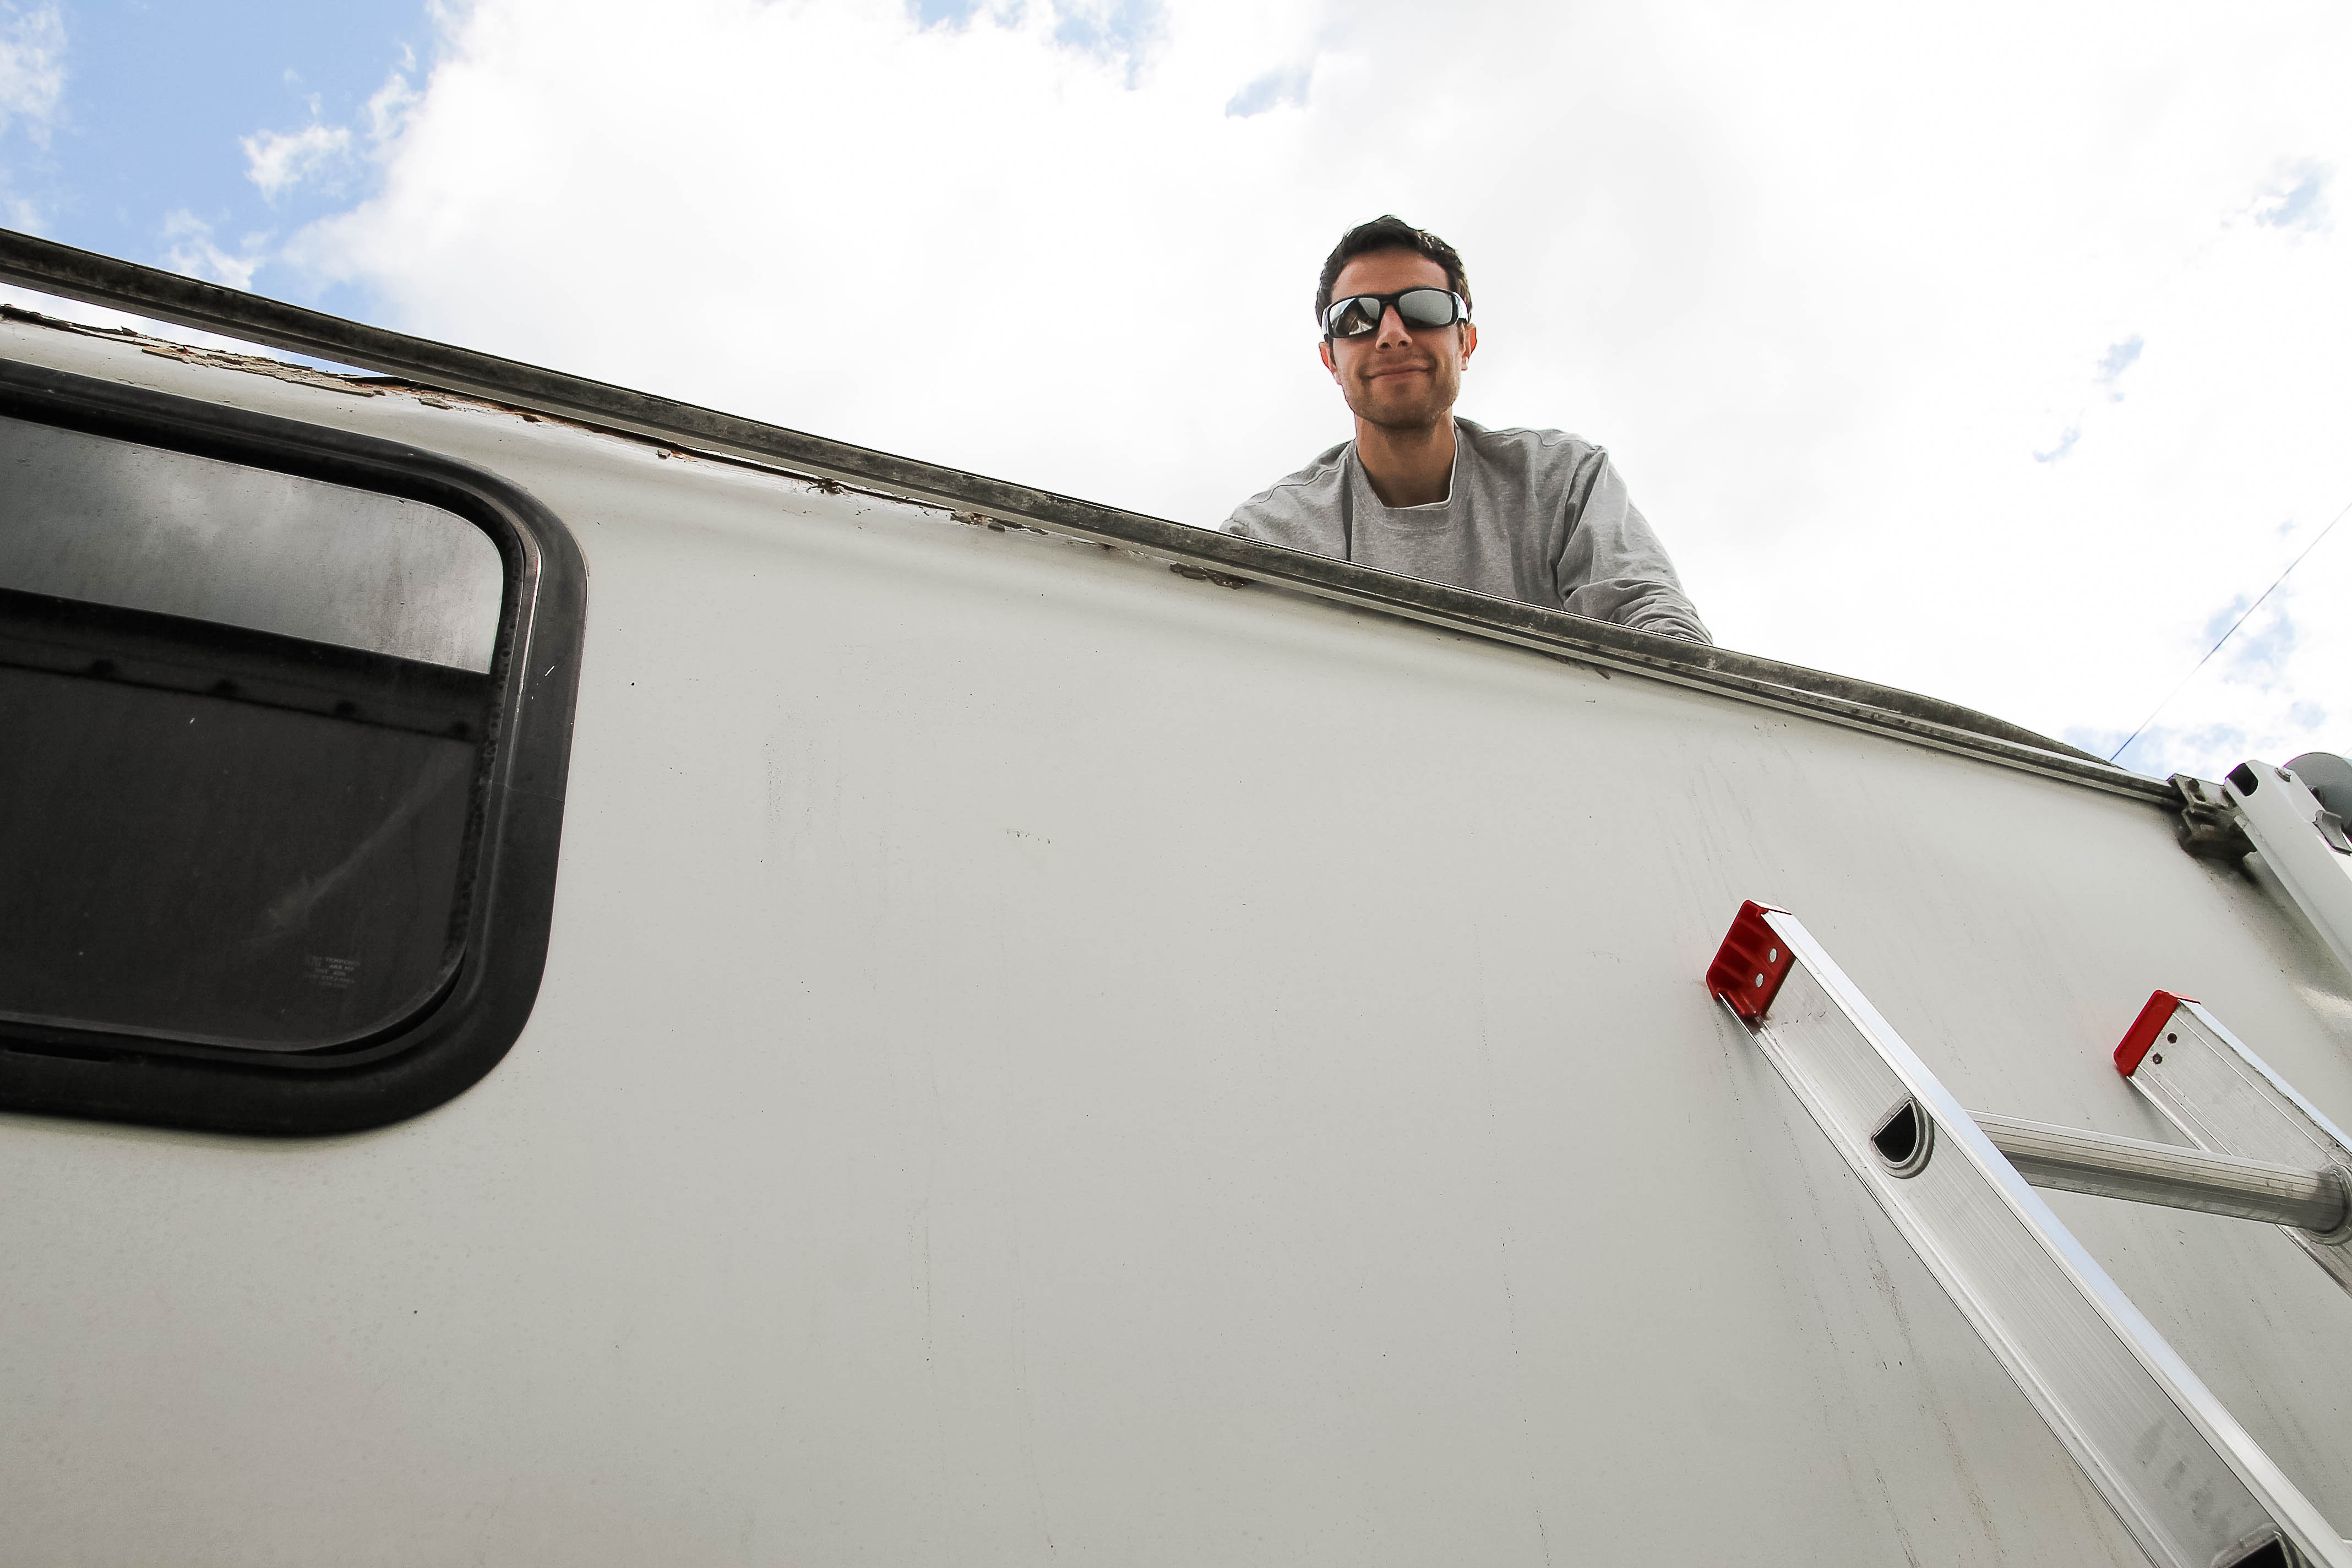
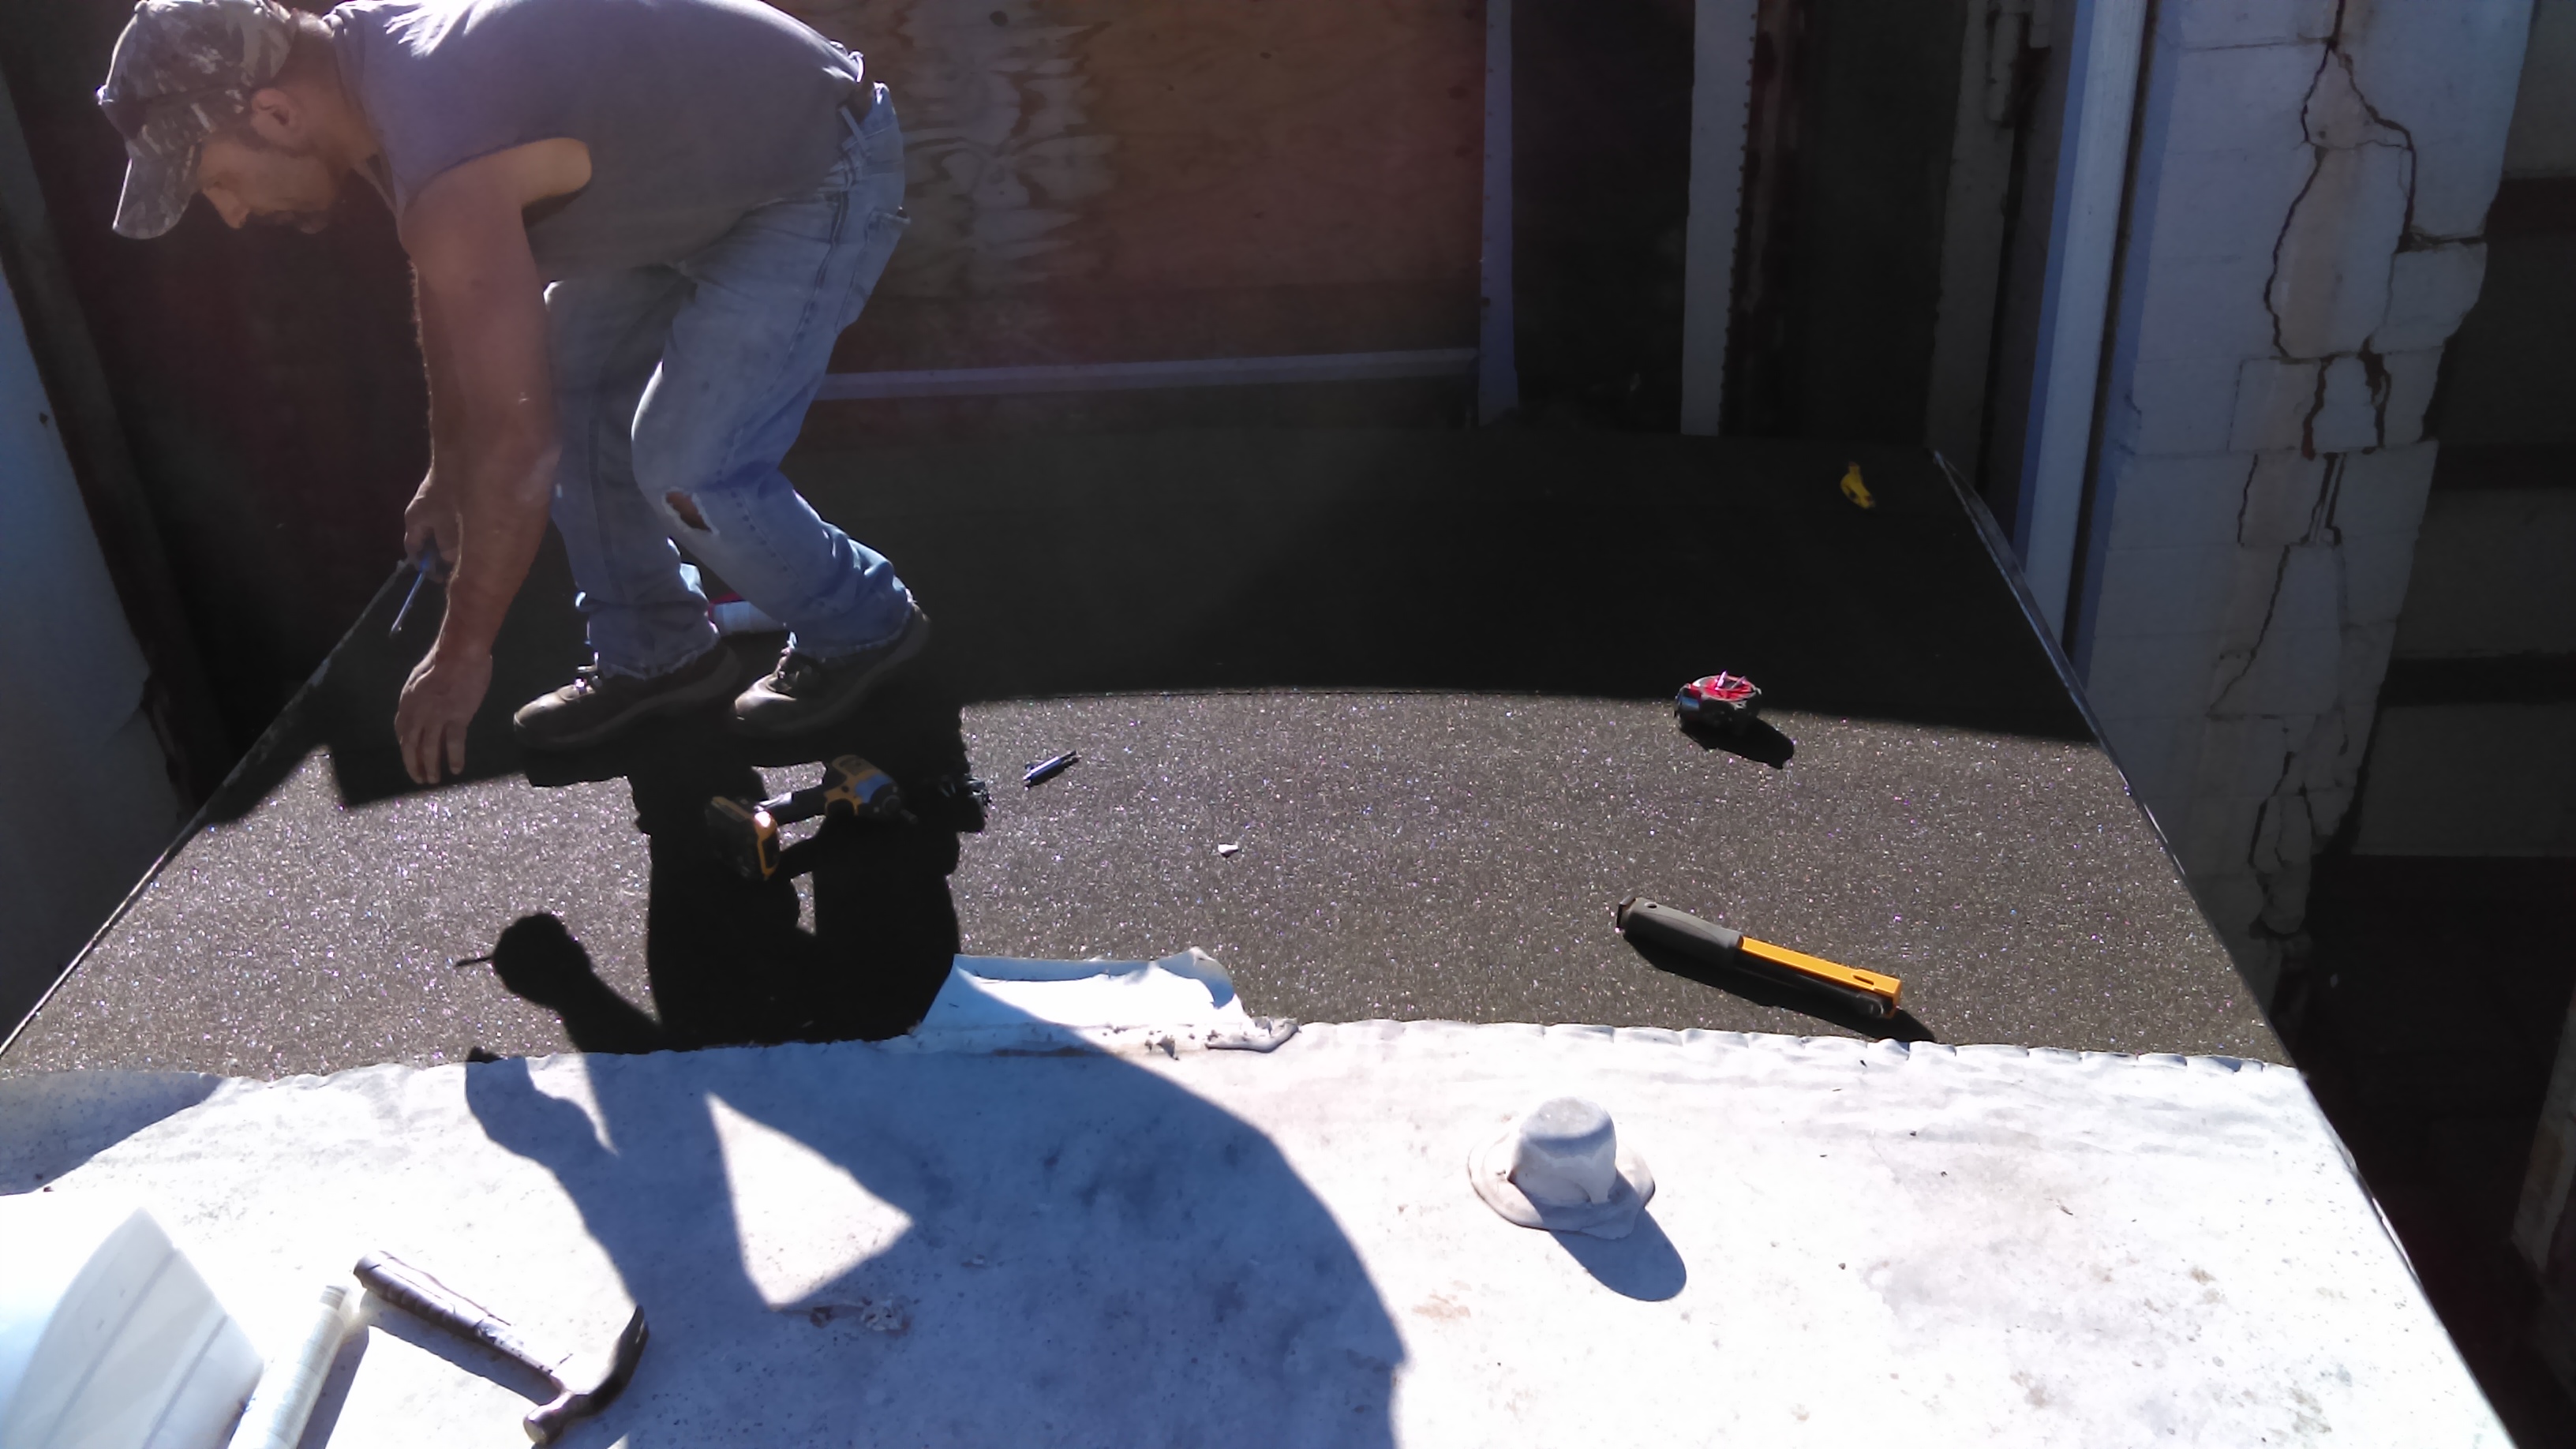
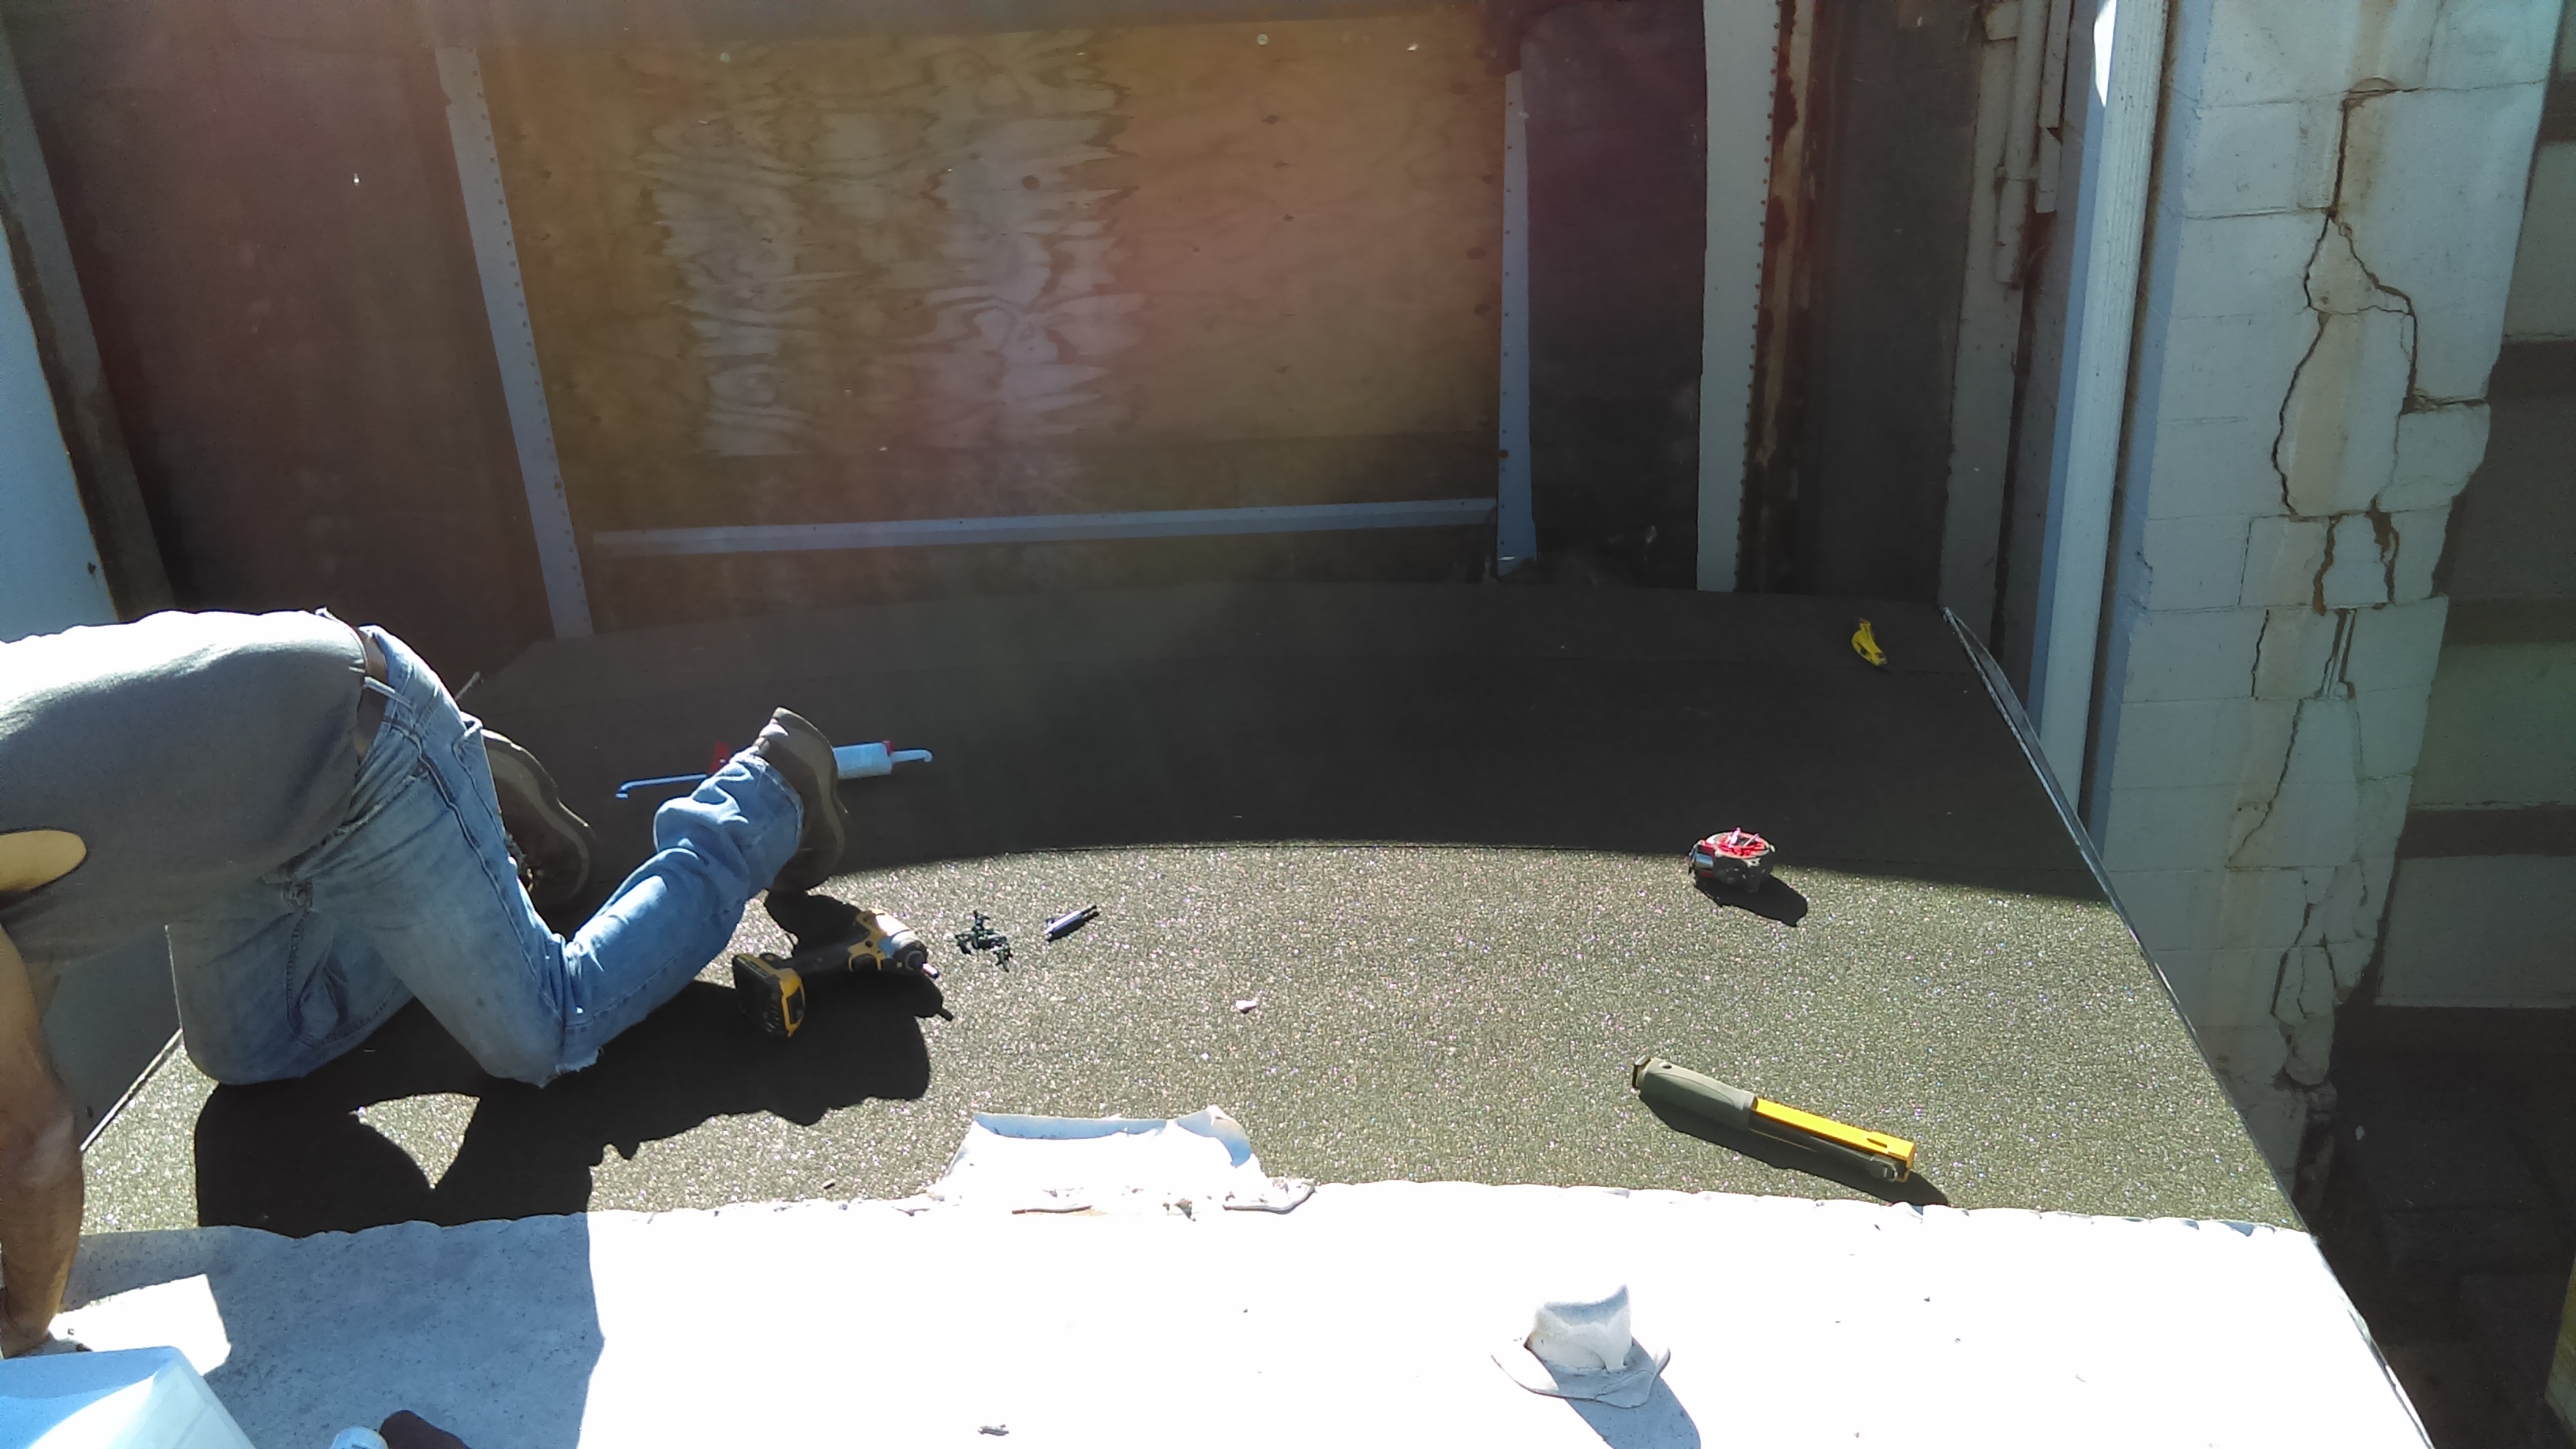
We had to get up on the good part of the roof to assess what our plan was for taking the roof down. The original plan was to keep the existing rubber roof and just pull it back, build the new roof, and put it back down. Unfortunately, this did not end up being the case. More on that later. Oh, to get up on the roof, we just took our 16 foot extension ladder apart (probably not OSHA approved… haha) and then we had two ladders at the perfect height!

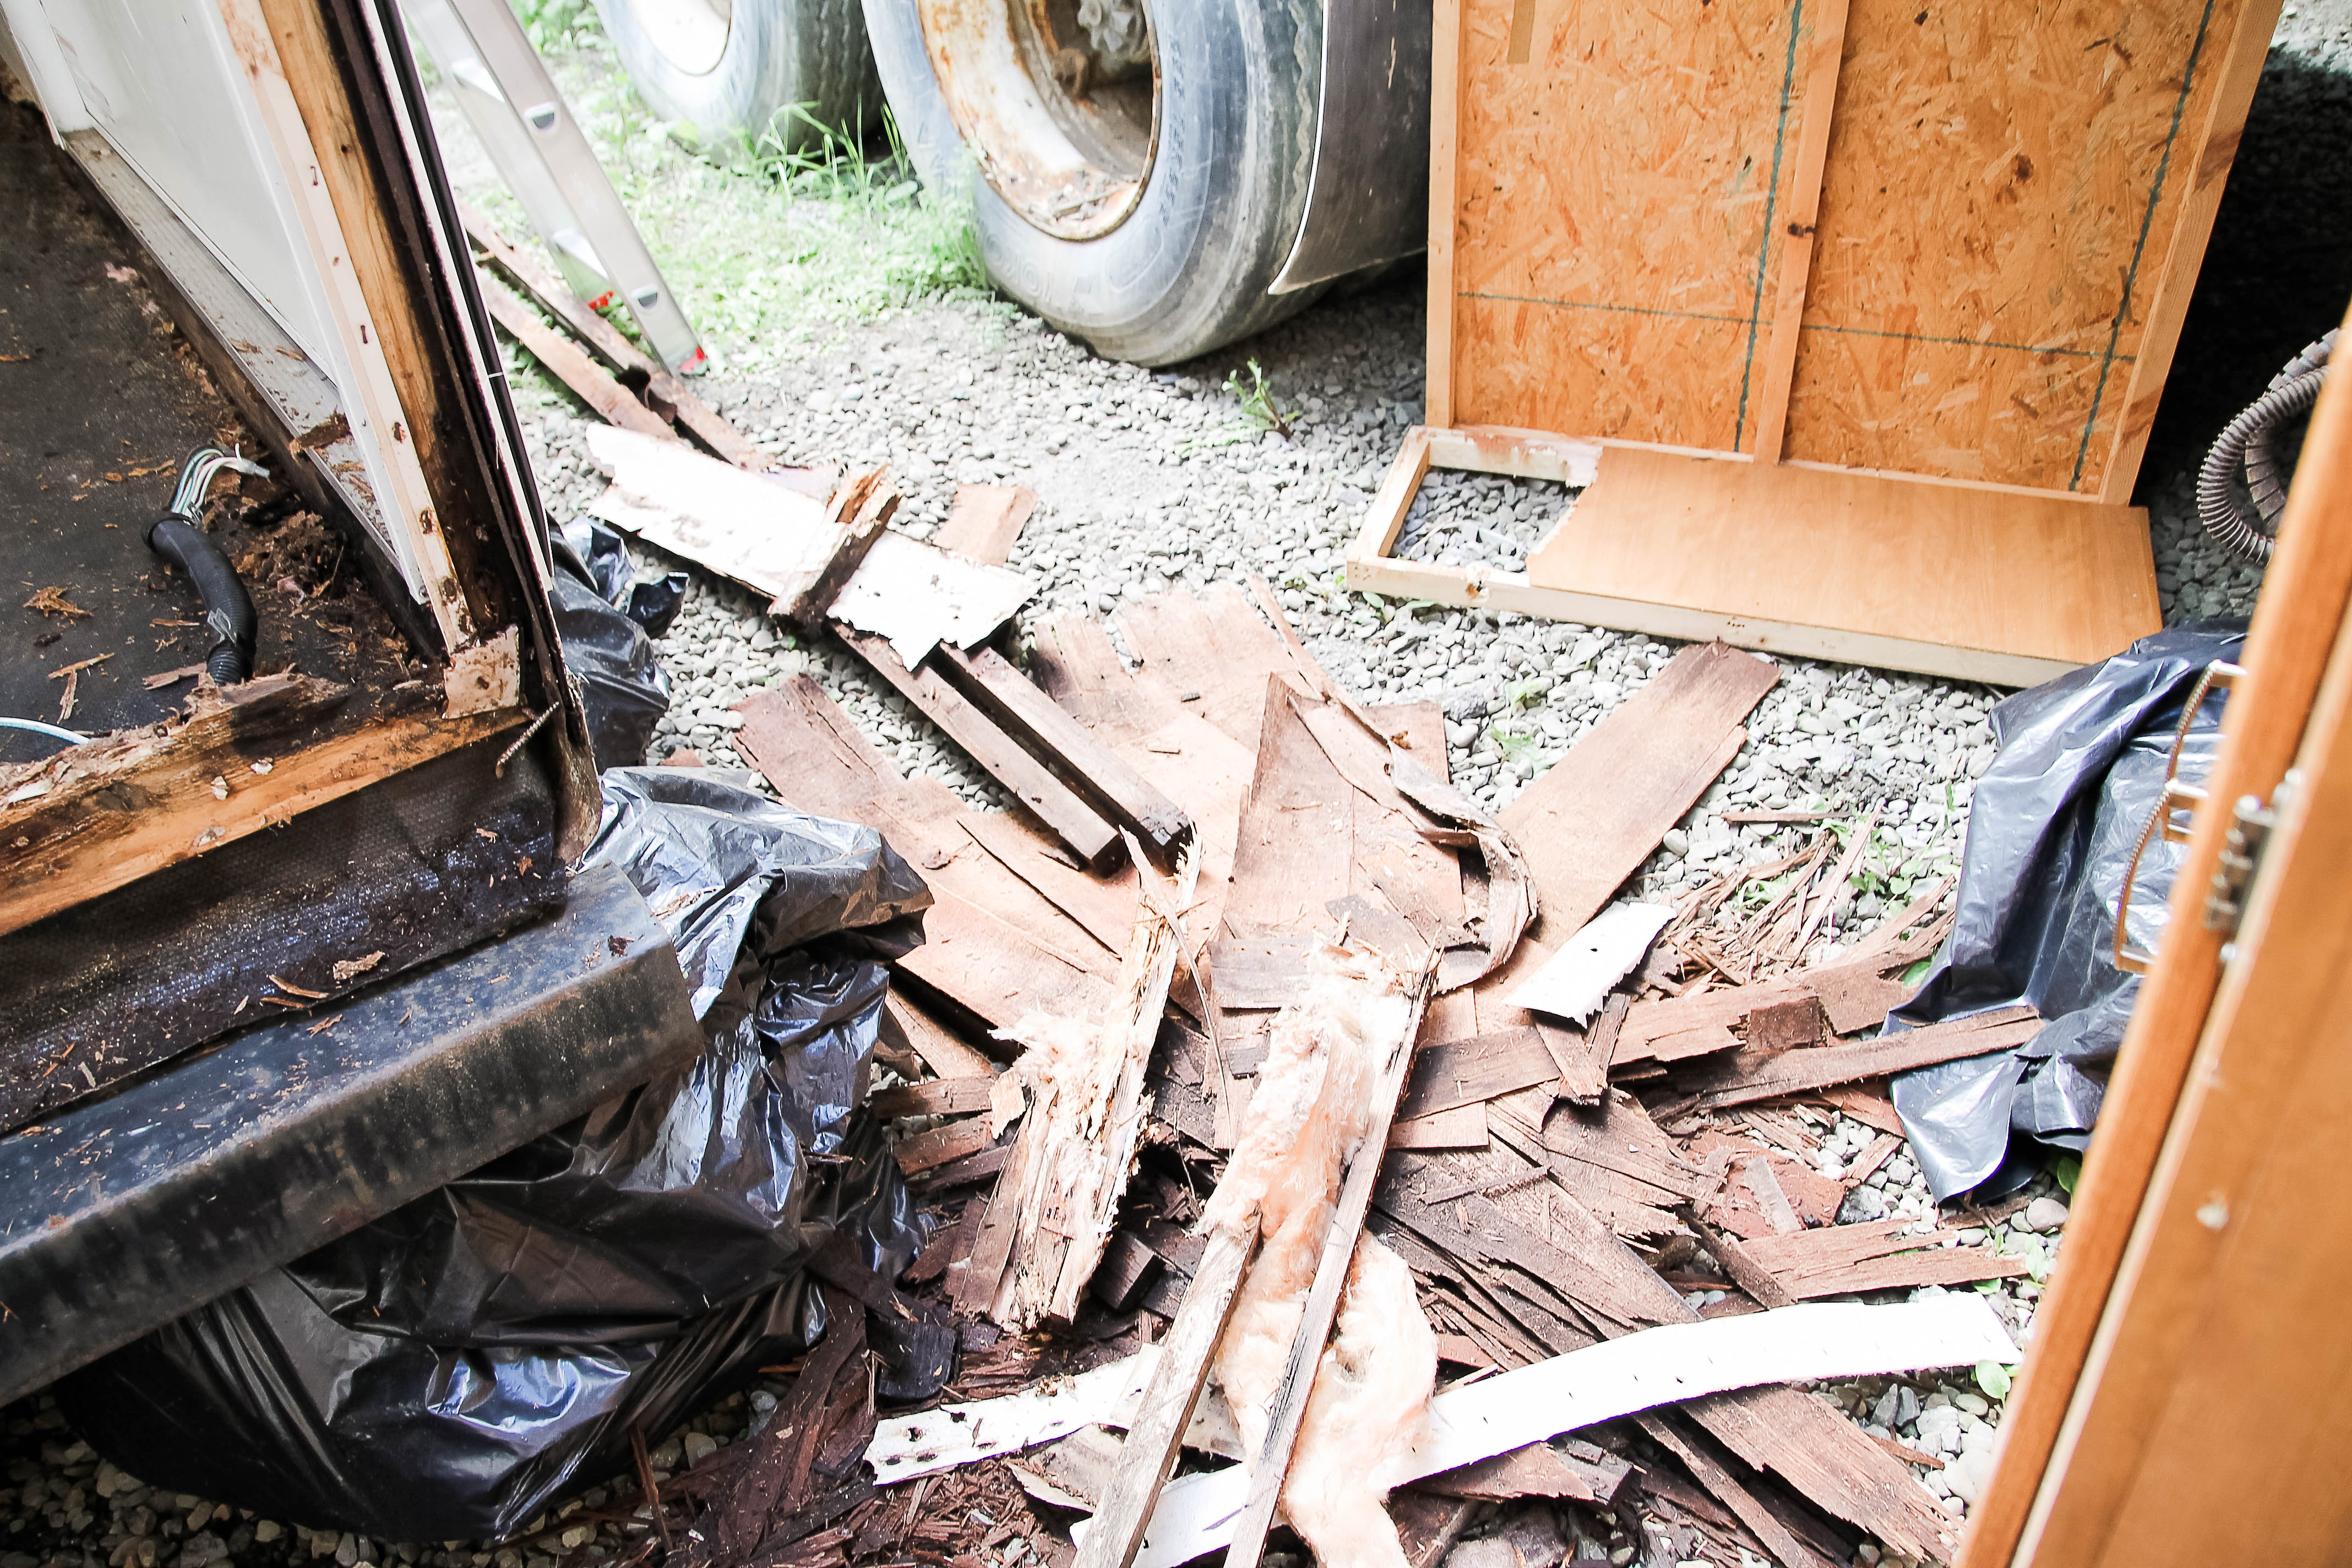
We are becoming experts at creating garbage!
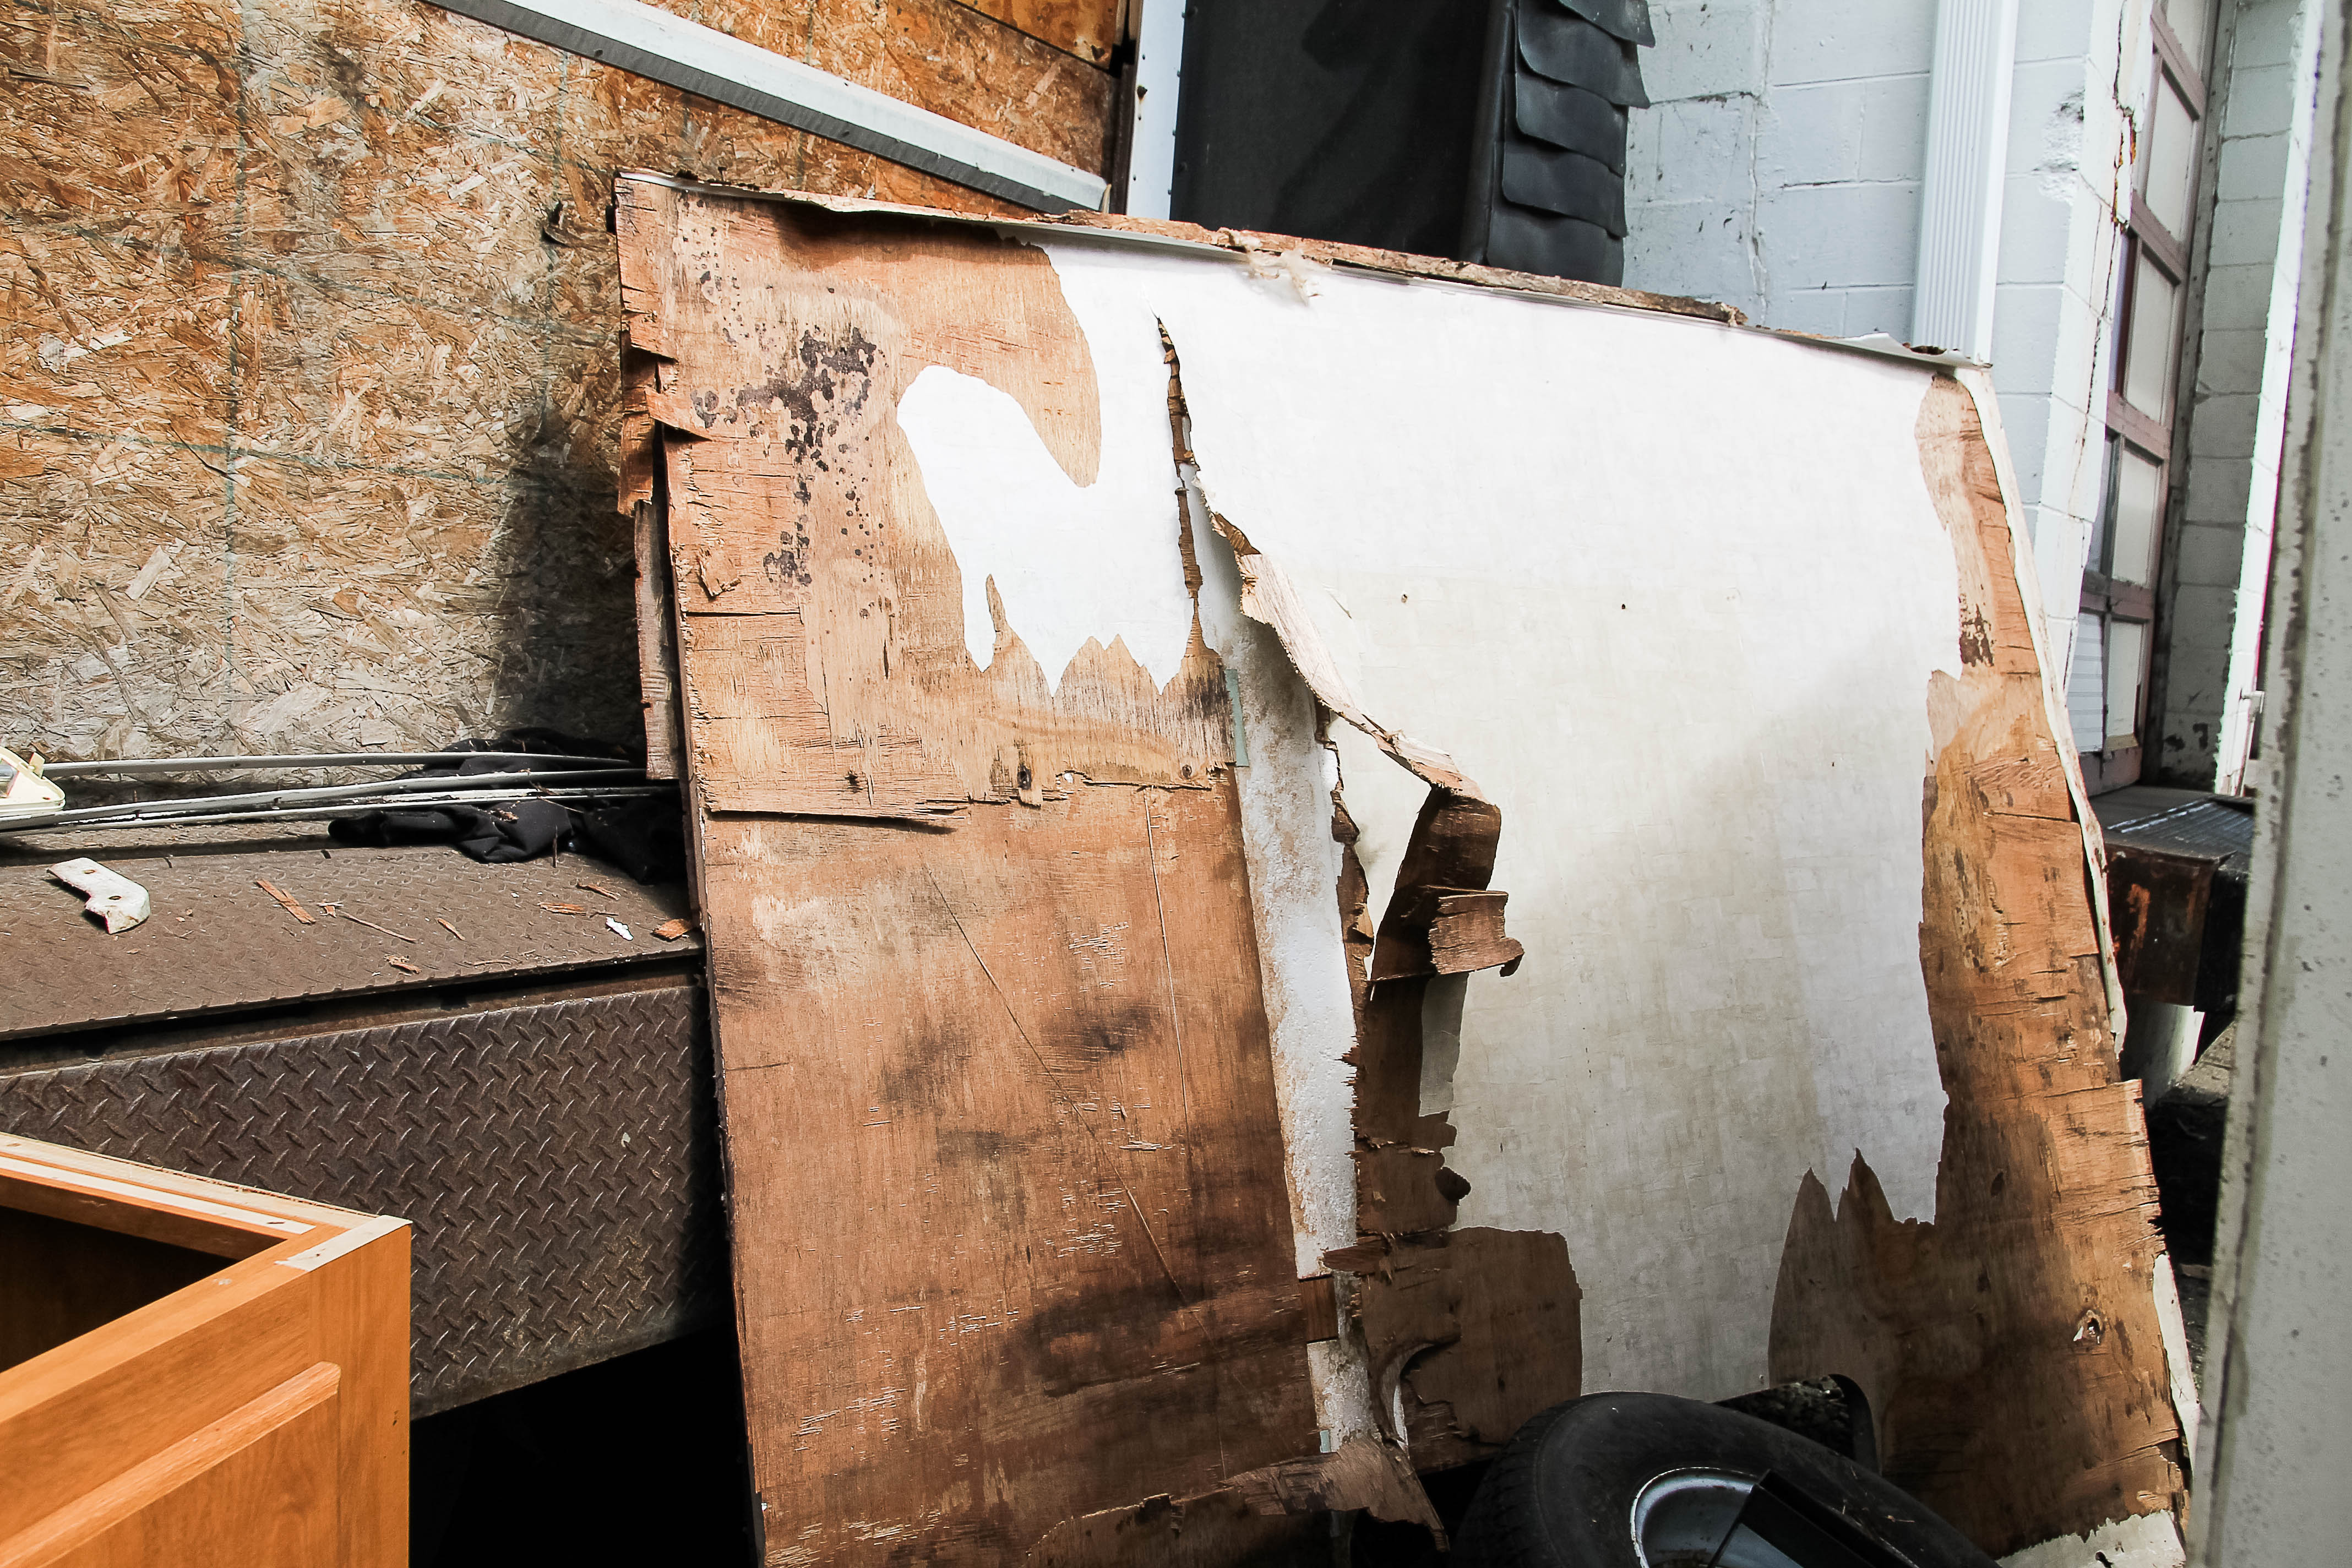
The back wall basically came out in one piece.
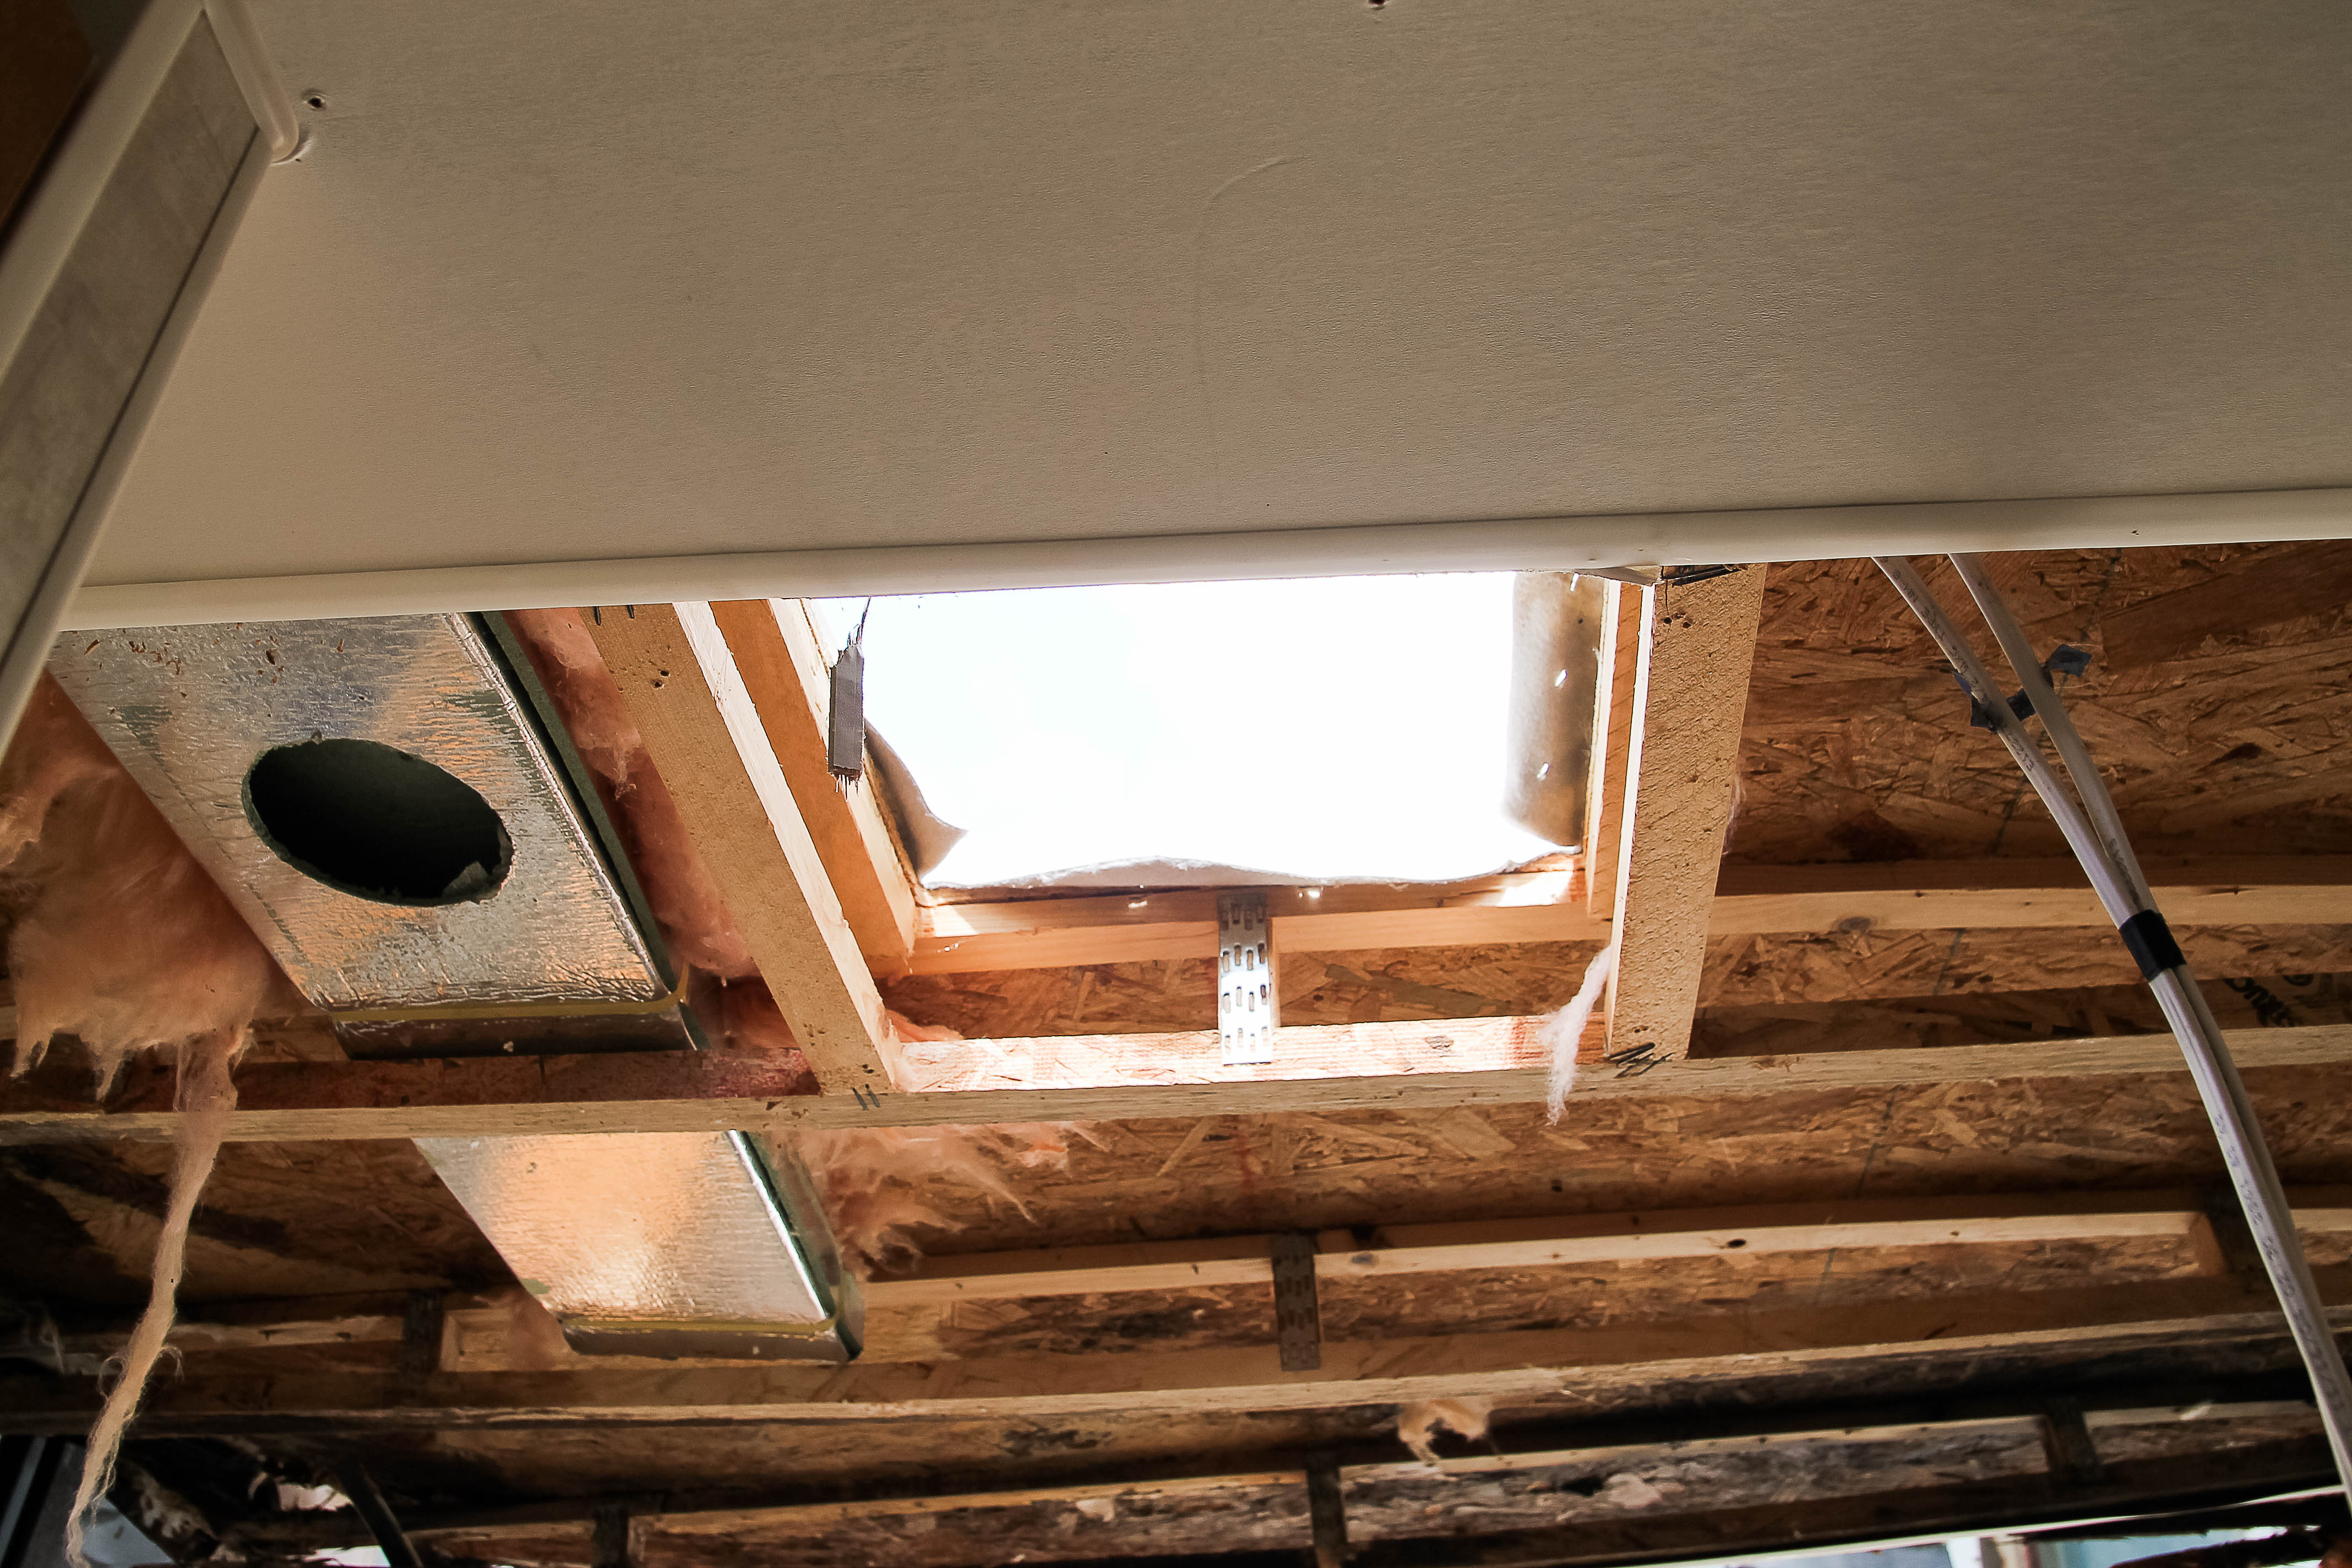
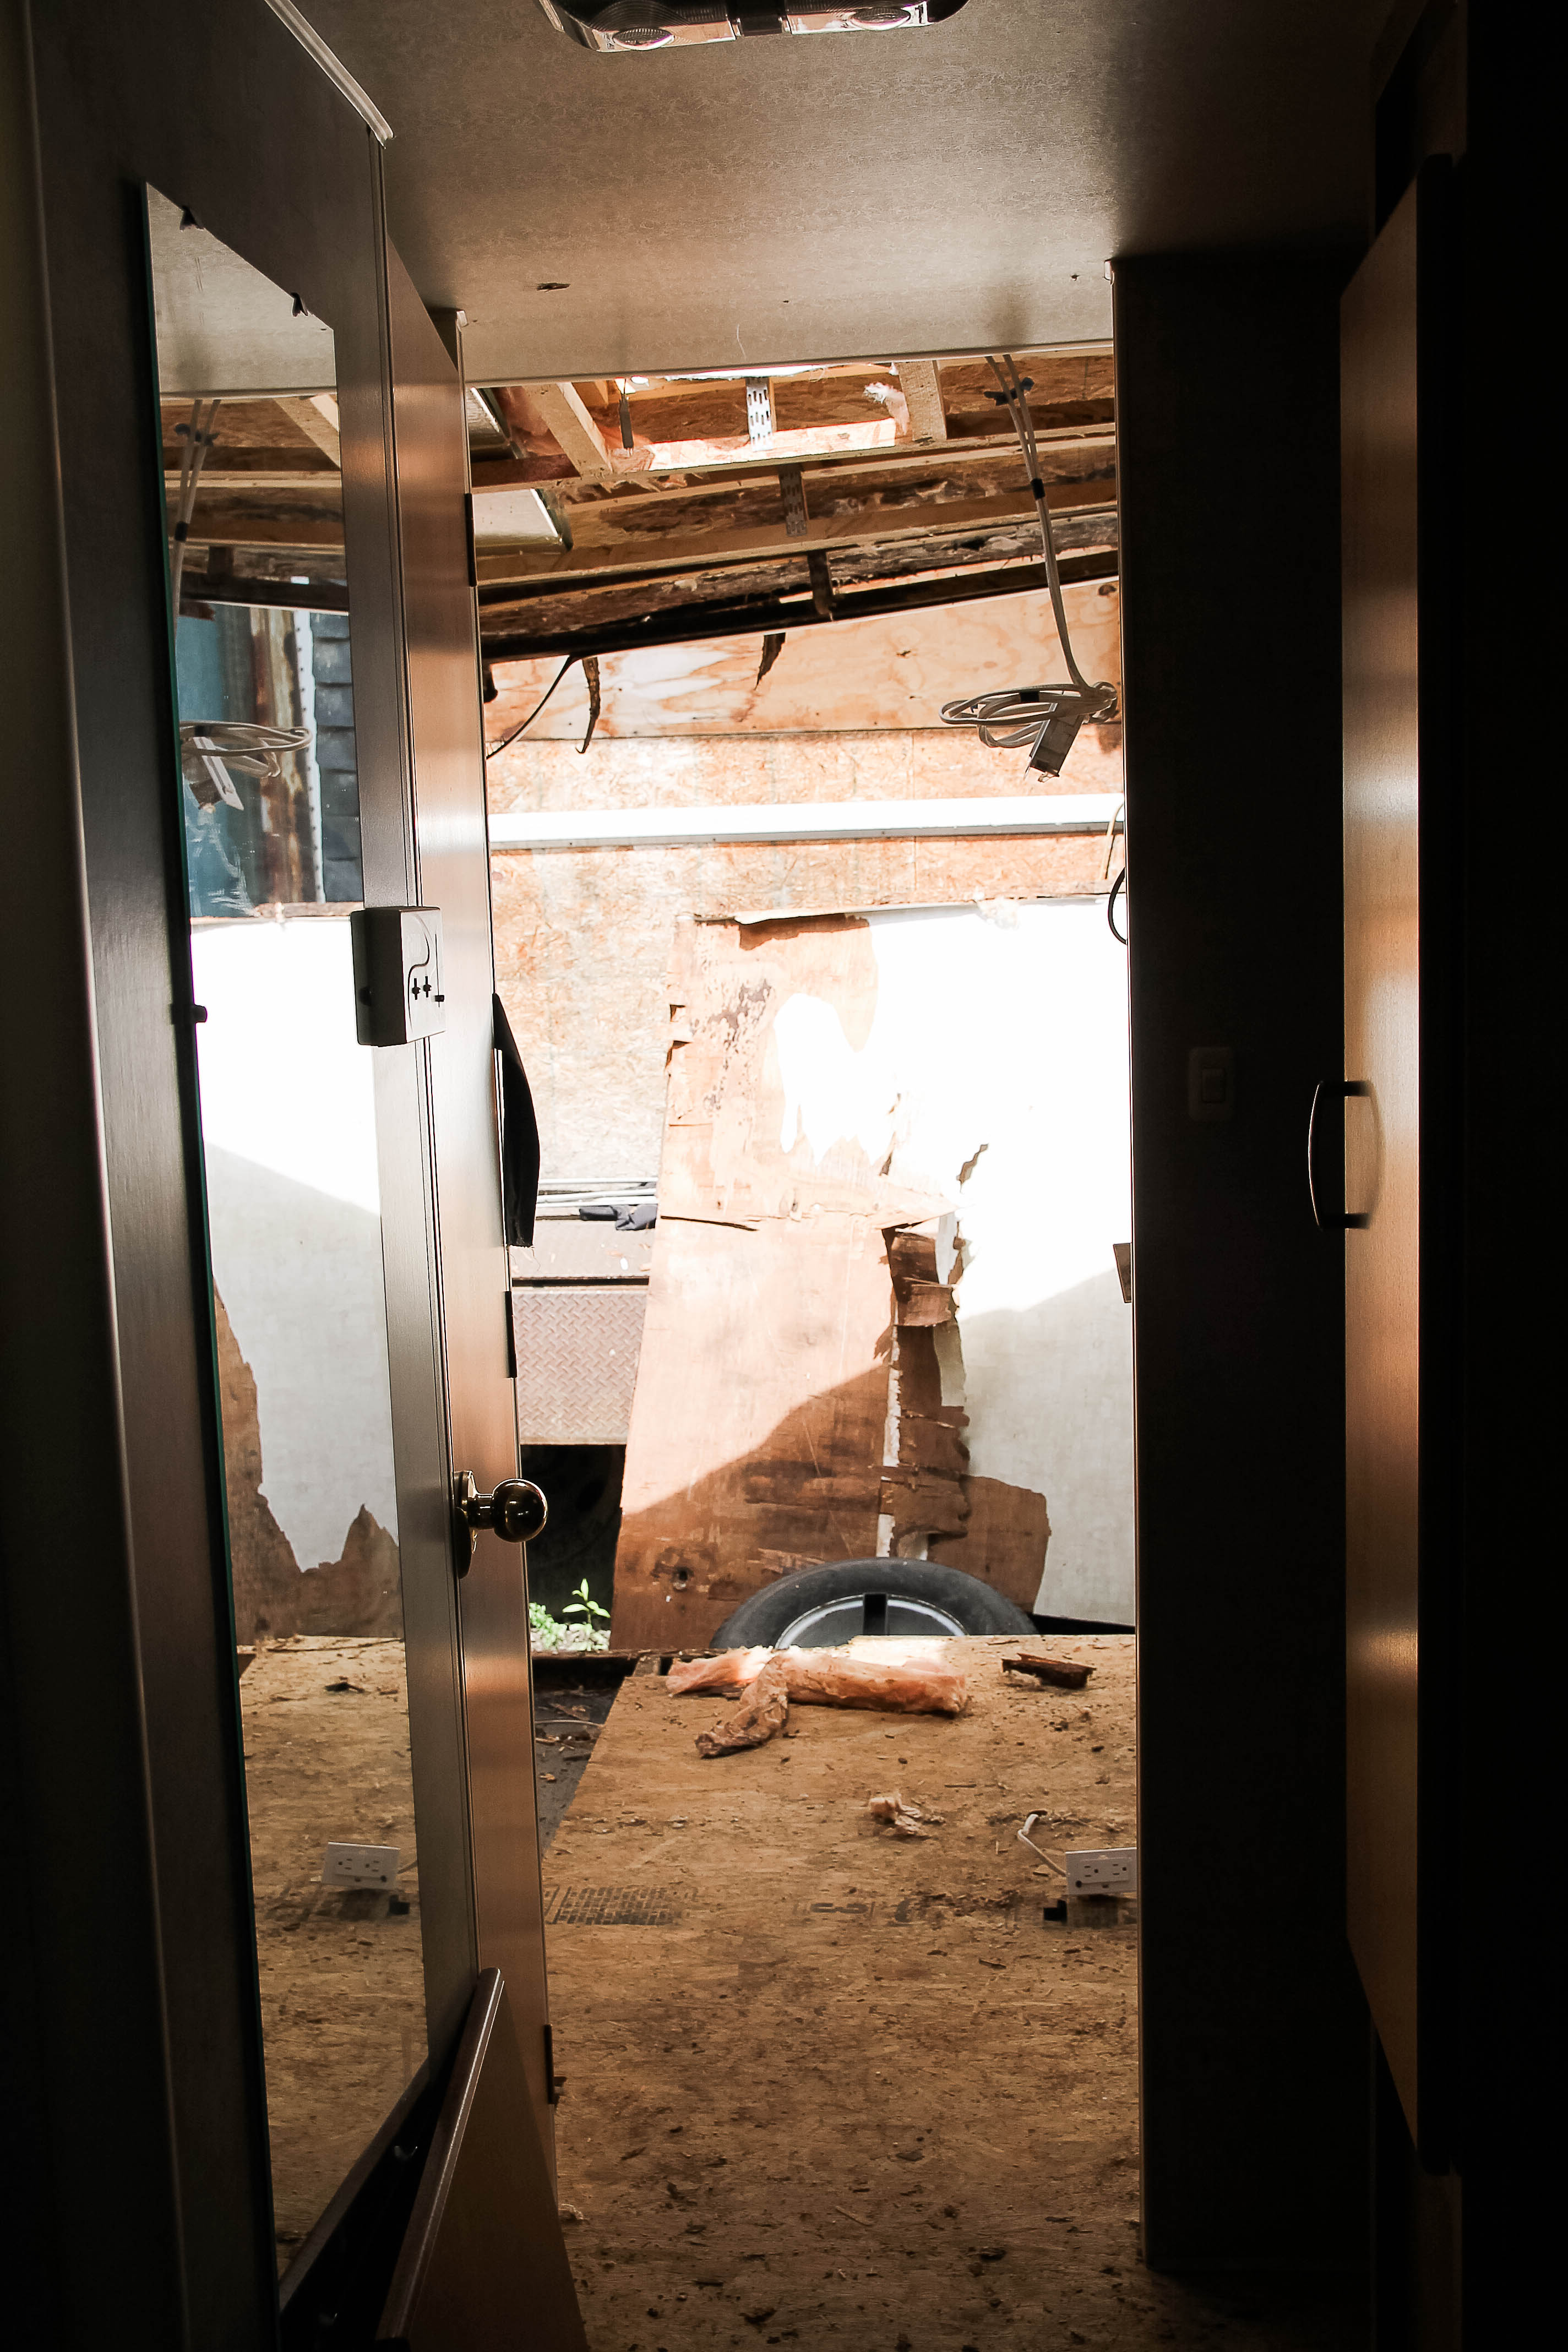
We decided once we got into rebuilding that we did not need this skylight anymore. But I’m getting ahead of myself again.
With all the bad rafters and damaged plywood, the only way to fix the roof was for it all to come down. So that’s what we did. We tried to save the rubber roof but the glue was too strong and we ended up just having to cut it off with the bad roof. If you’re attempting a project similar to ours, don’t expect to save the existing roof. (In hindsight now knowing how these types of roofs are put on, this should’ve been obvious from the get go. Live and learn I guess!)

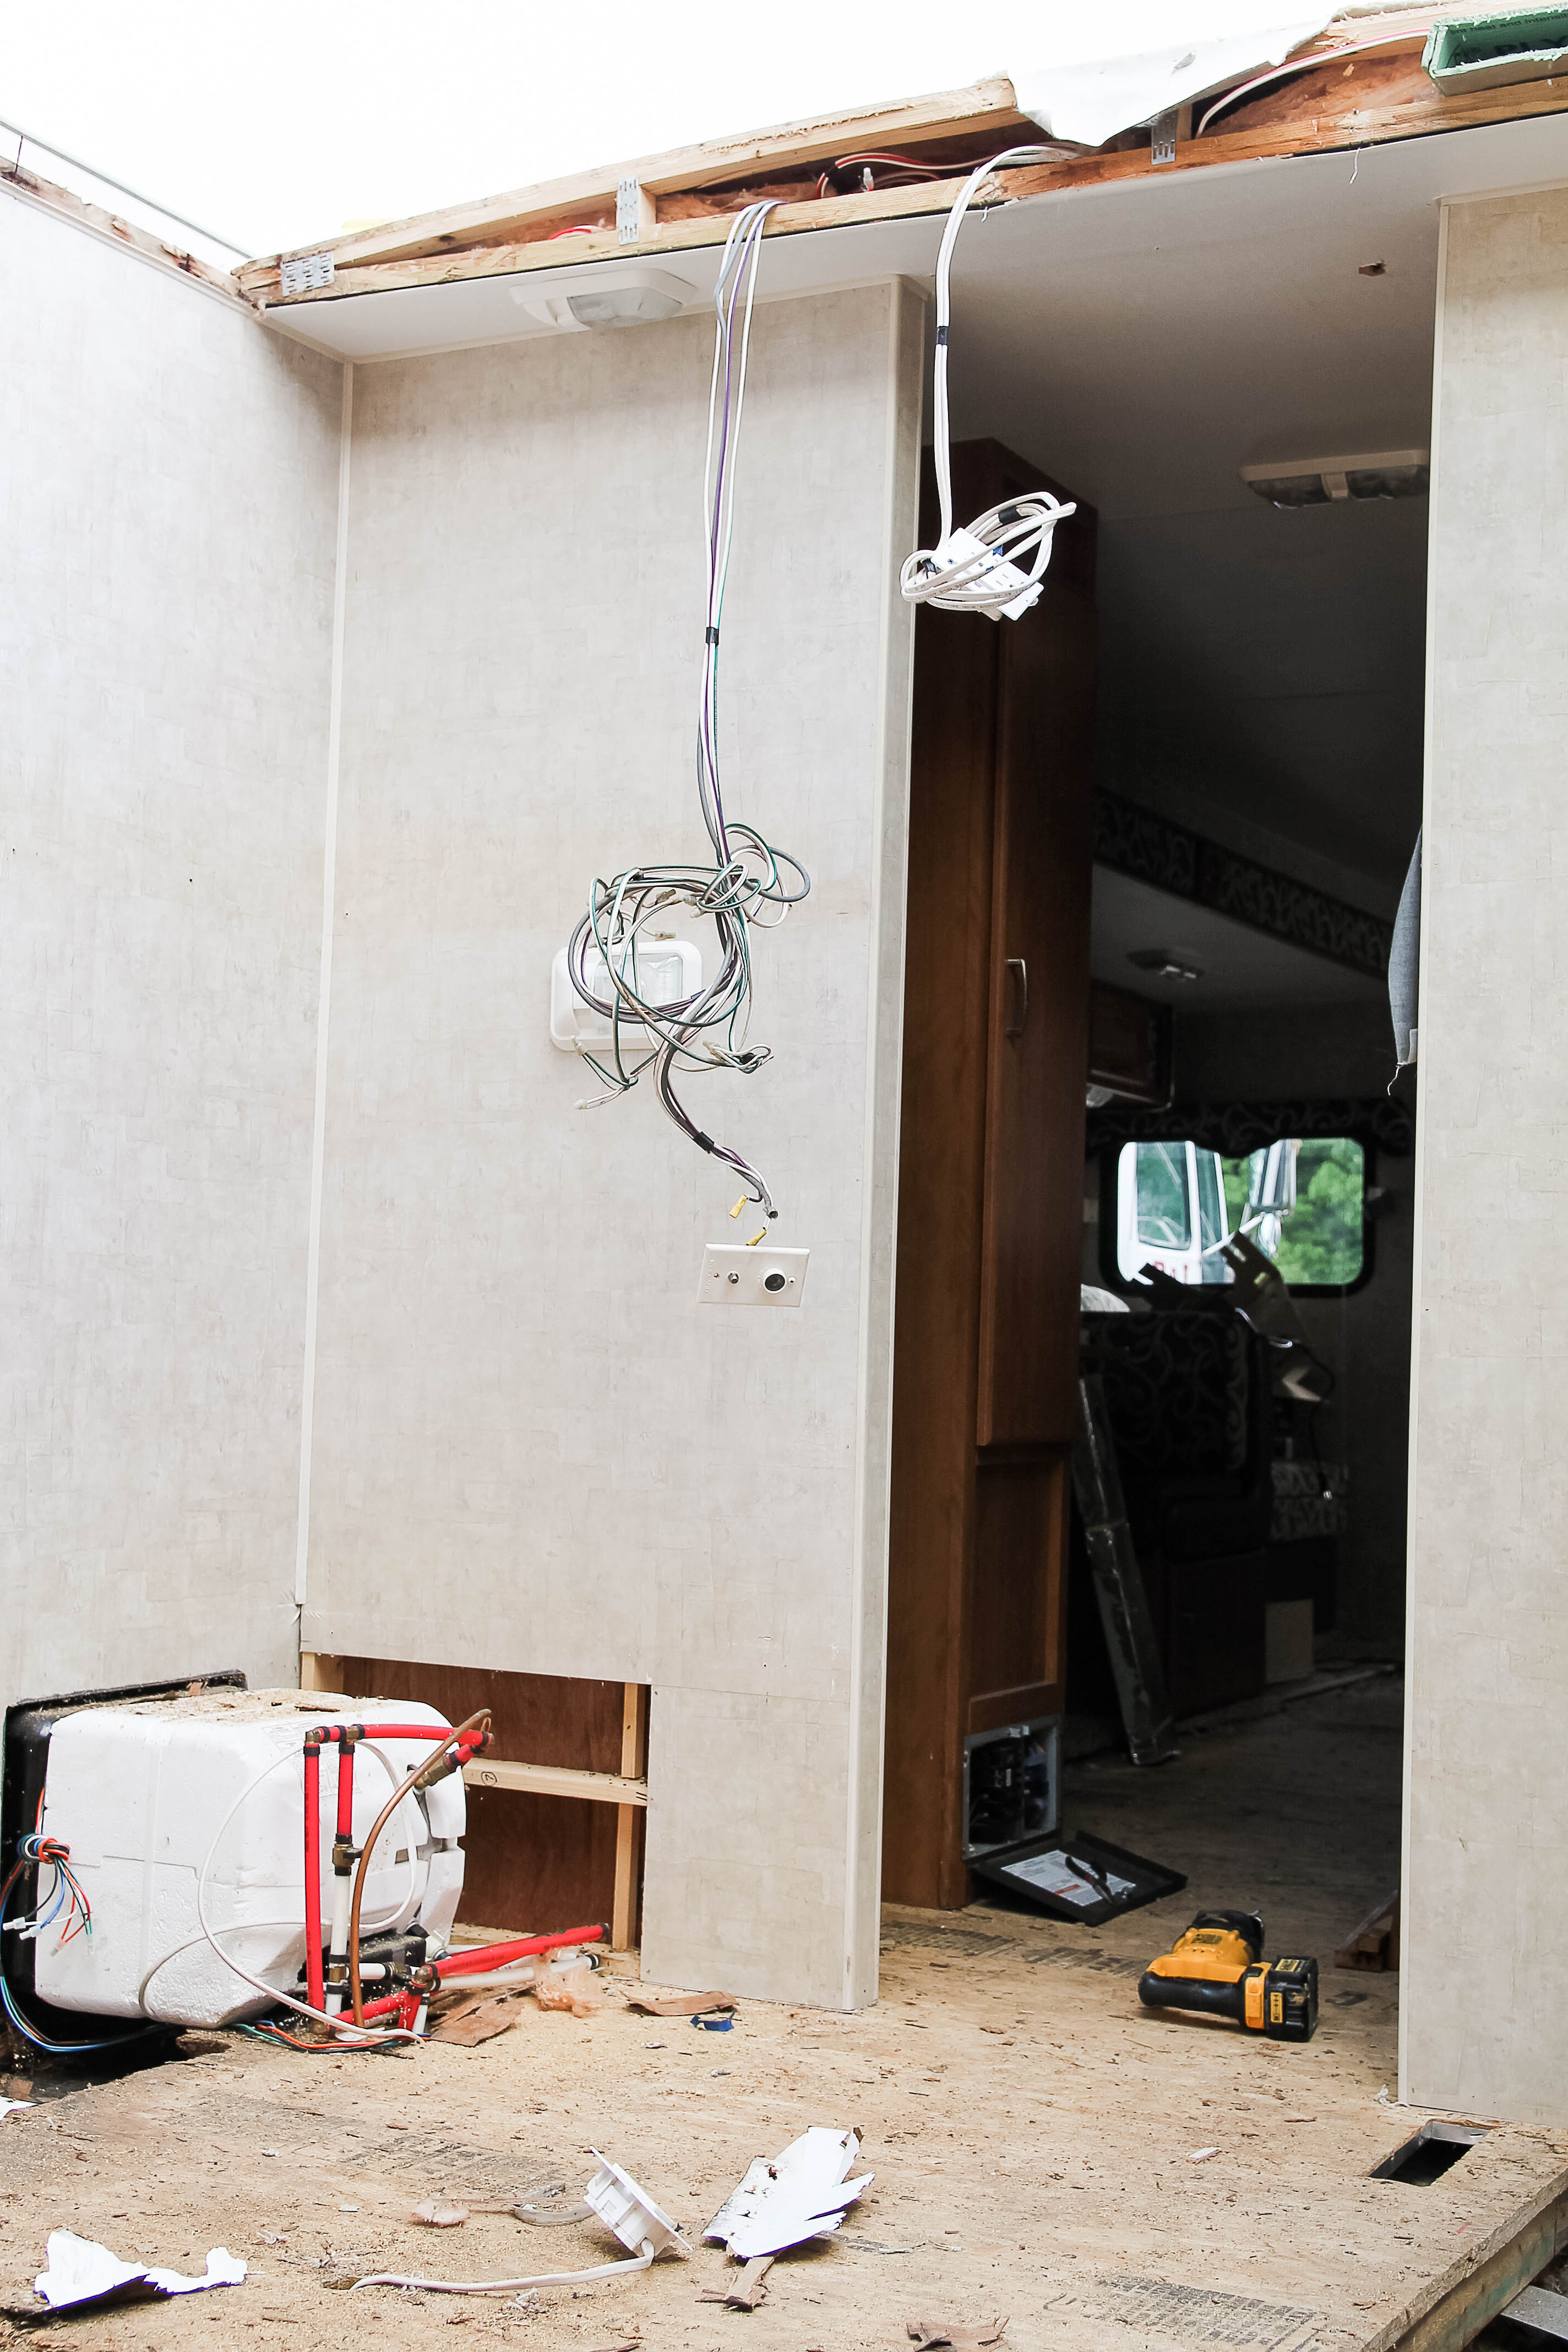
These are the wires for the running lights on the exterior of the camper and a cable wire. The cable wire will most likely not be reused (Tawny said no TV for me in the back room. I guess I’ll have to be happy with one.) The plan for the outlet is to hopefully extend it and put it on the back wall as opposed to its original location in the ceiling.
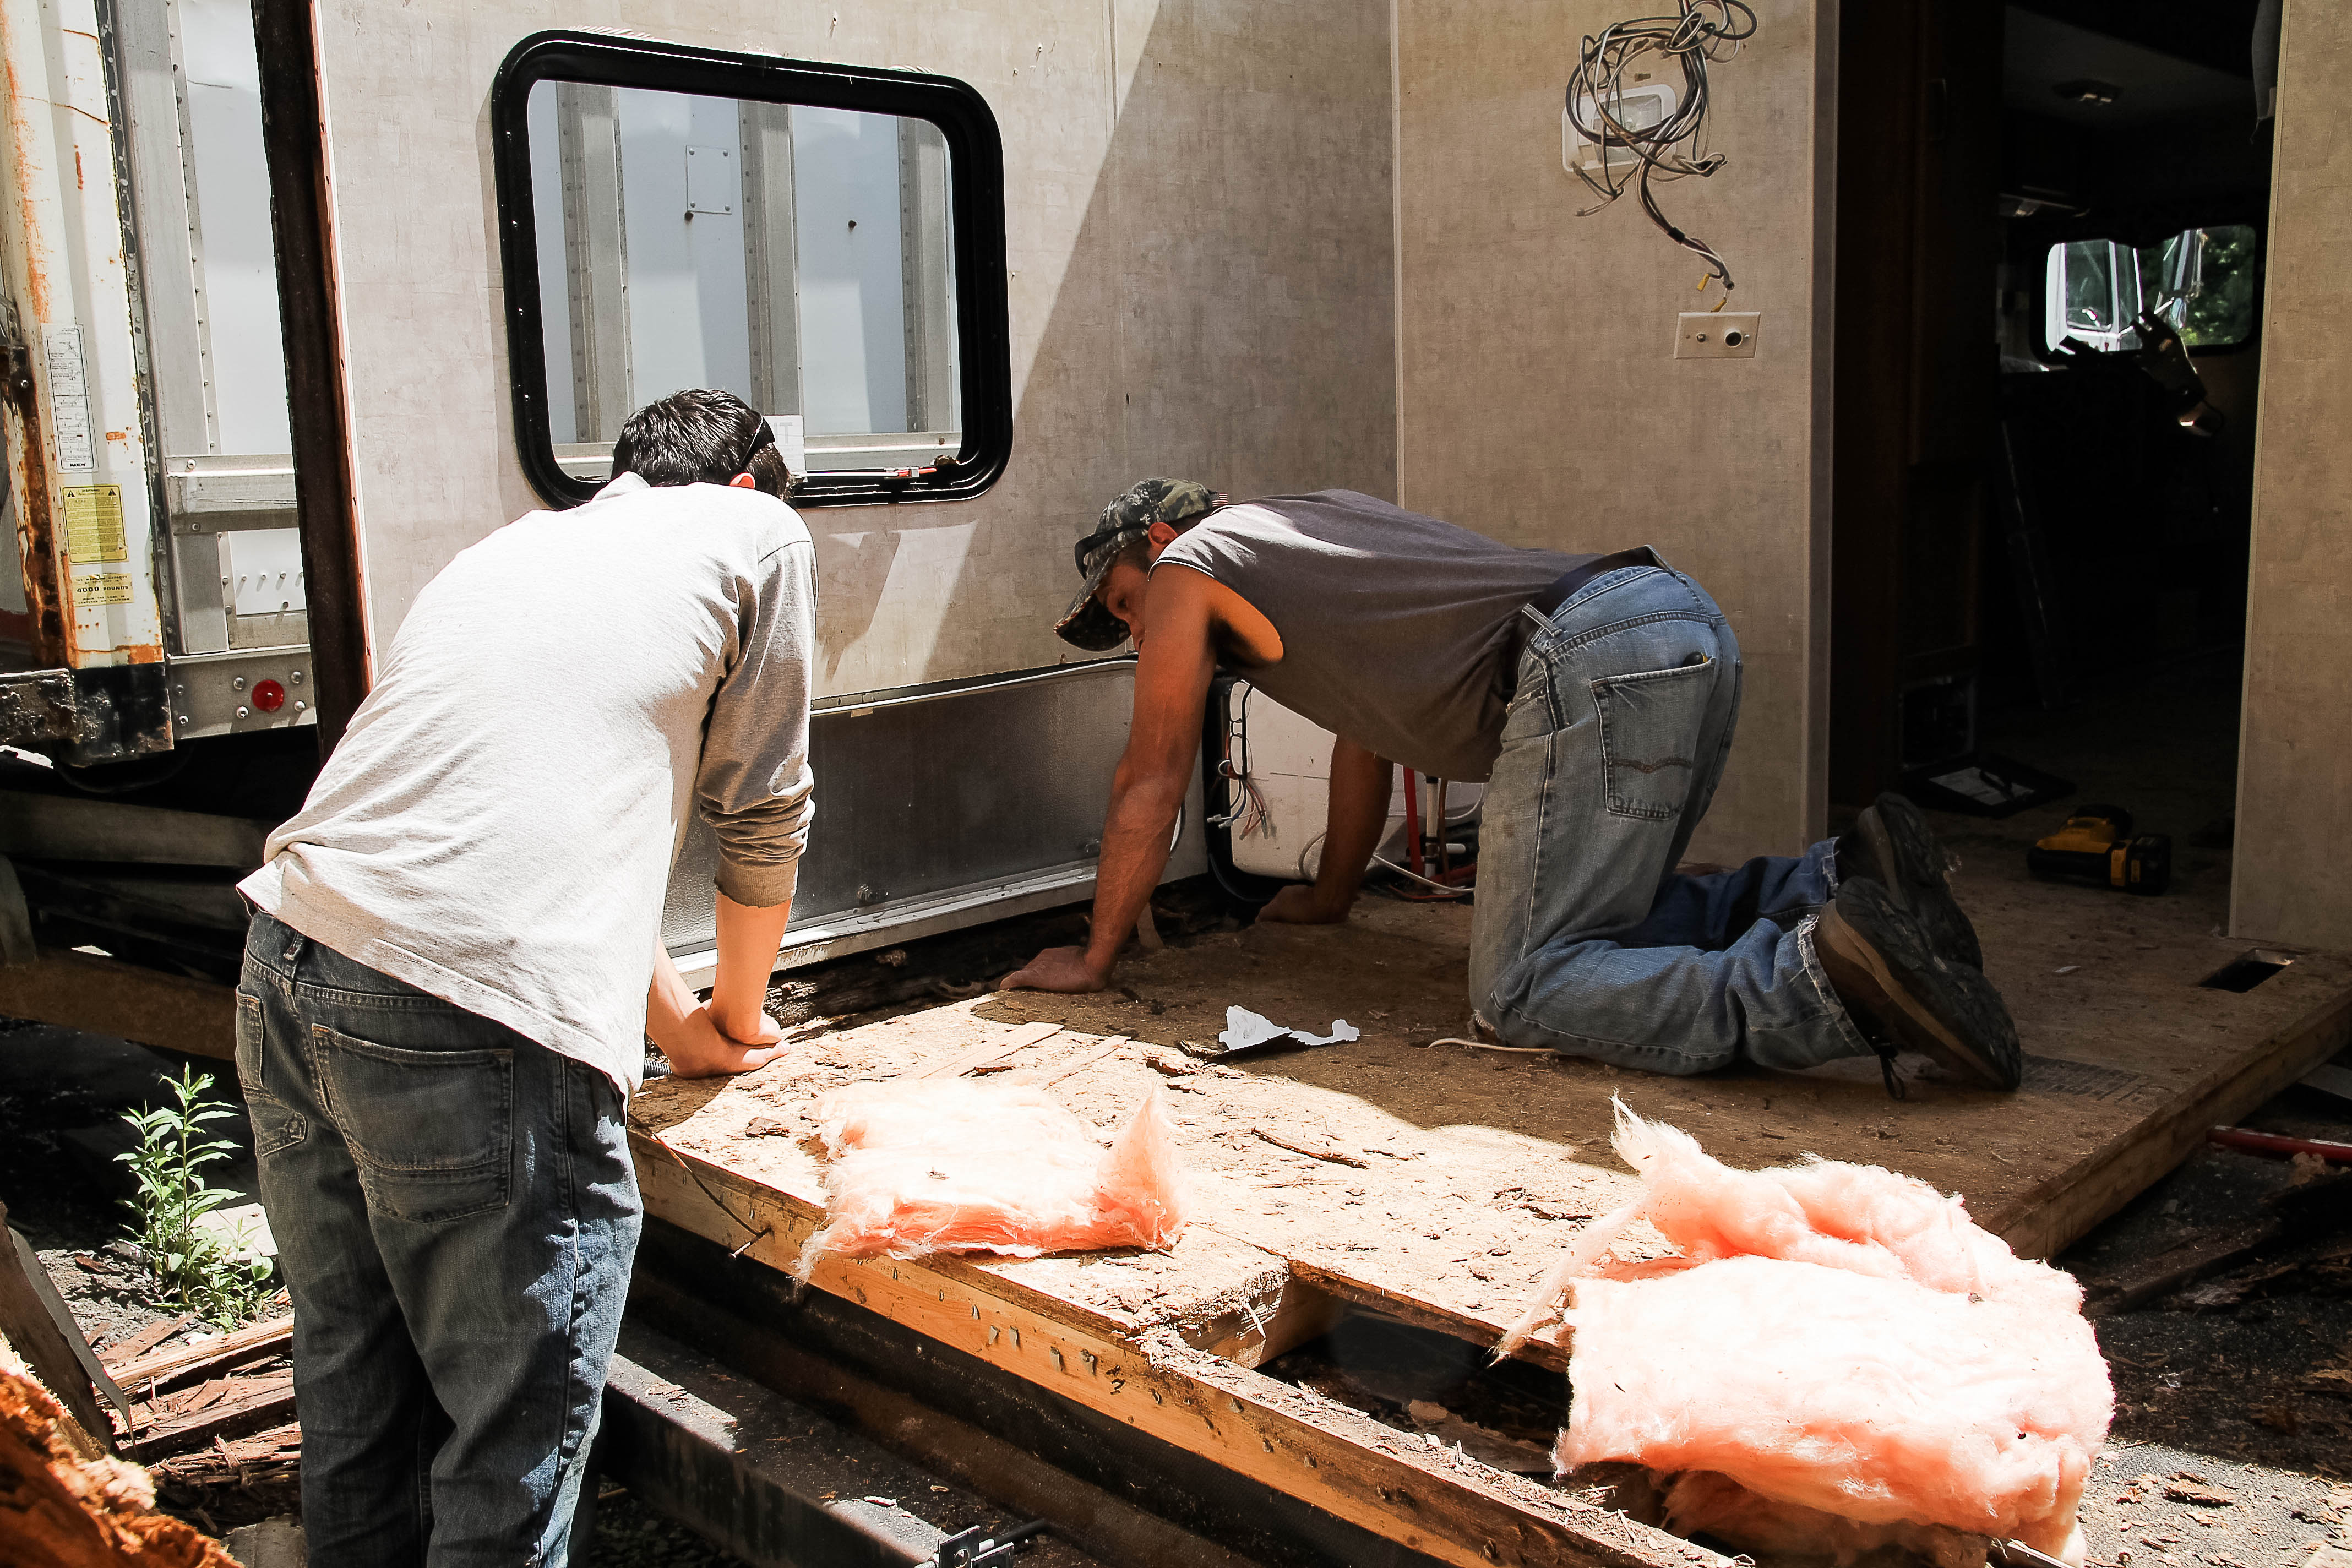
I was extremely thankful for Tawny’s dad helping me! As a general contractor and carpenter by trade, he had a lot of helpful tips and advice for how to fix other parts of the camper.
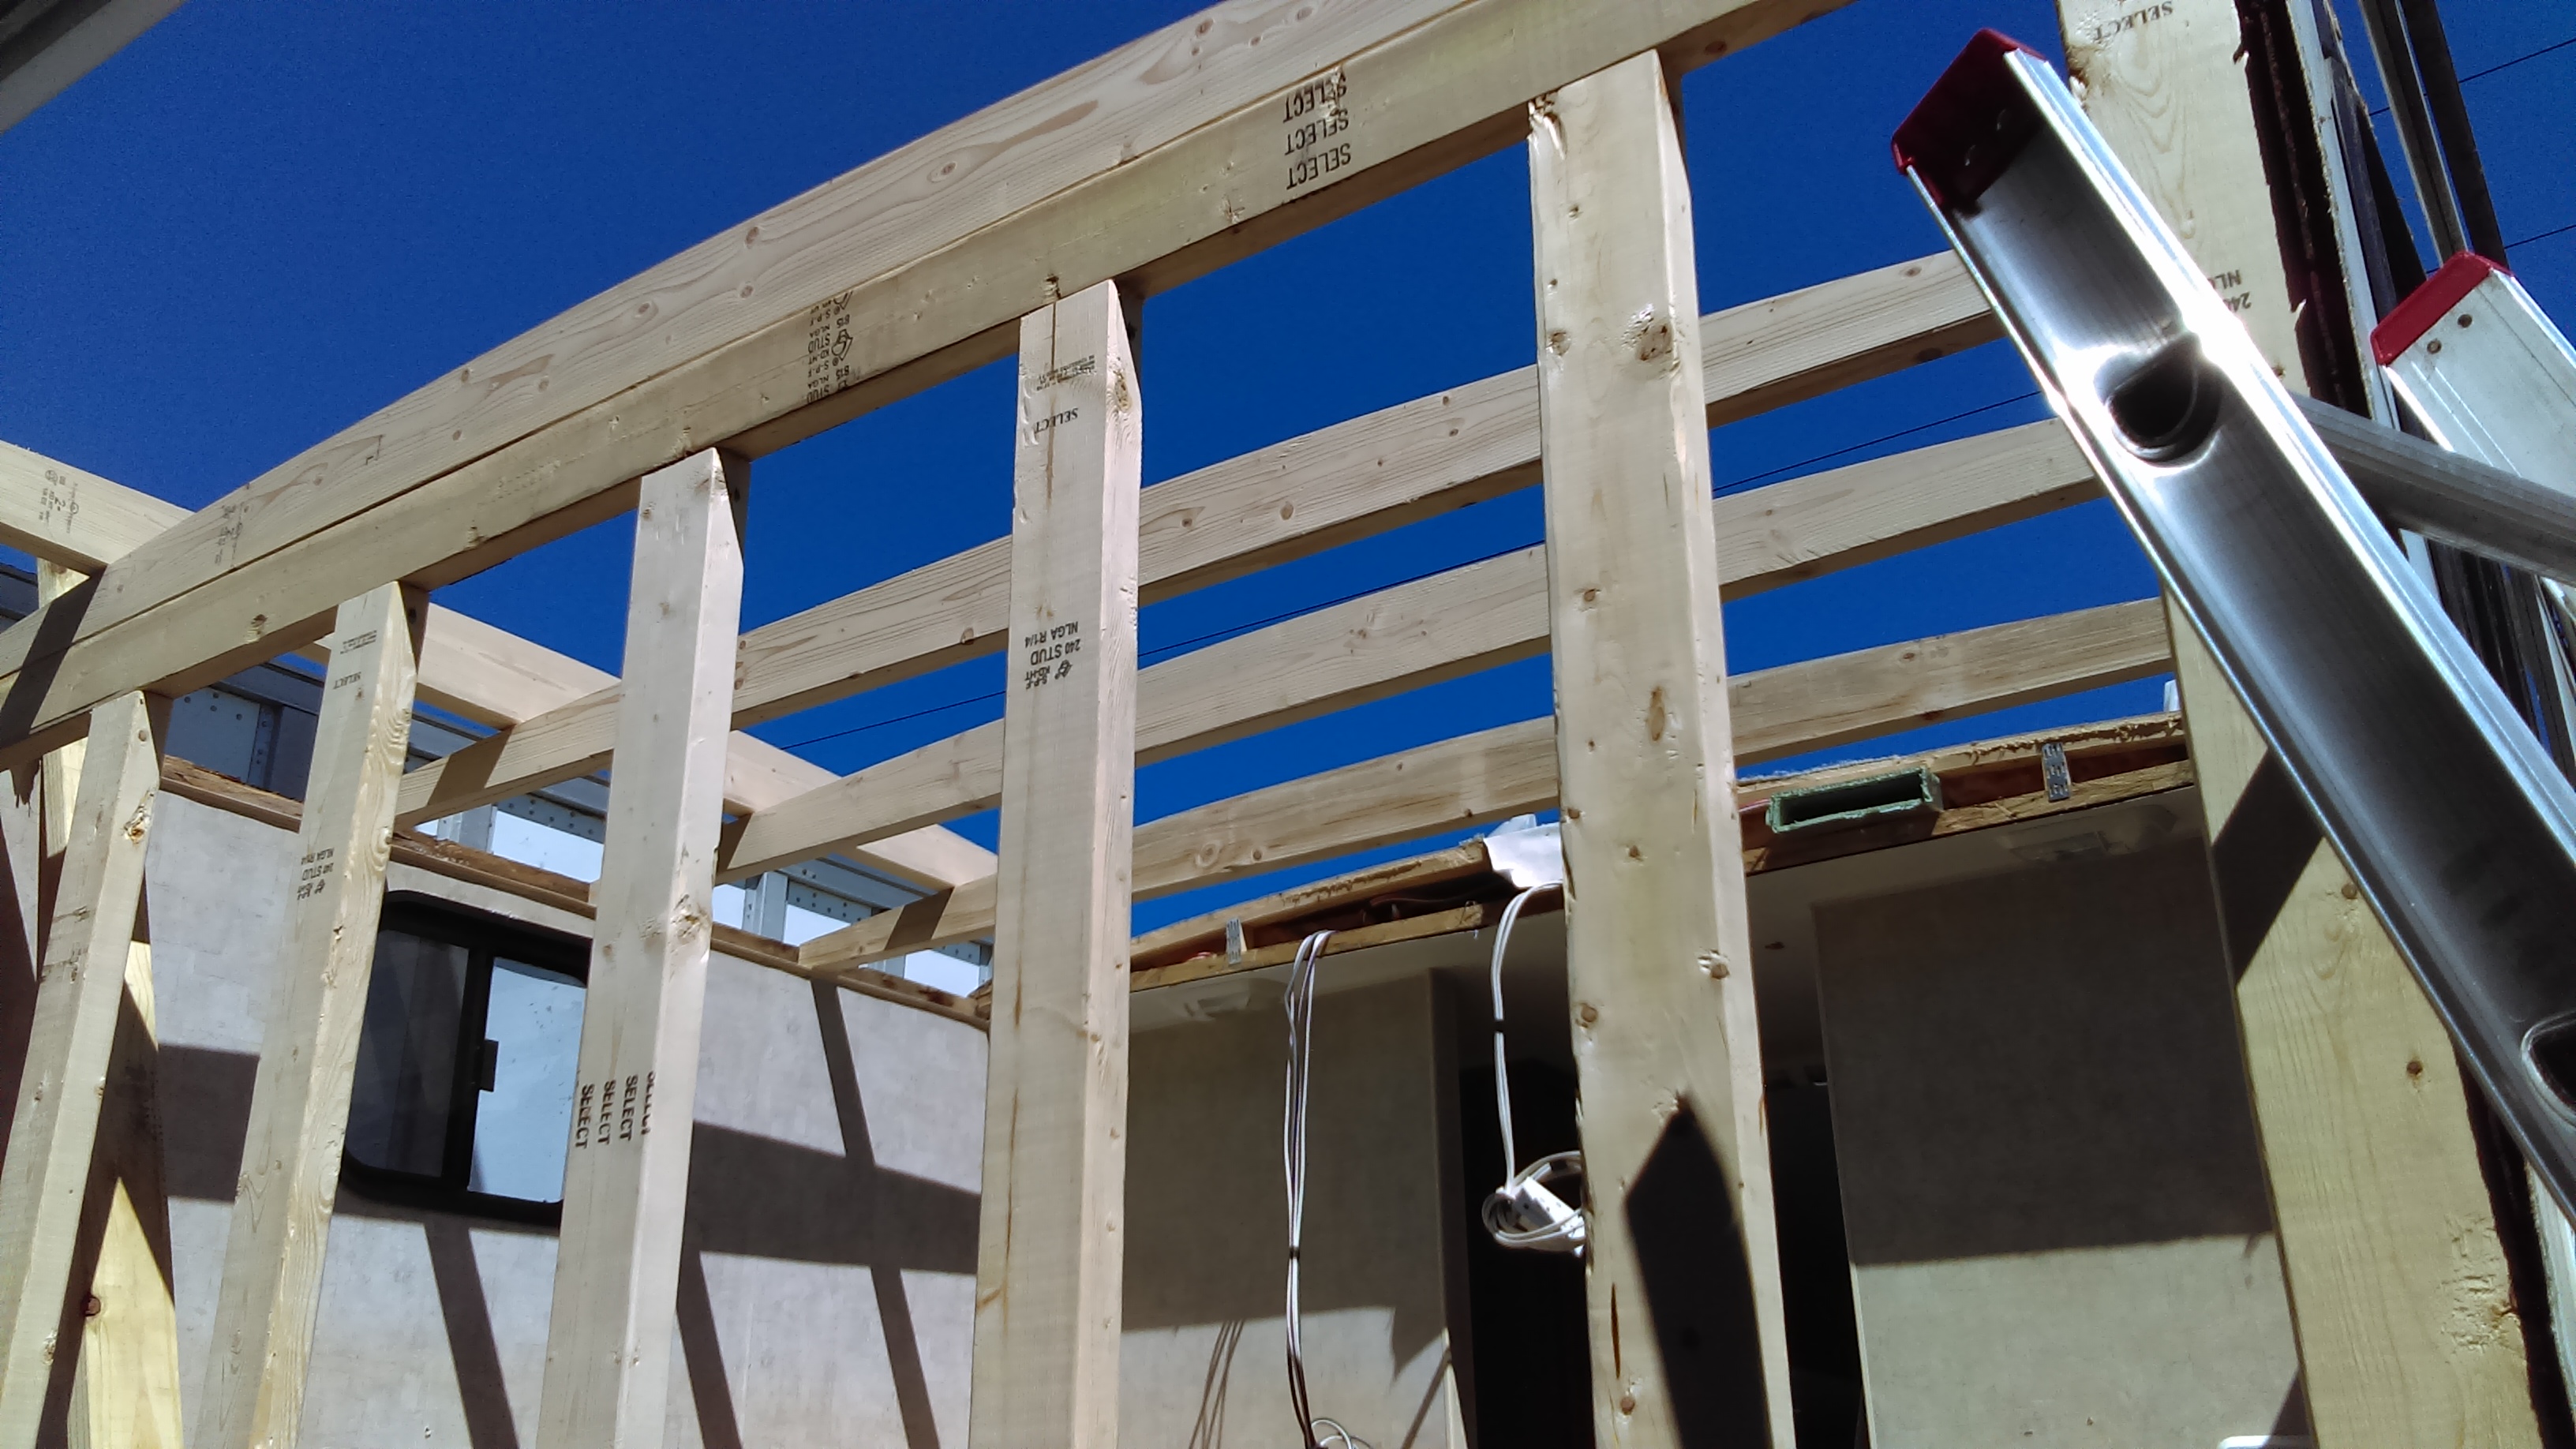
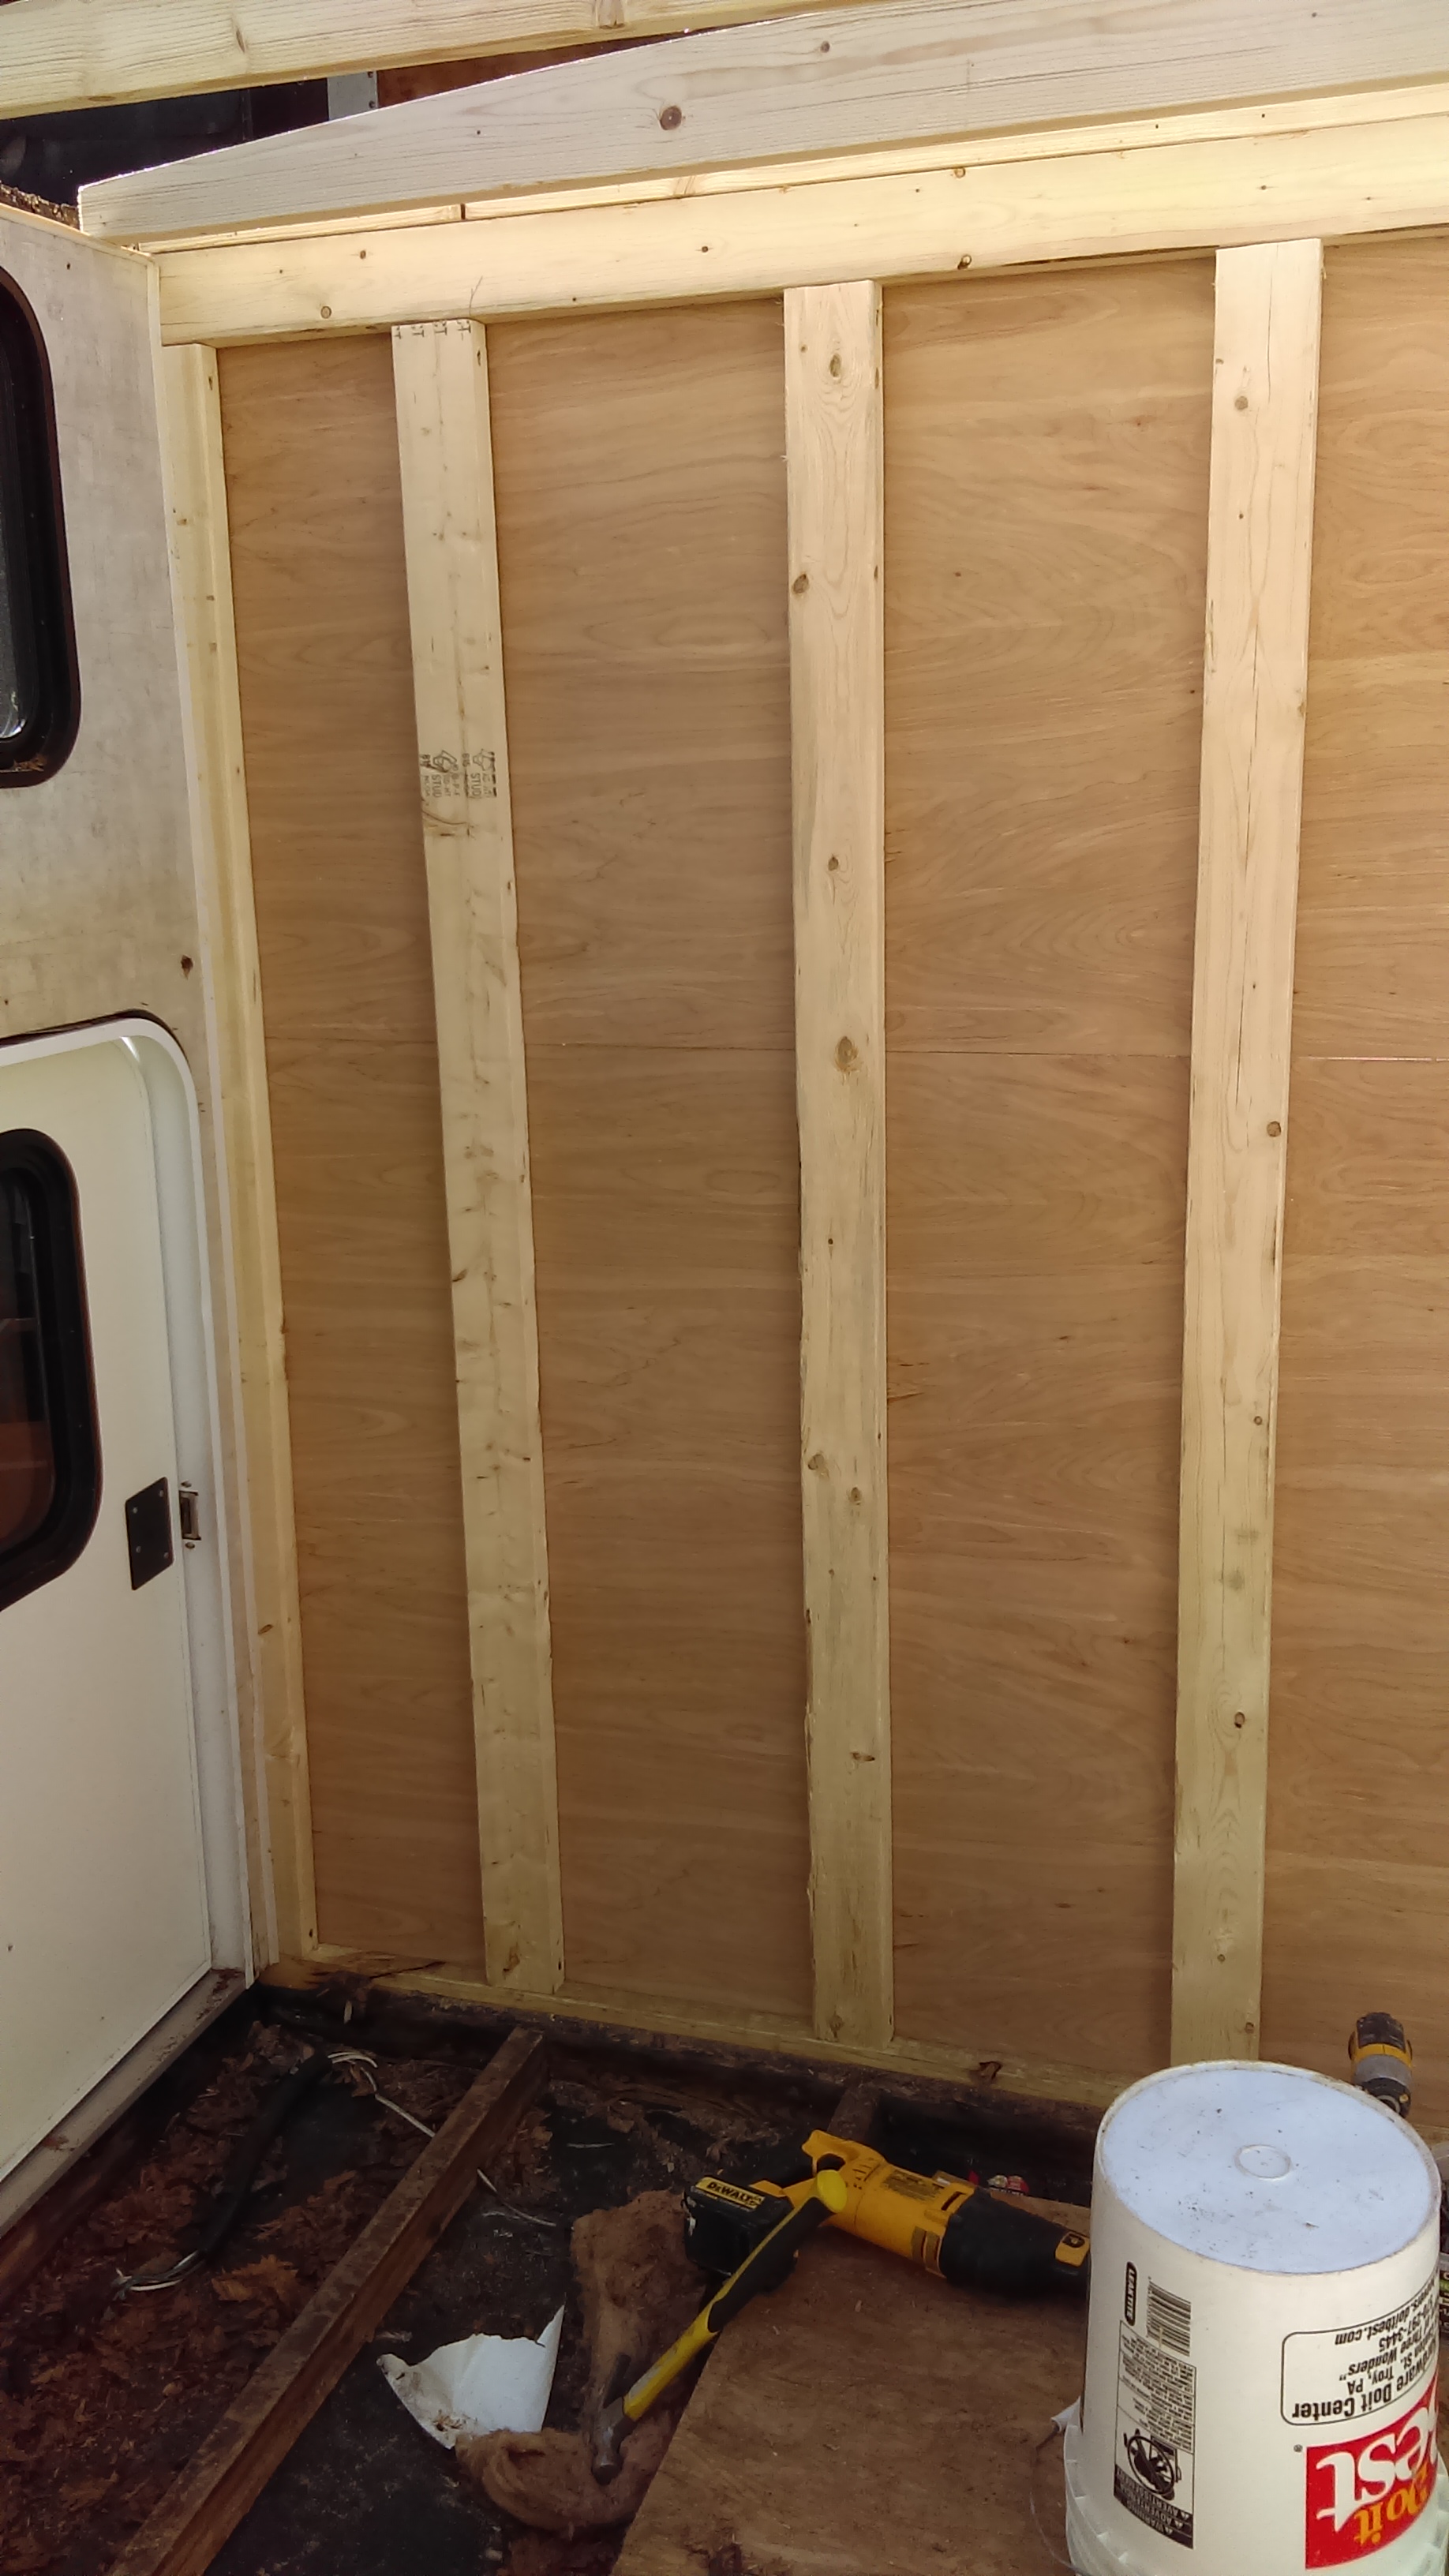
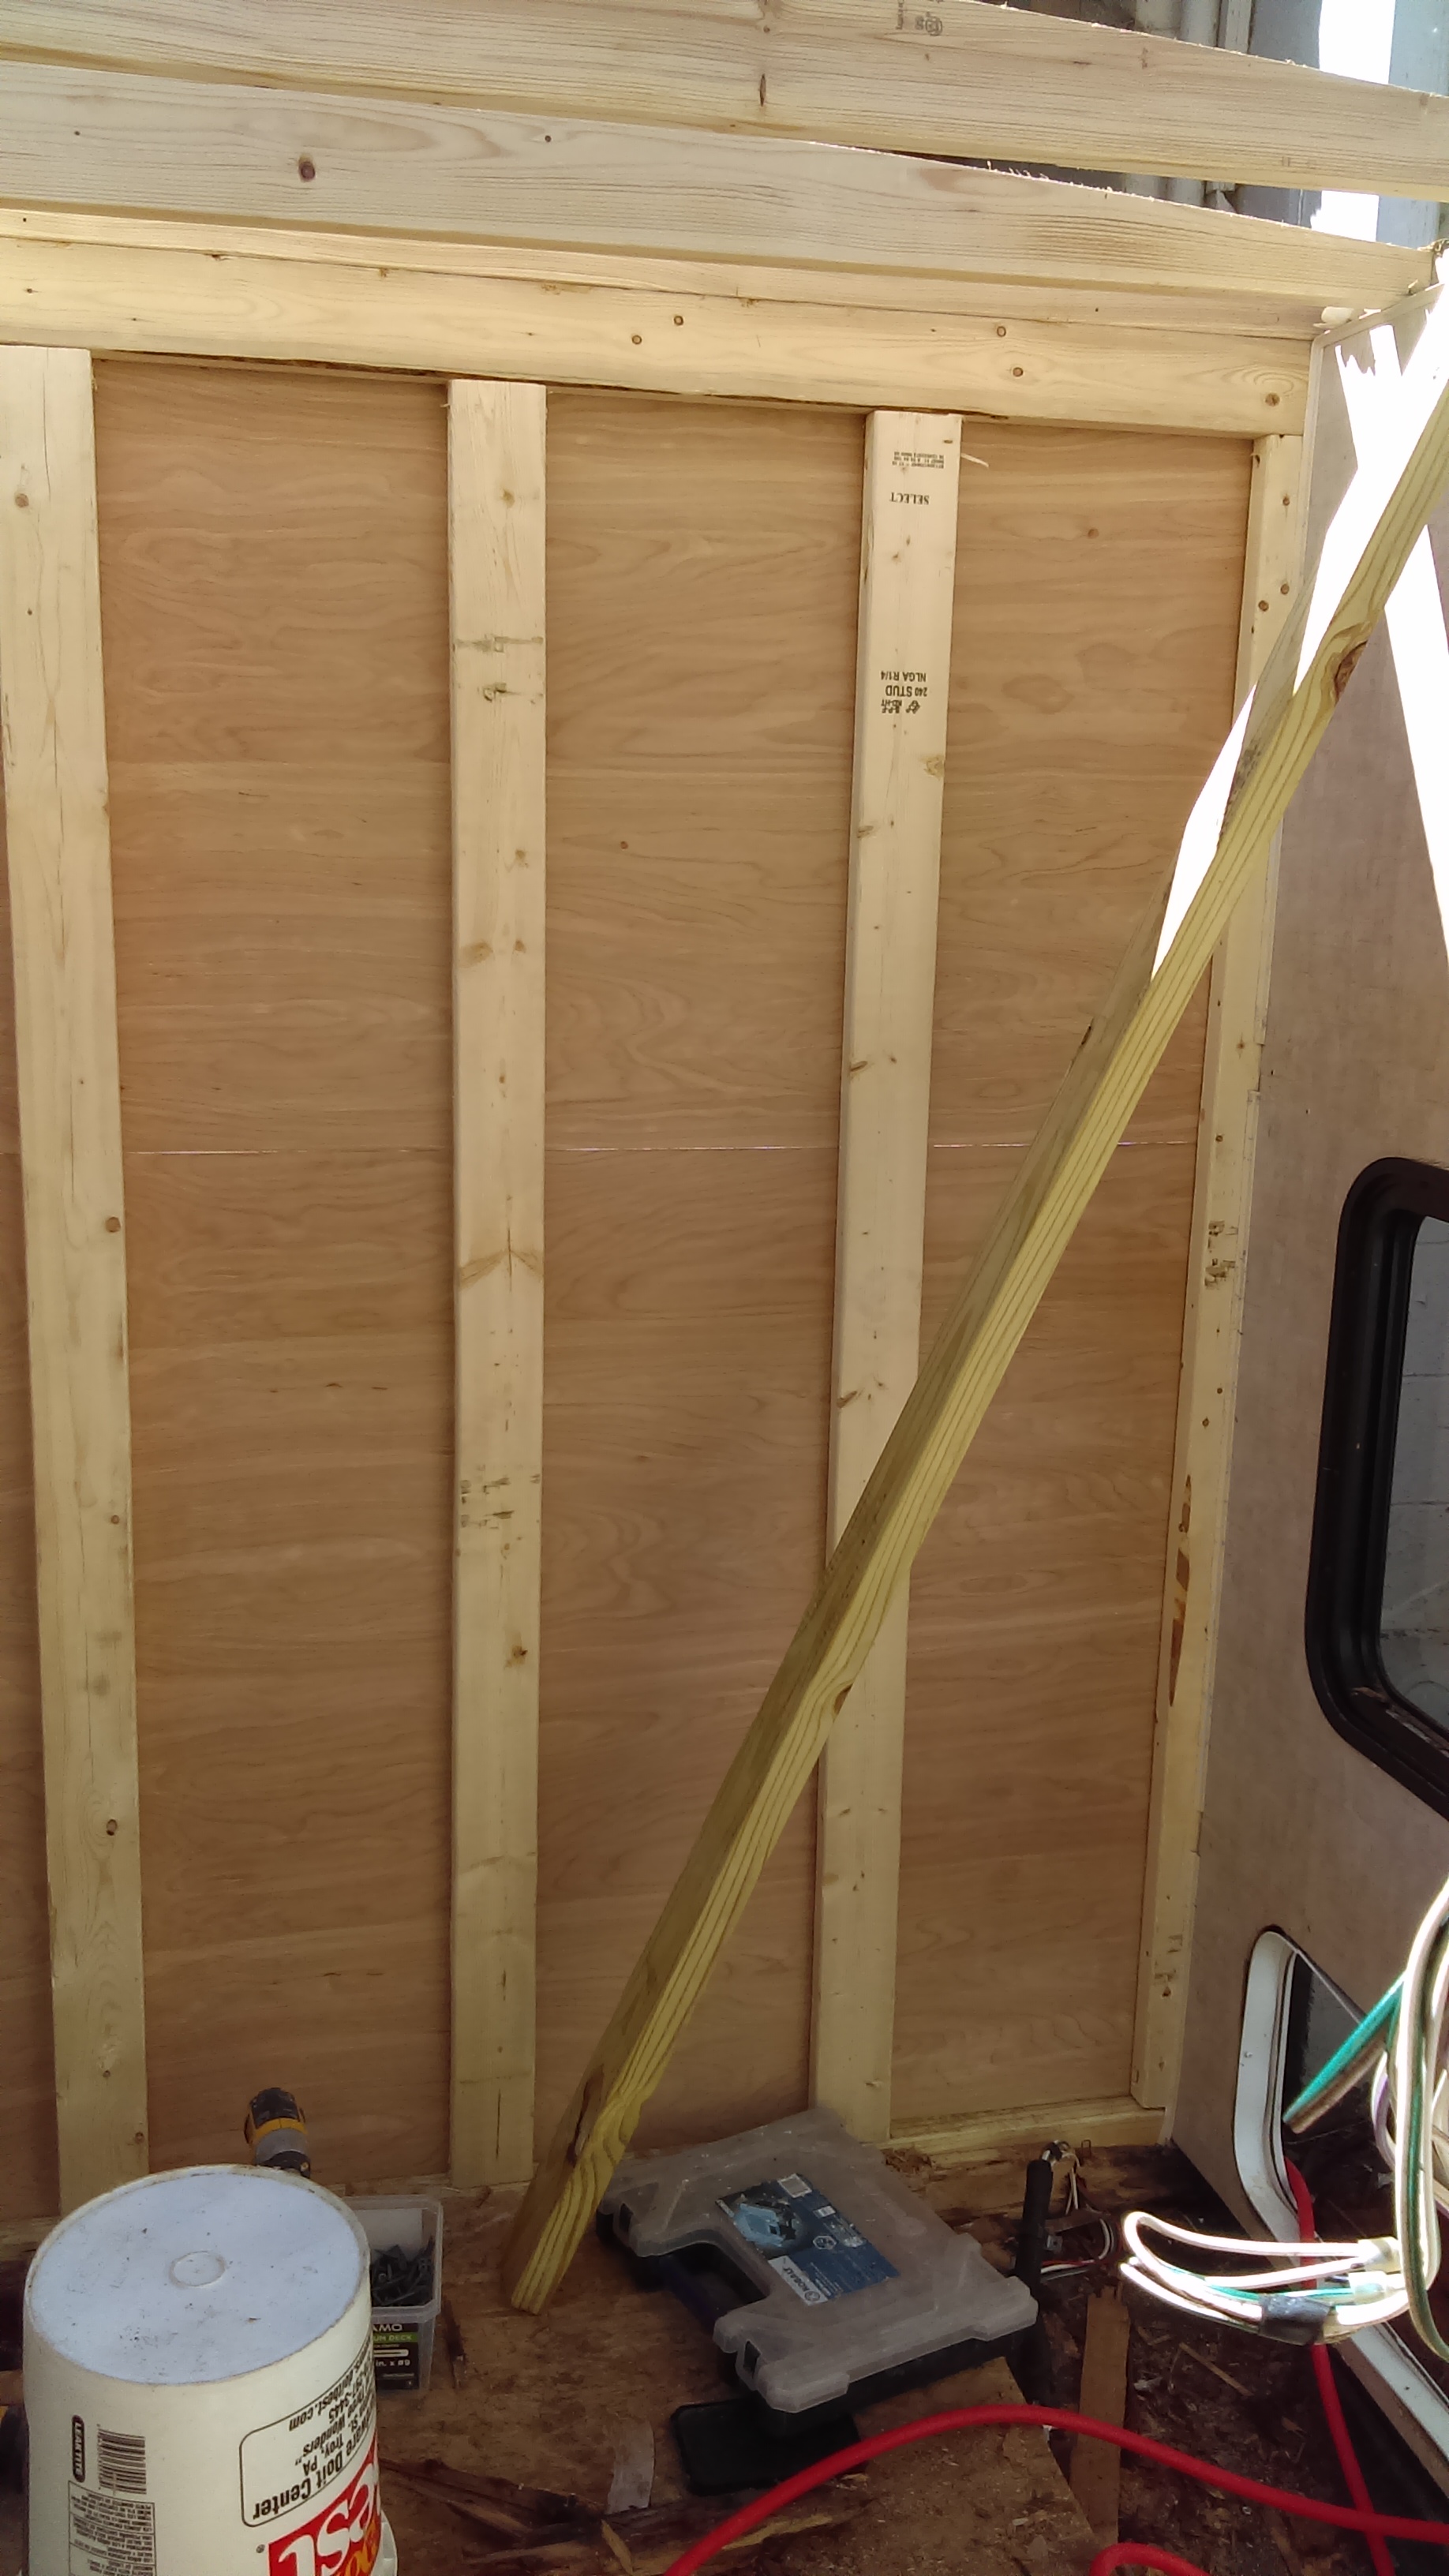
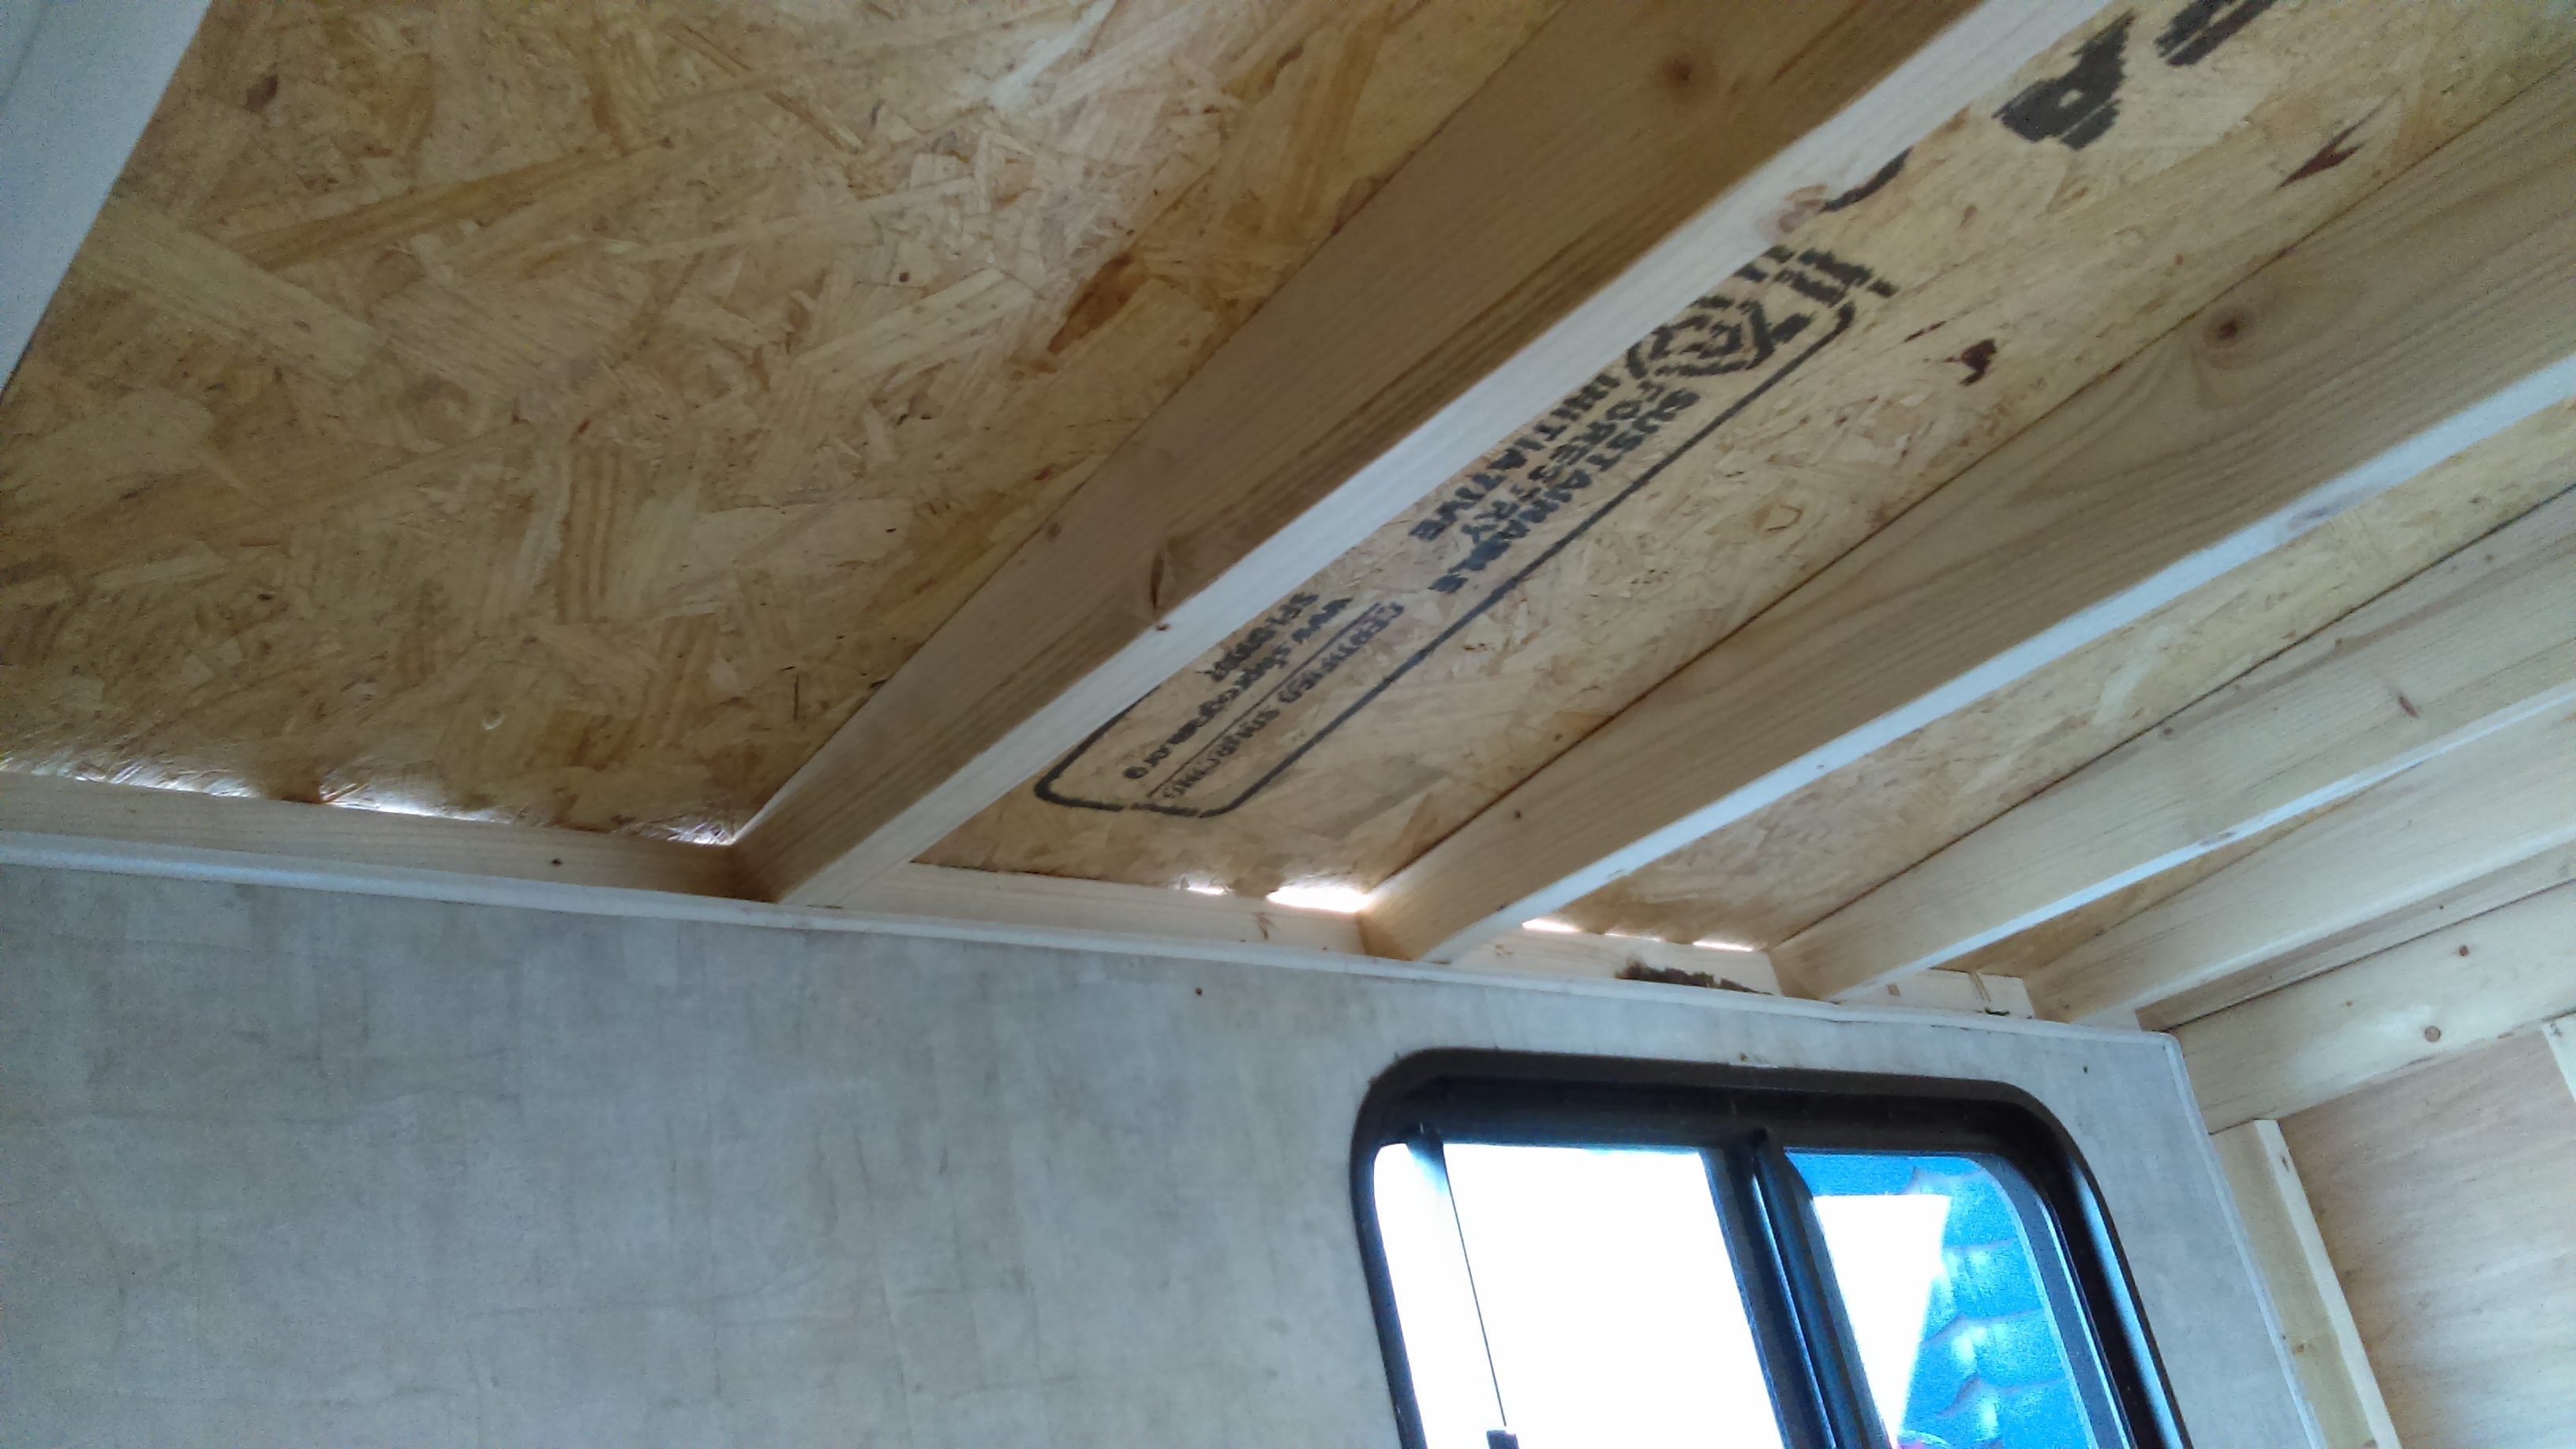
After lunch and a supply run to Lowes for 2×4’s, 2×6’s, and plywood, it was time to start rebuilding. After we framed up the back wall, a plumber friend came over to help me dewinterize the camper and check it for leaks (There is only one small one that’s easy to fix! Thank goodness!). While I was playing with water, Tawny’s dad used one of the old rafters that still had its shape as a guide and cut the new rafters out of 2×6’s. This was something I had seen on my Pinterest research and he thought it was a good idea help give strength to the new roof. By the time I was done with the water check, the new rafters were up and ready to go.
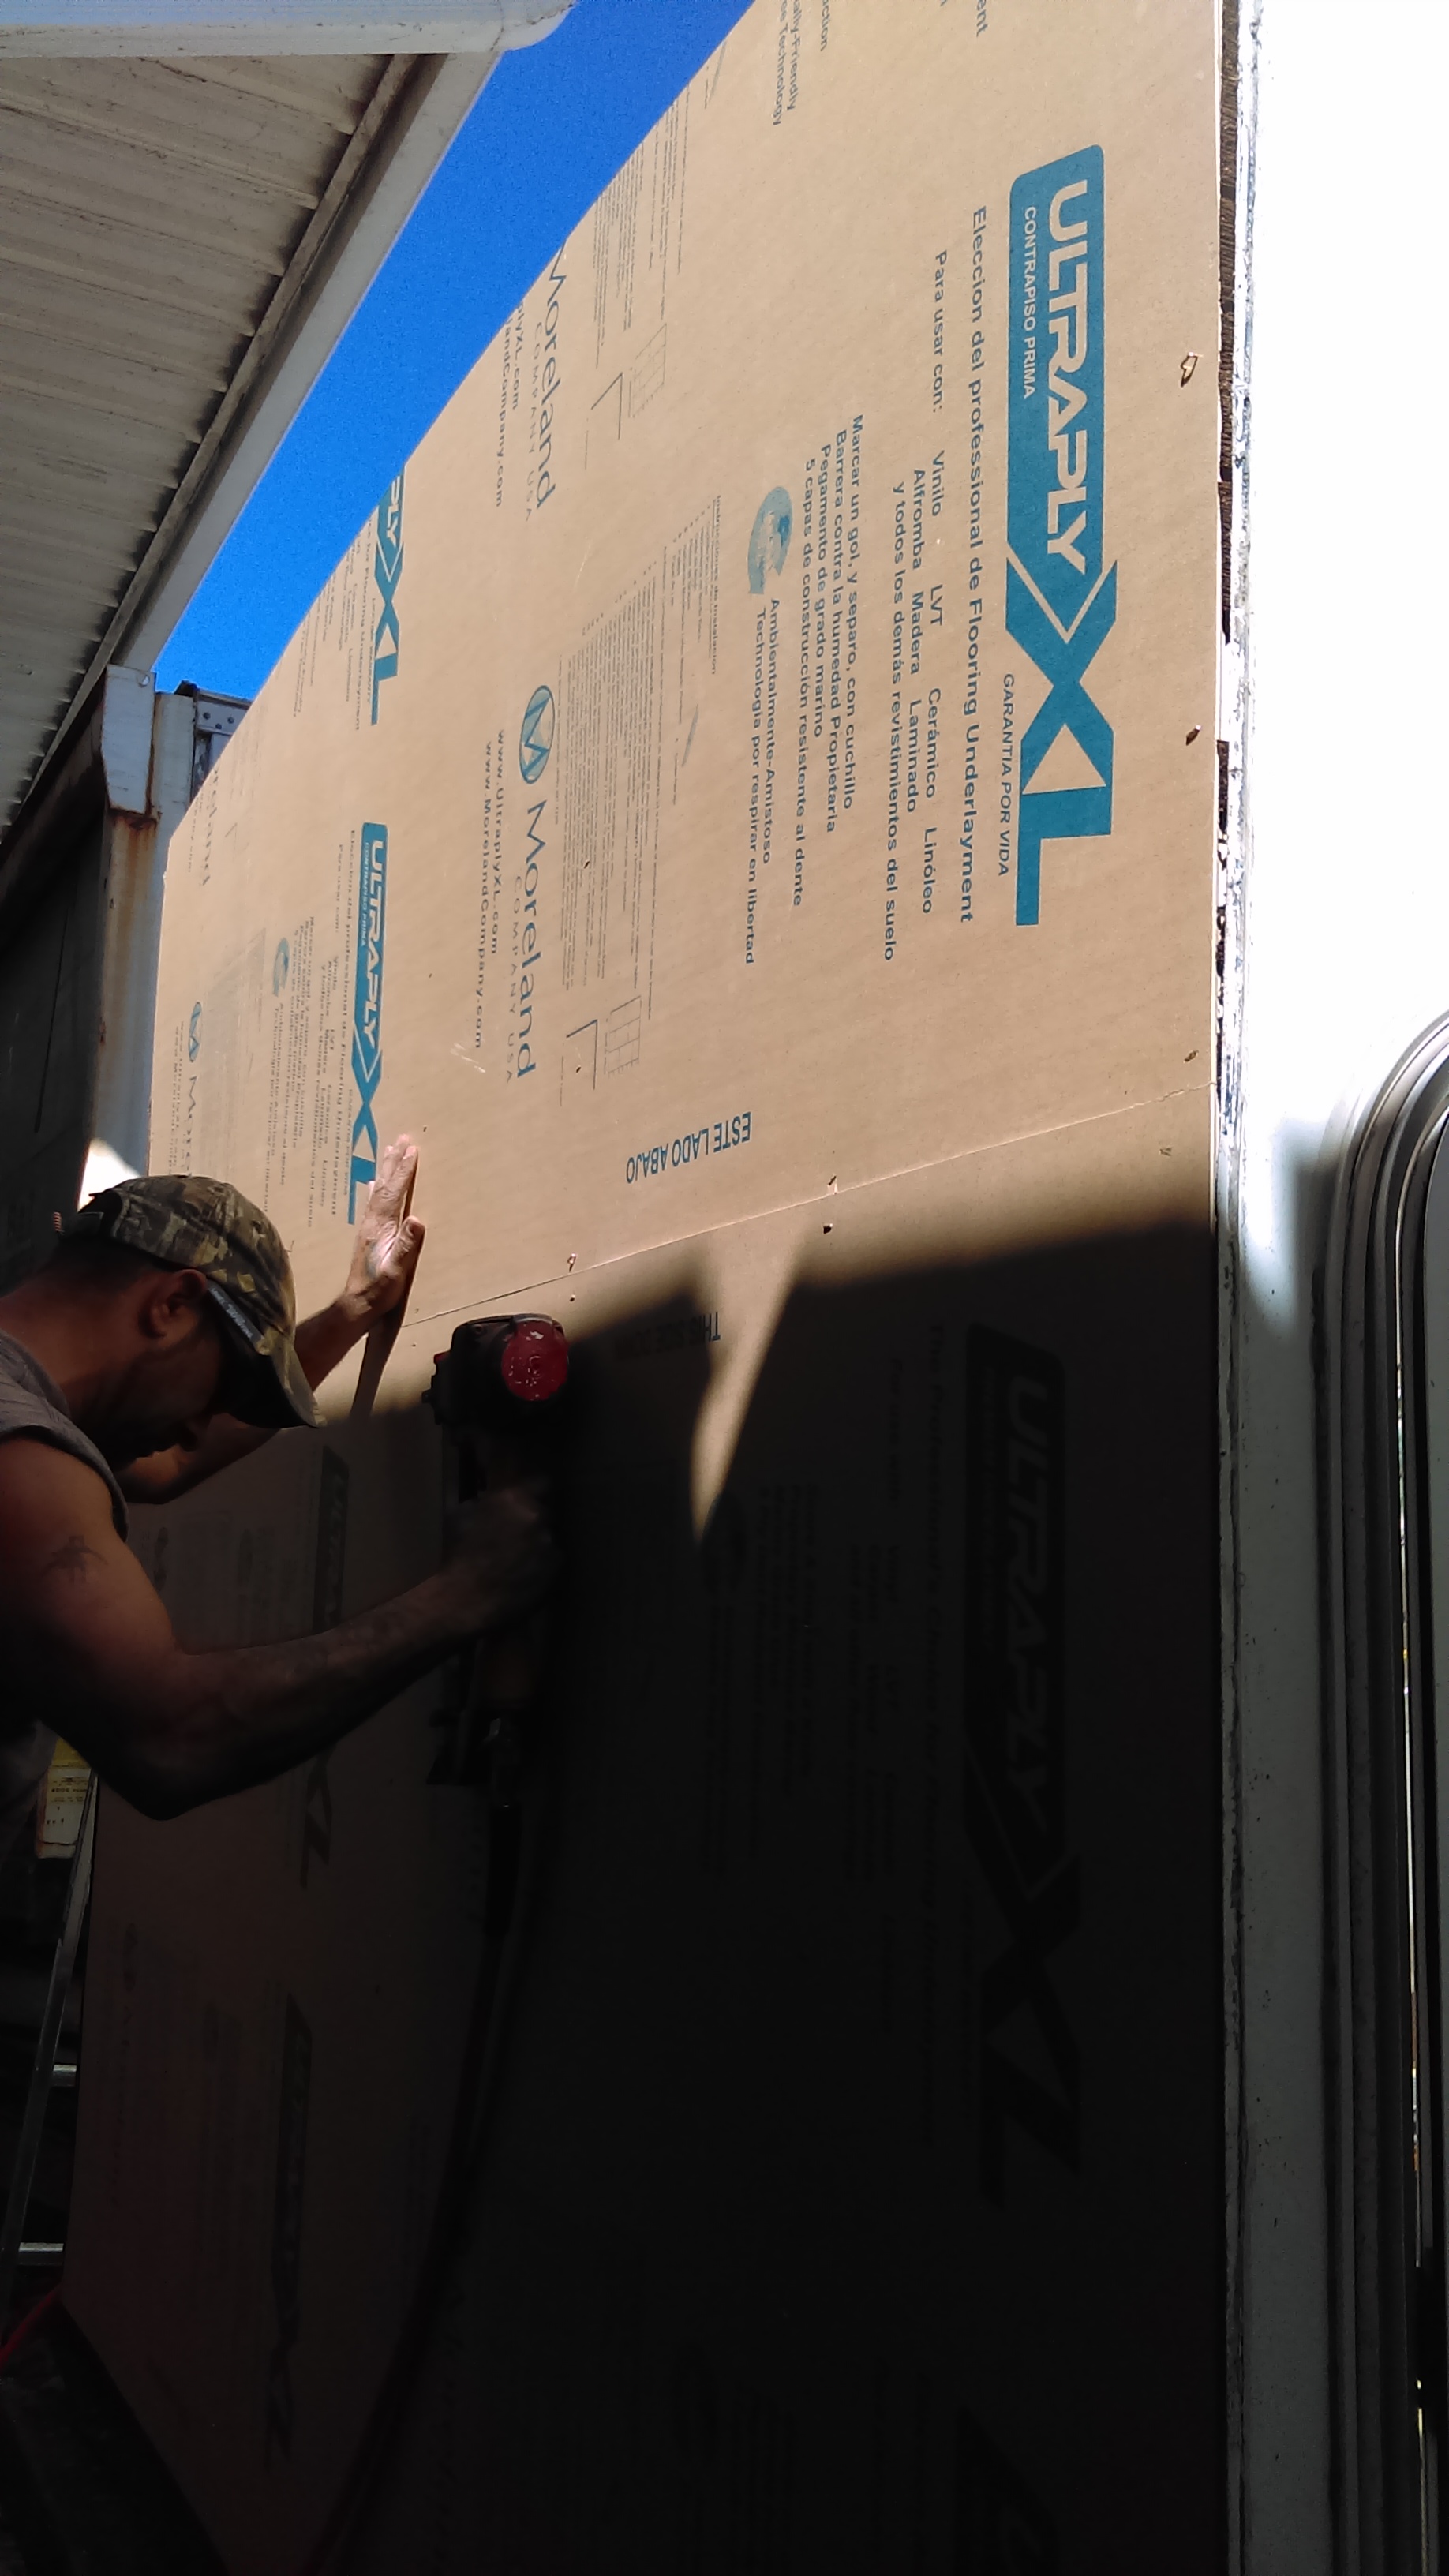
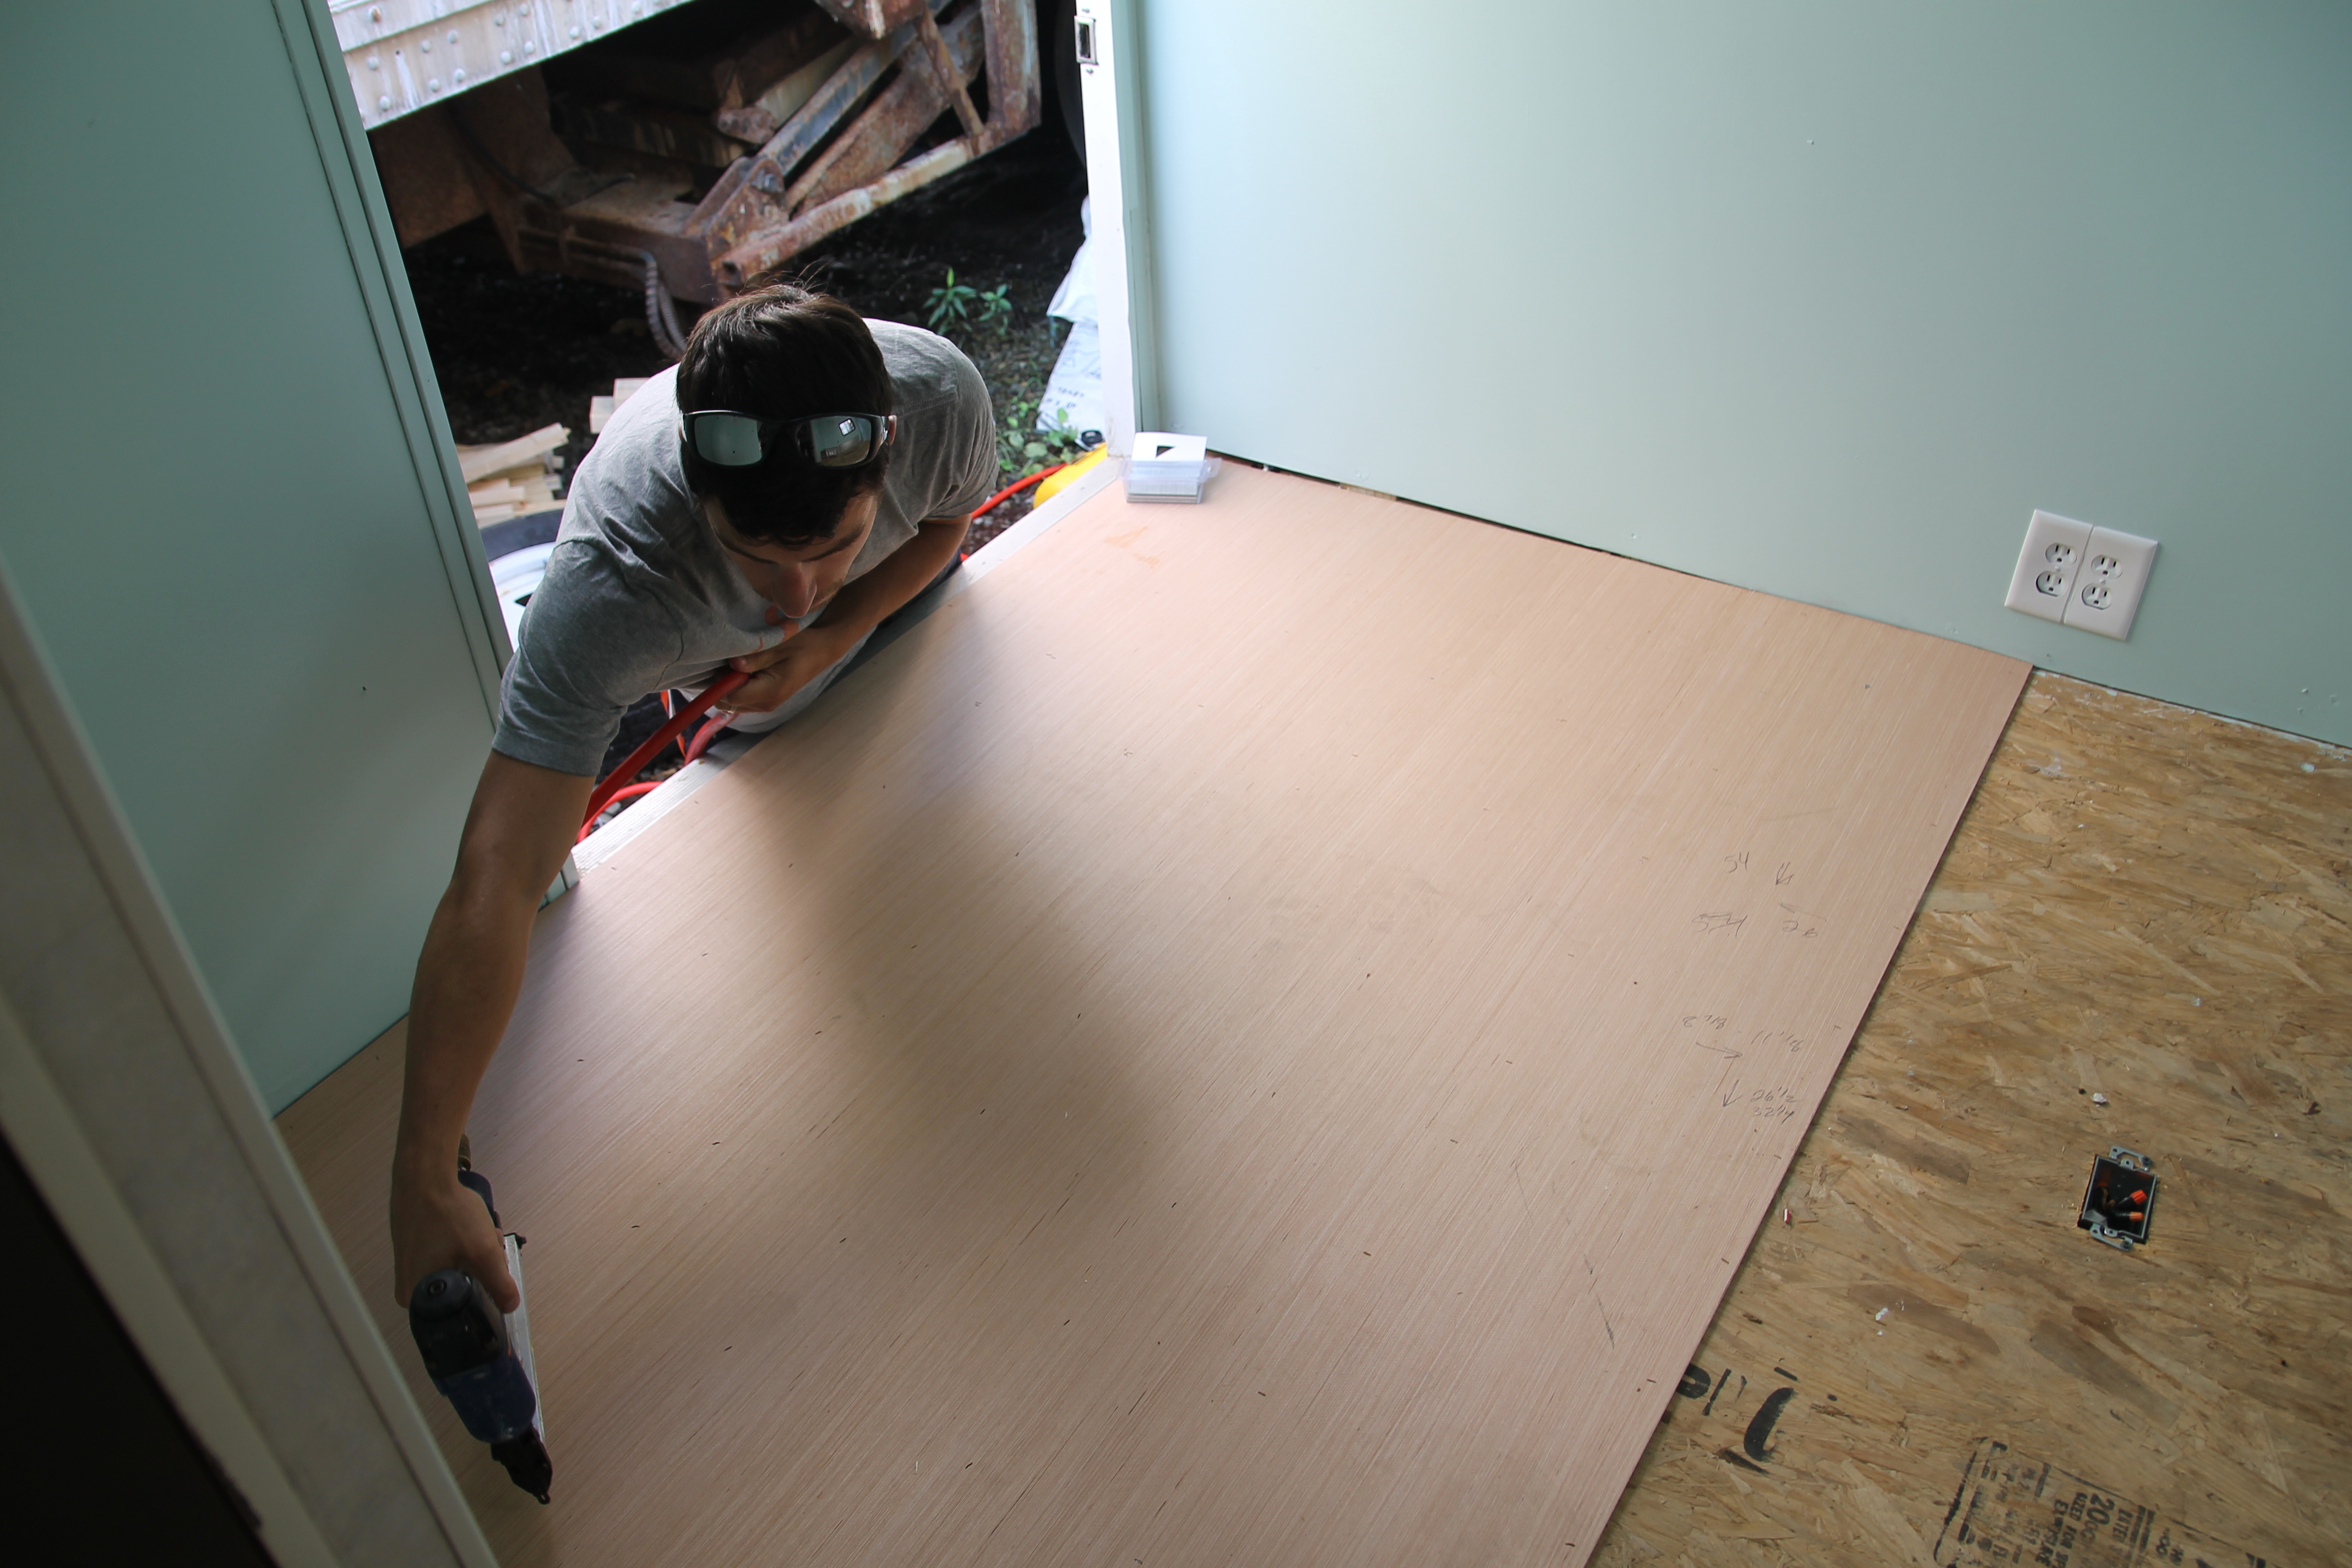
For the back outside wall, we used 1/4 inch luan board. We used an air gun and staples to secure it to the new wall. New wall: Check!
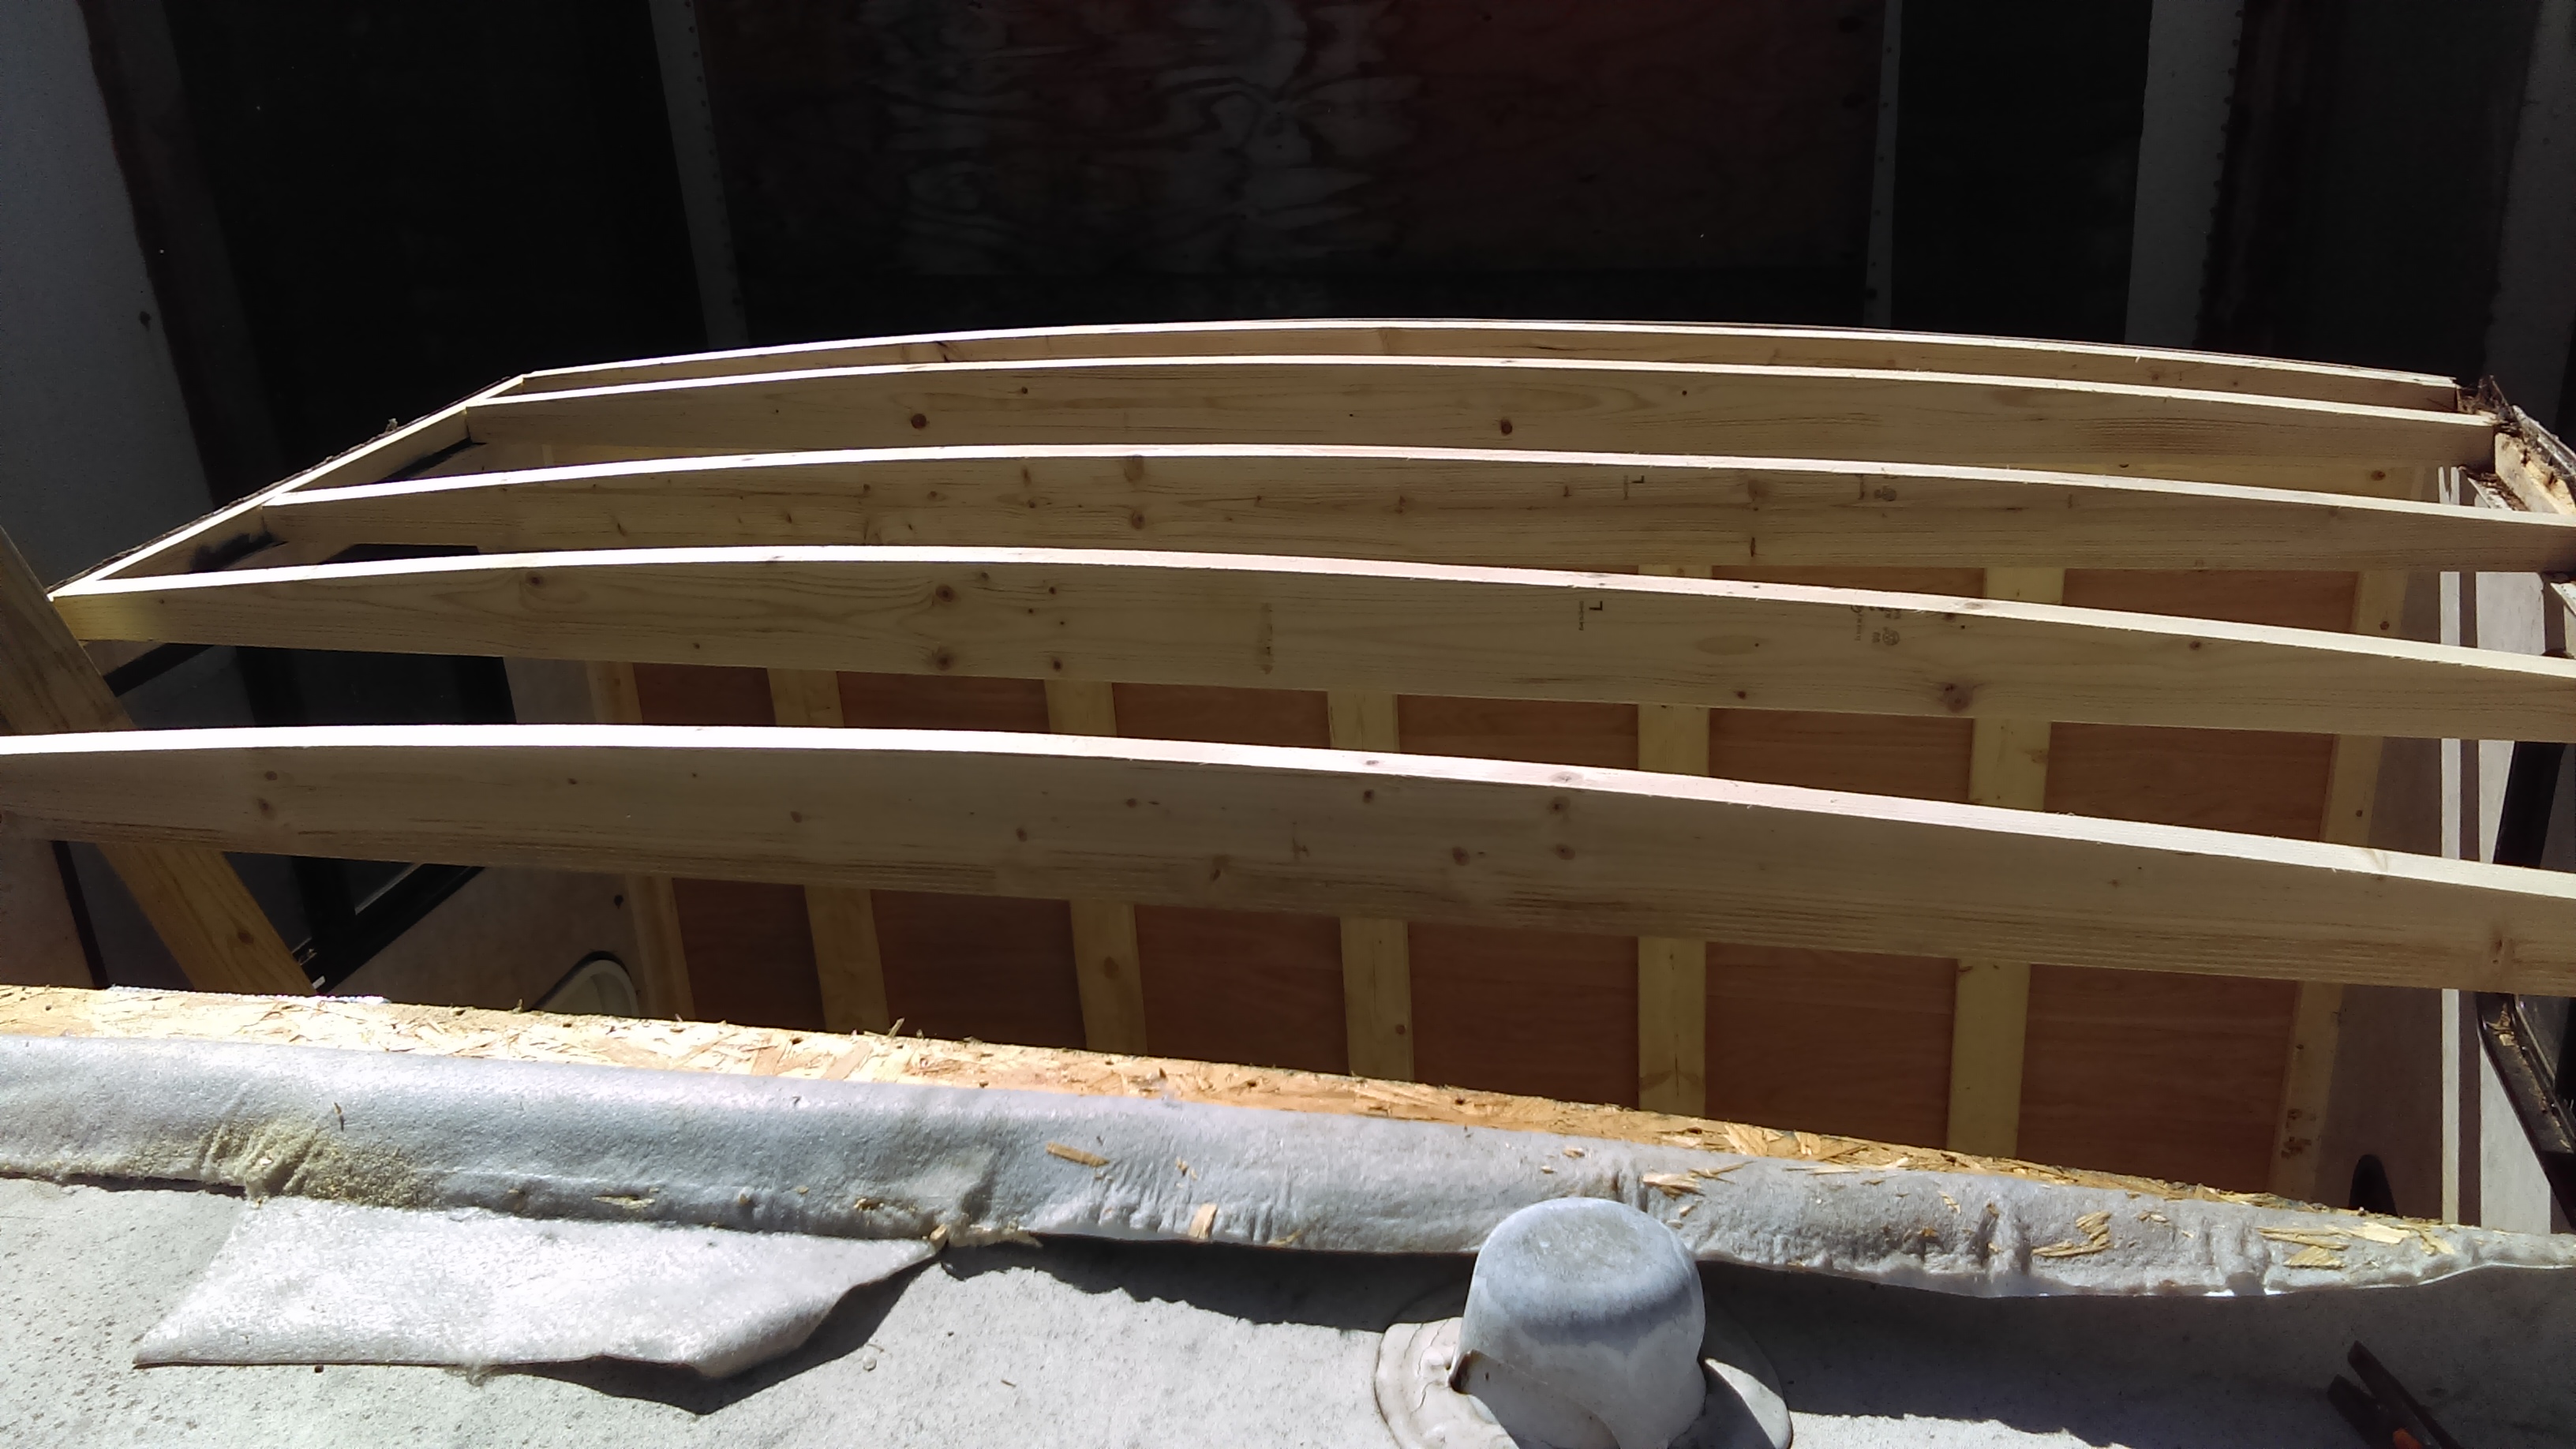
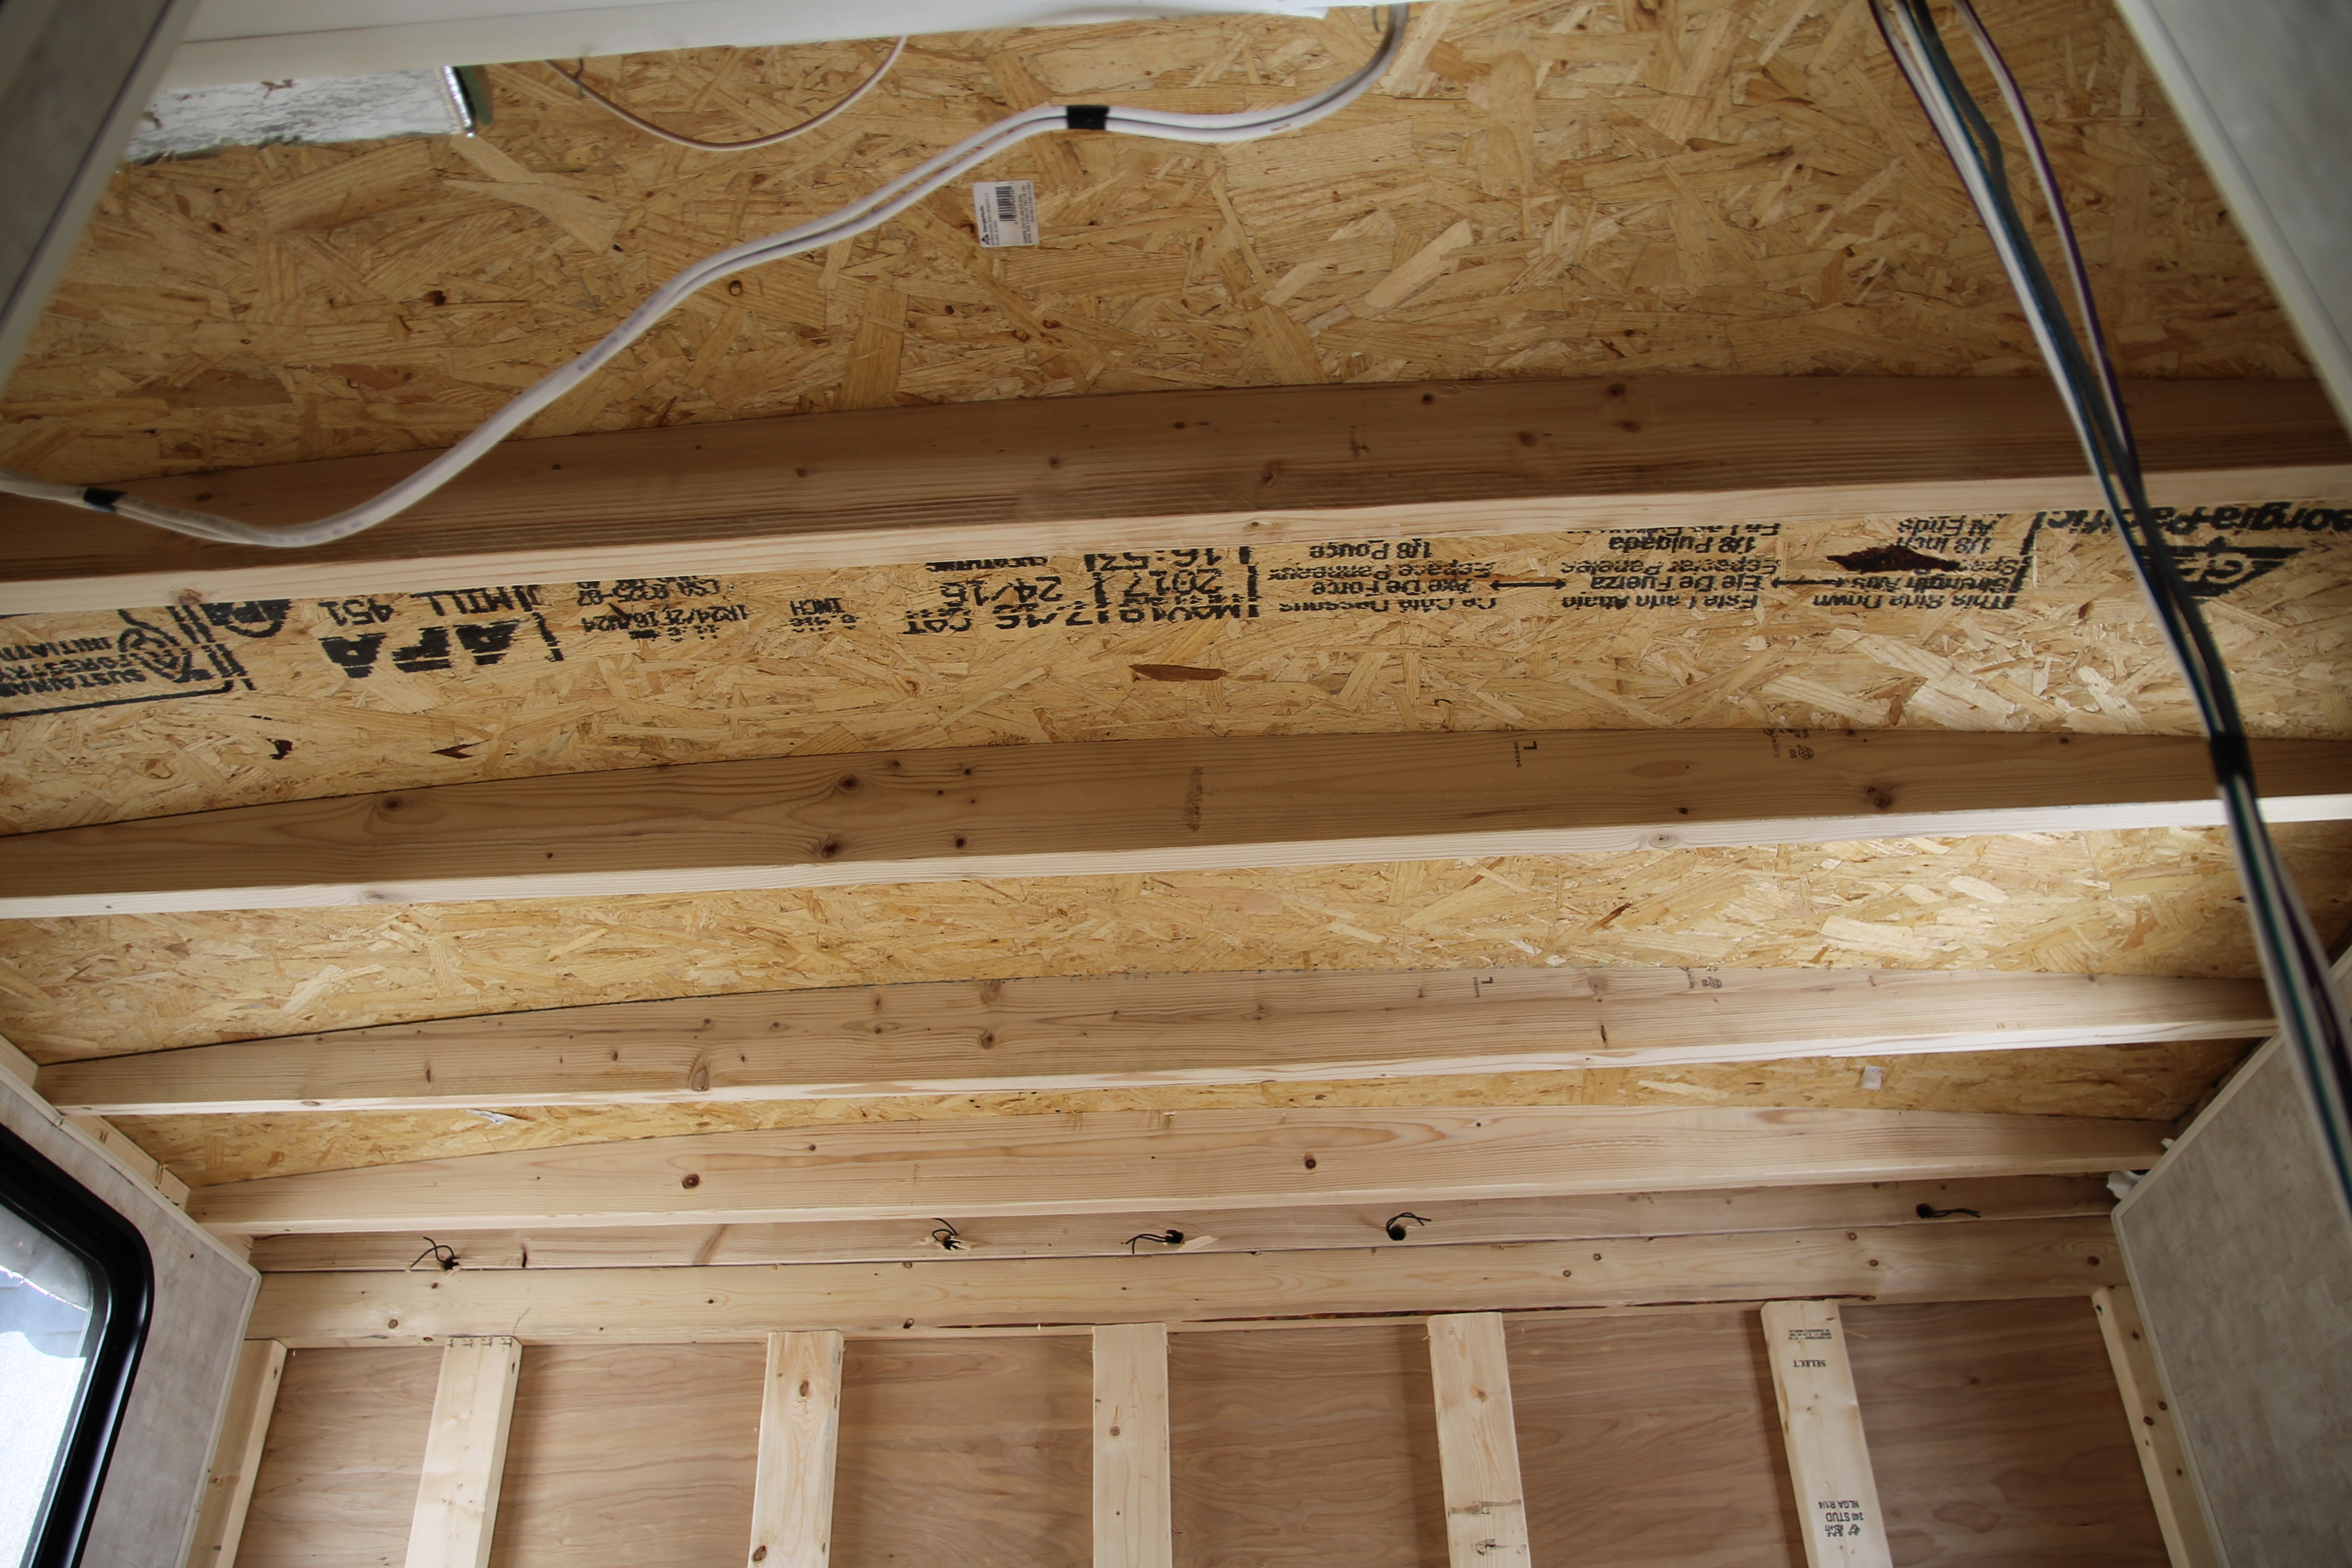
The new roof won’t be caving in any time soon!
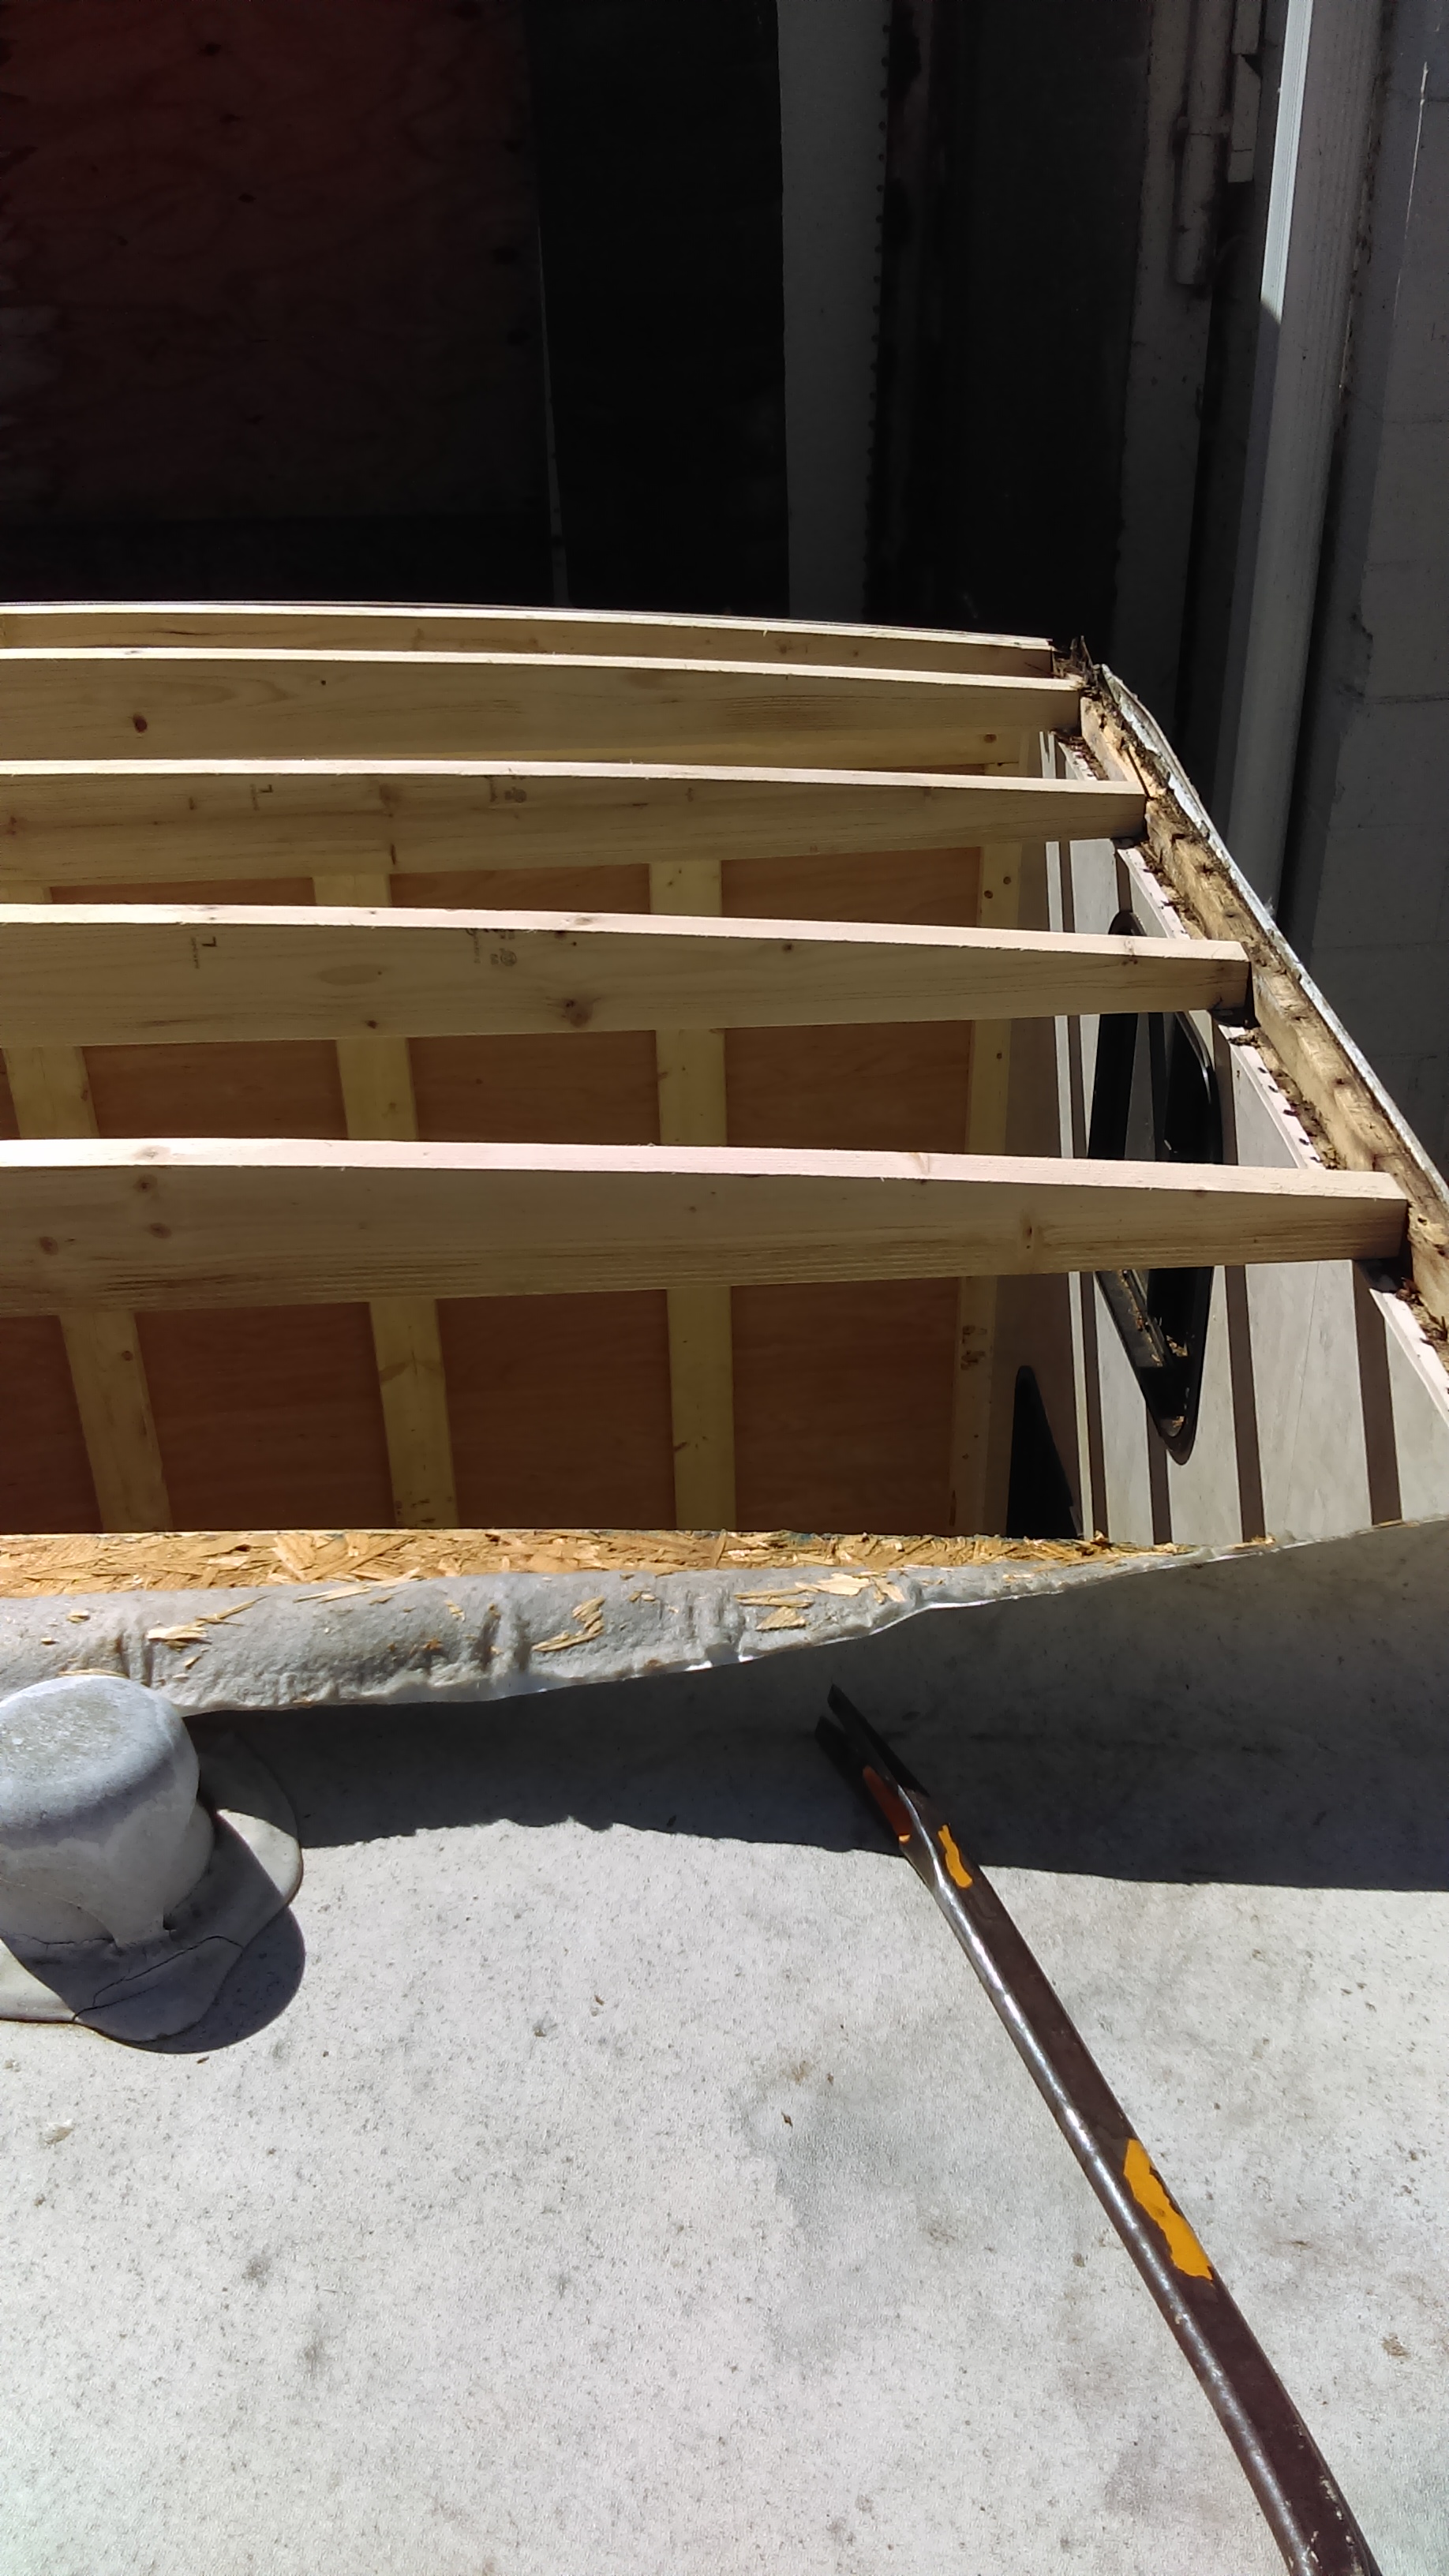
Tawny’s dad had to do a little work to do a little work to make sure the new rafters got secure due to more water damaged wood. But he worked his magic and put in some new sill boards and we were good to go.
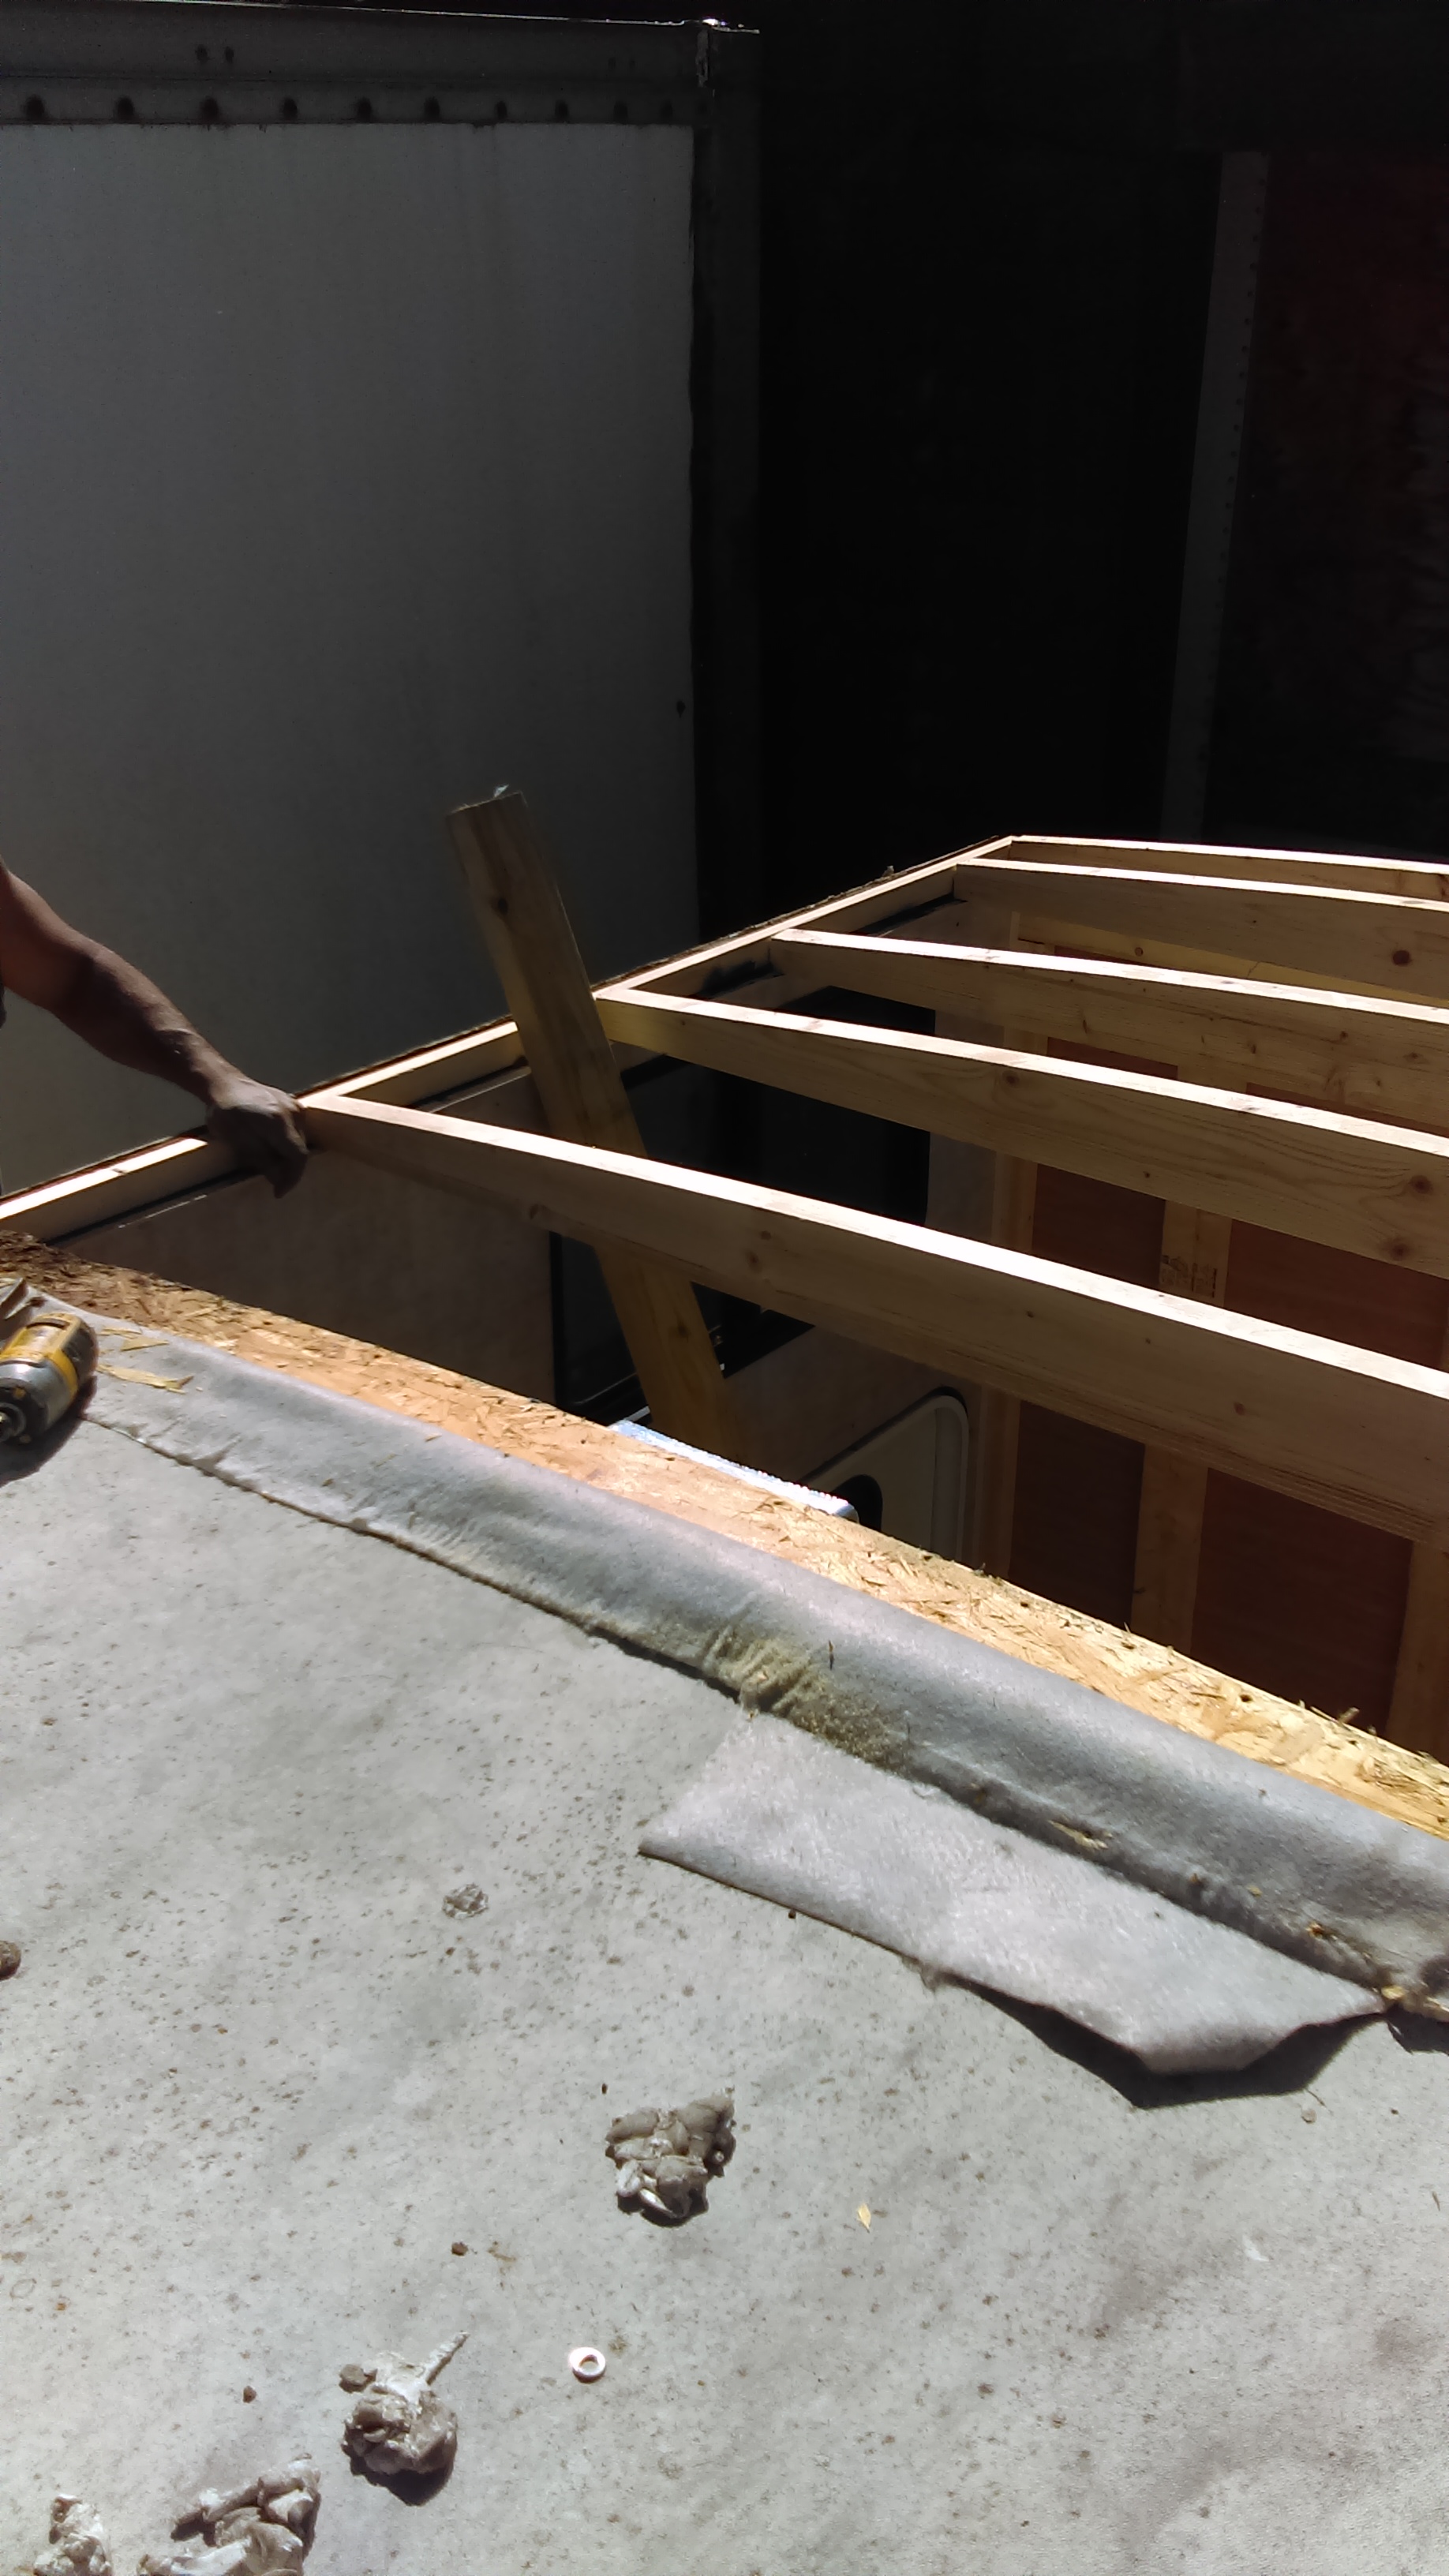
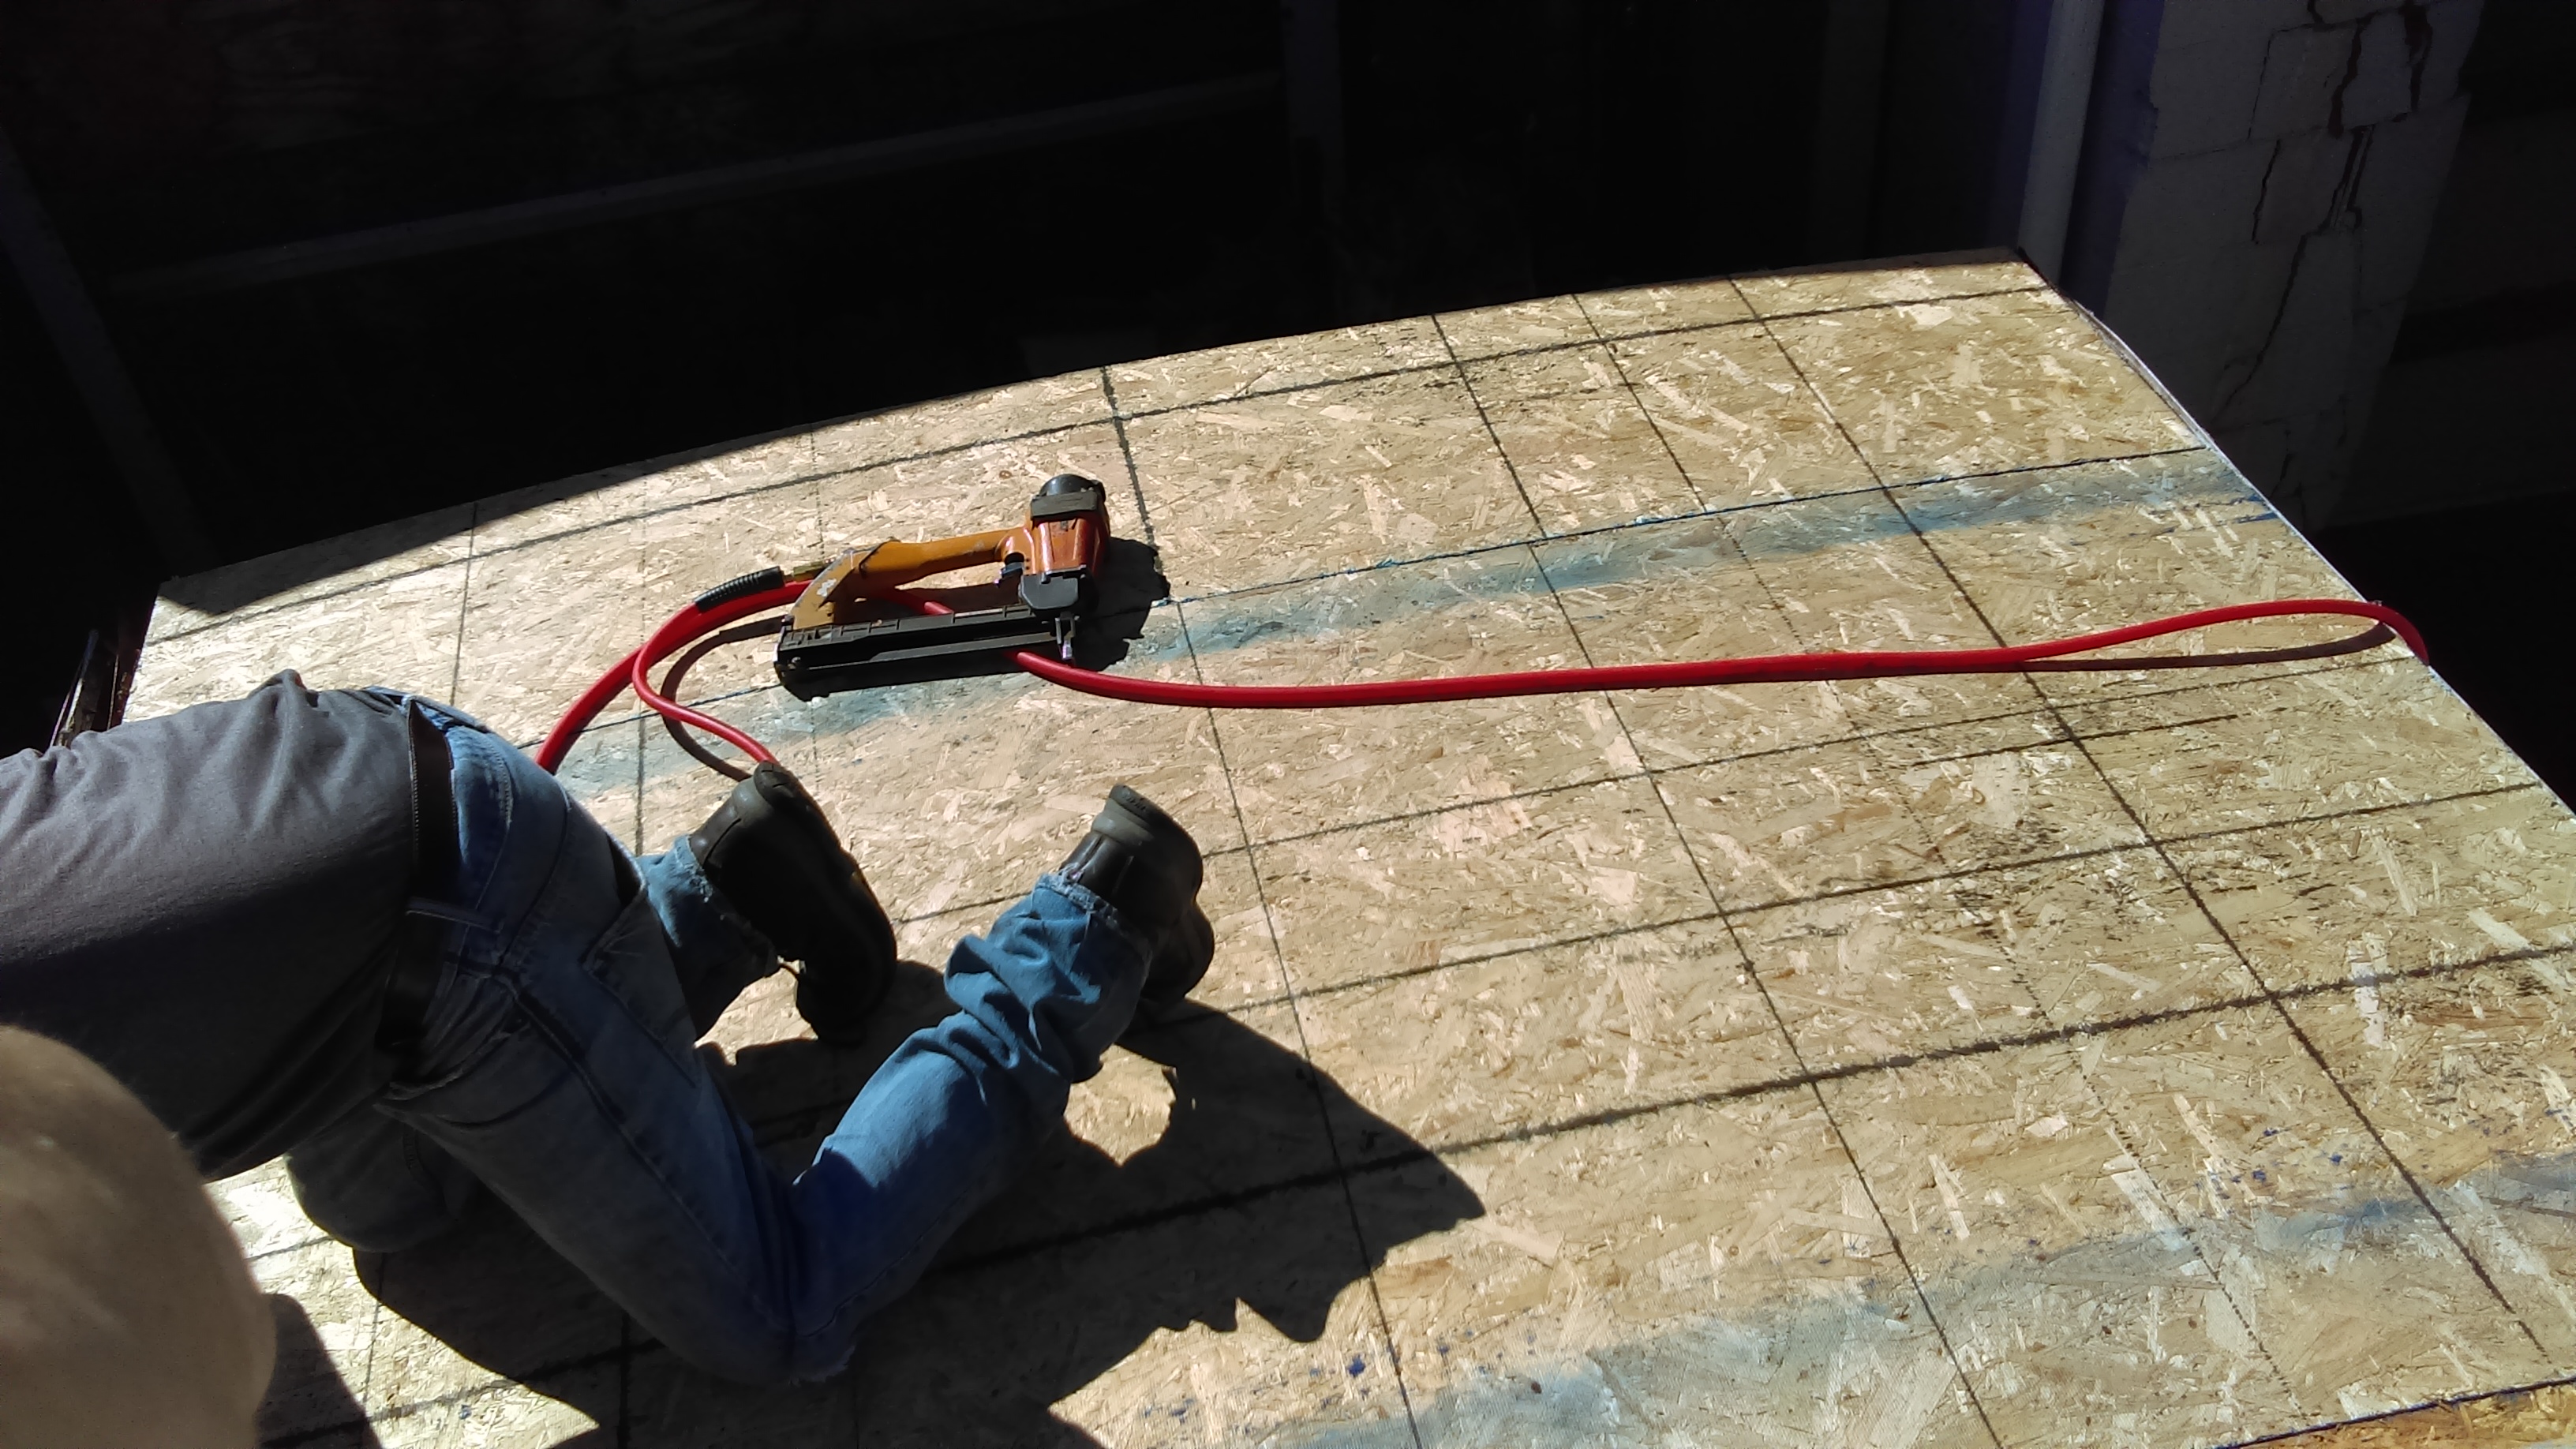
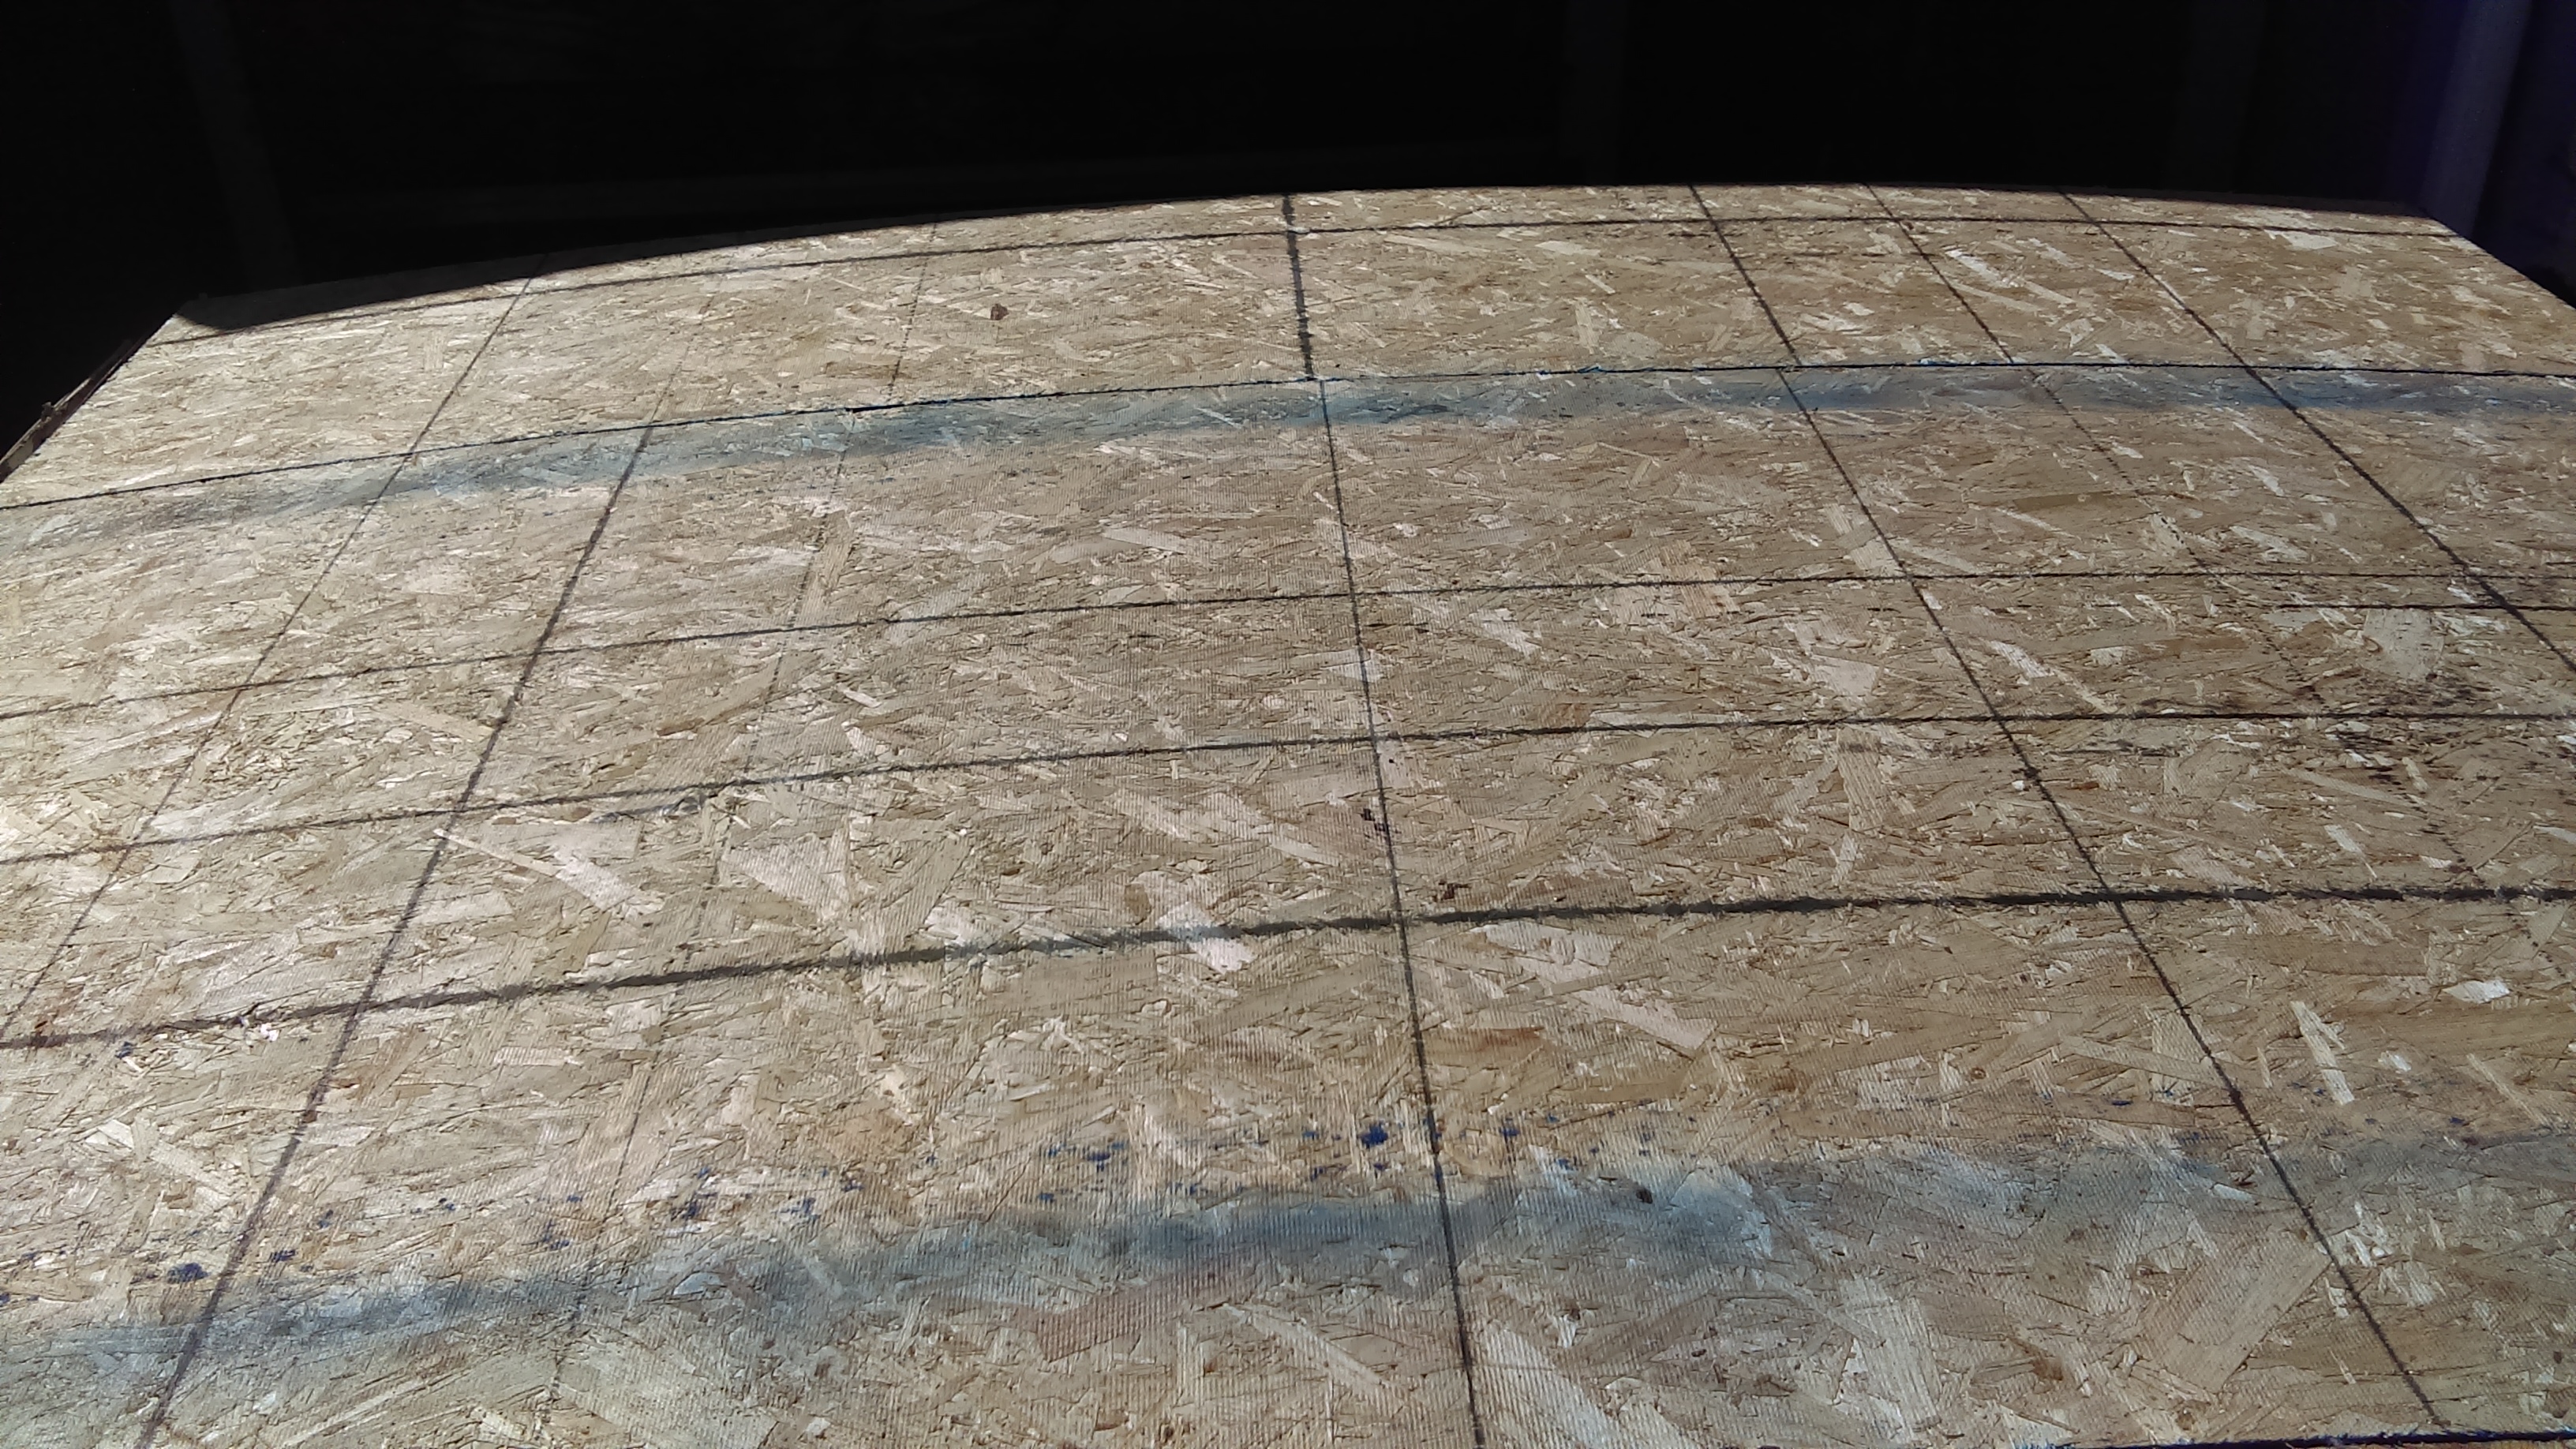
Once the rafters were secured in place, it was time for plywood! We stapled it down with the air gun and it finally looked like a roof.
The final piece of the puzzle was to seal in all our hard work so rain wouldn’t undo it all. Because of not being able to save the rubber roofing, I am going to have to order a new piece and install it later. Having done many roofs as a general contractor (although this was his first go at one on a camper), Tawny’s dad suggested that we use ice and water shield as a temporary solution until I could get my hands on some proper roofing. So, after some more staples using the slap stapler, our camper would now finally keep the water out!
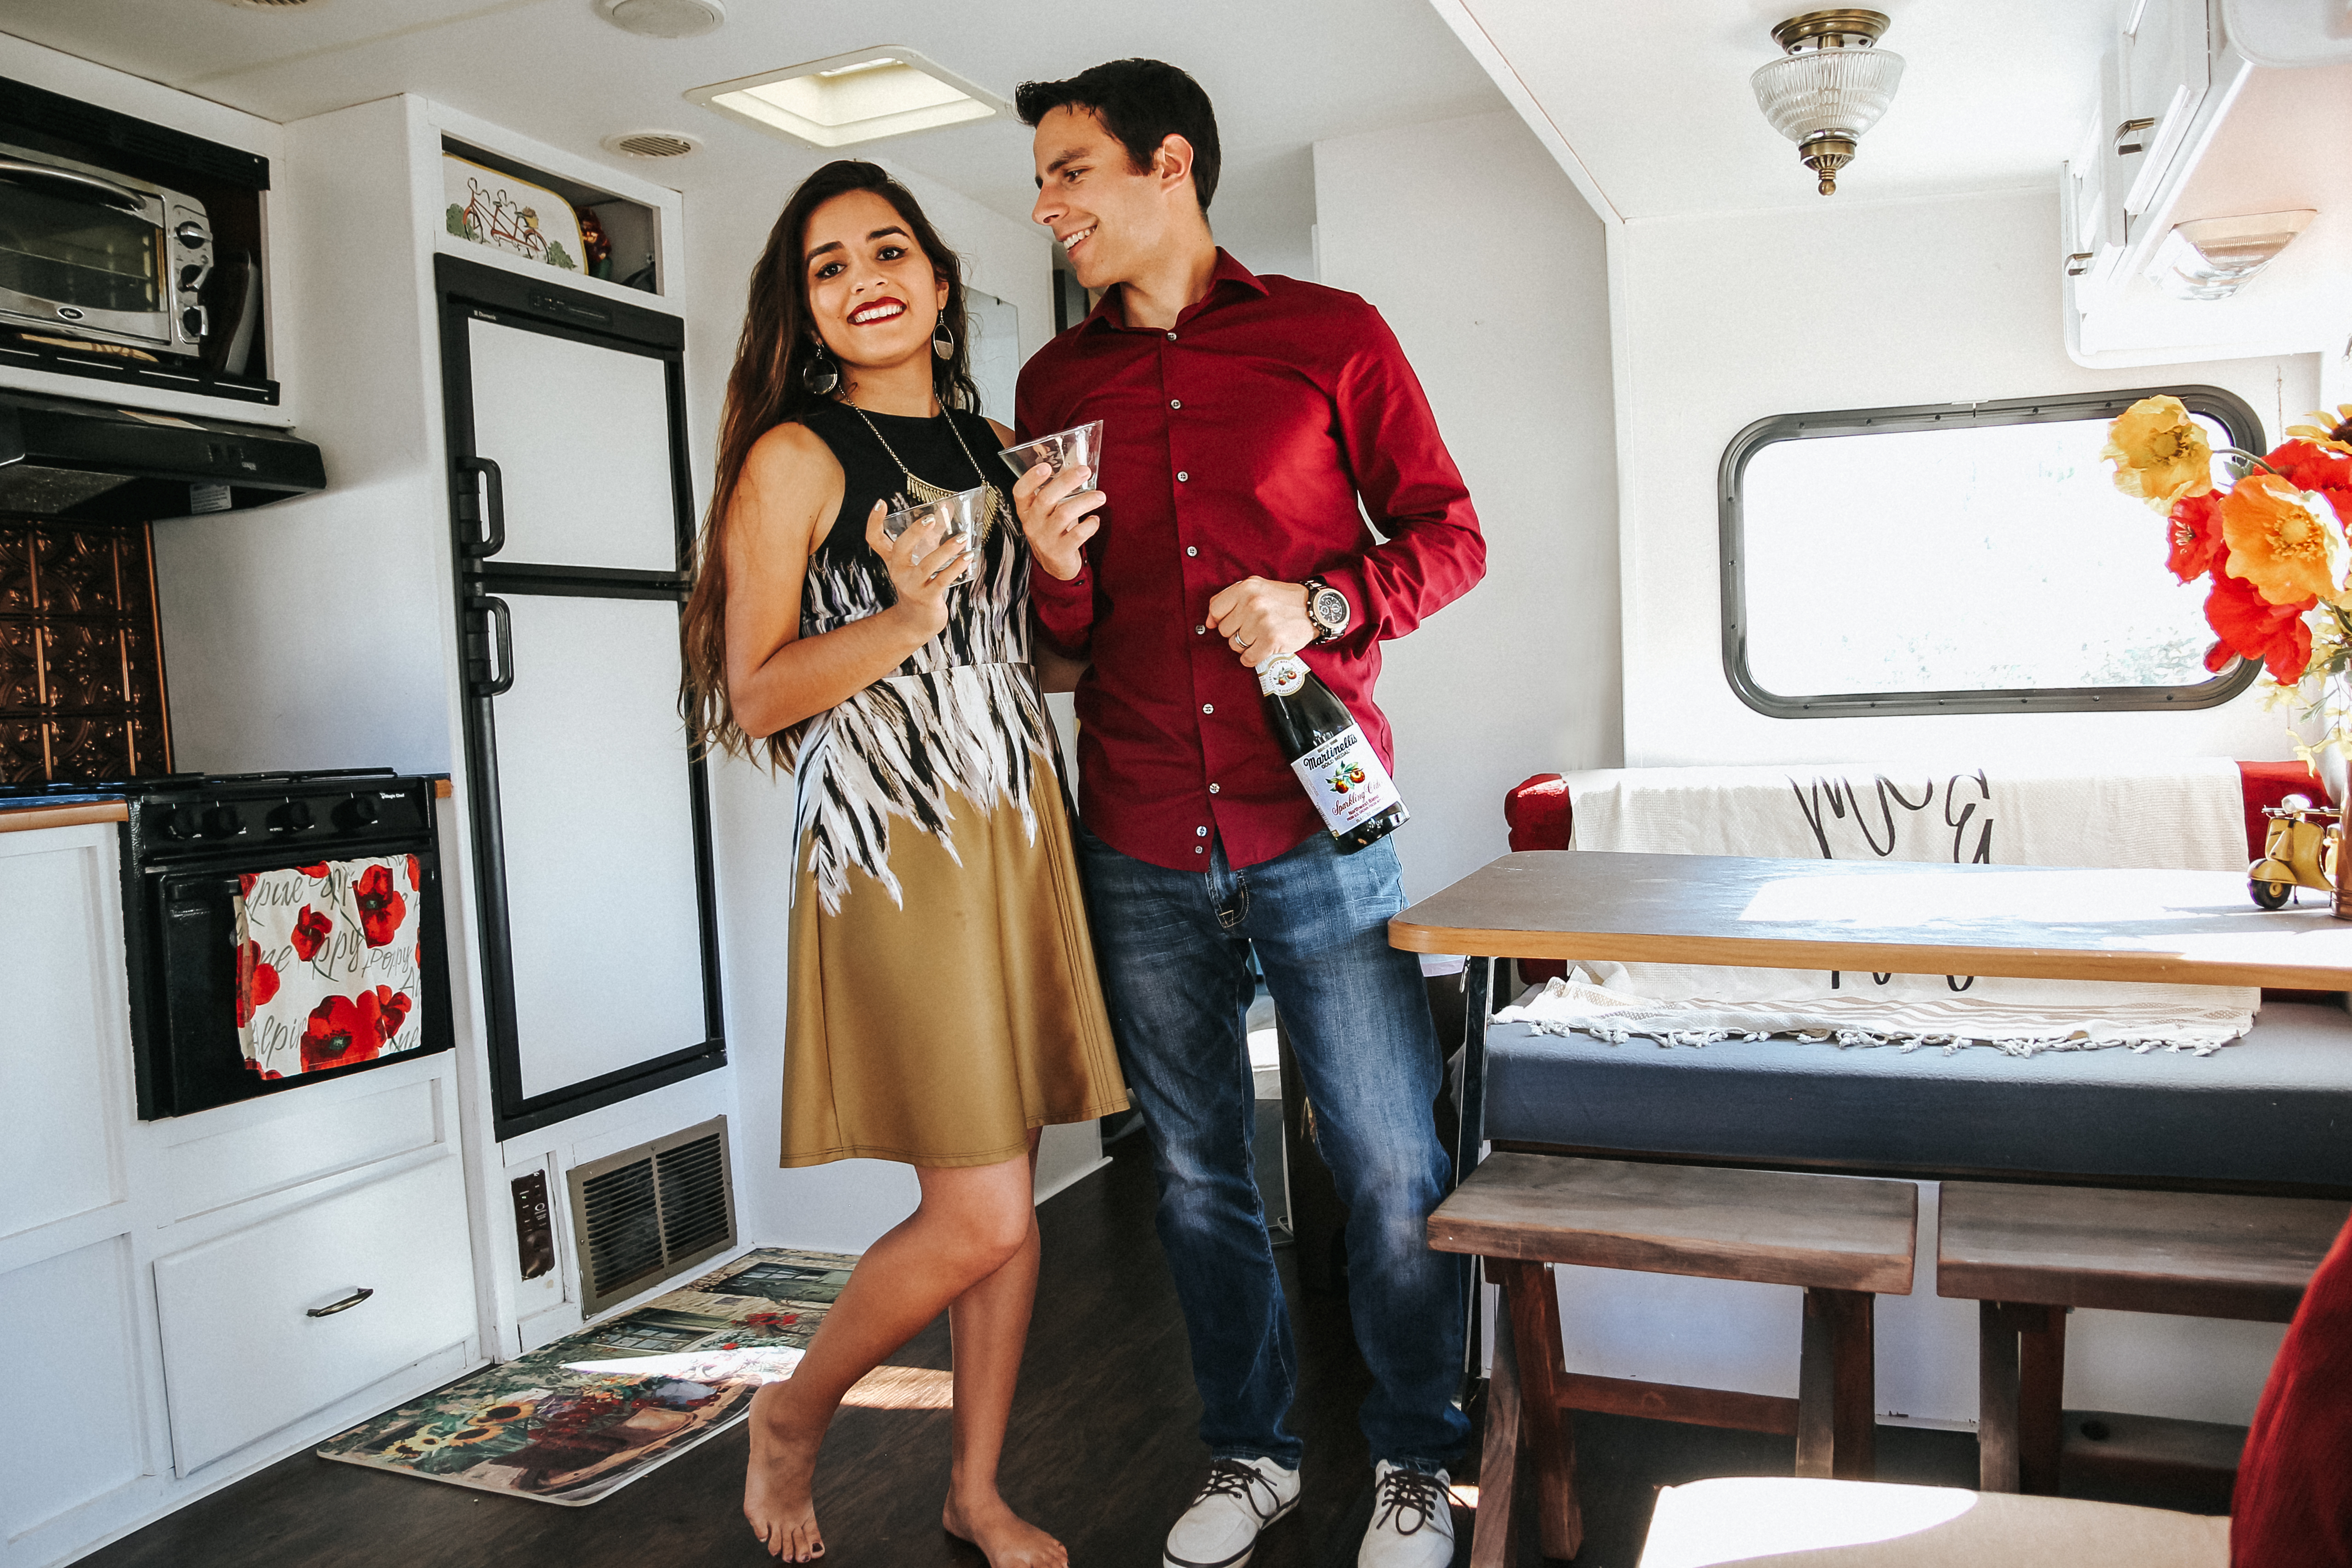
Nice and Dry!
Tune in next week for our next installment of The Camper Chronicles!
Read More: Part 1 | Part 2 | Part 3 | Part 4 | Part 5 | Part 6 | Part 7| Part 8 | Part 9 | Part 10 | Before & After

One comment on “Camper Chronicles- Part 3”