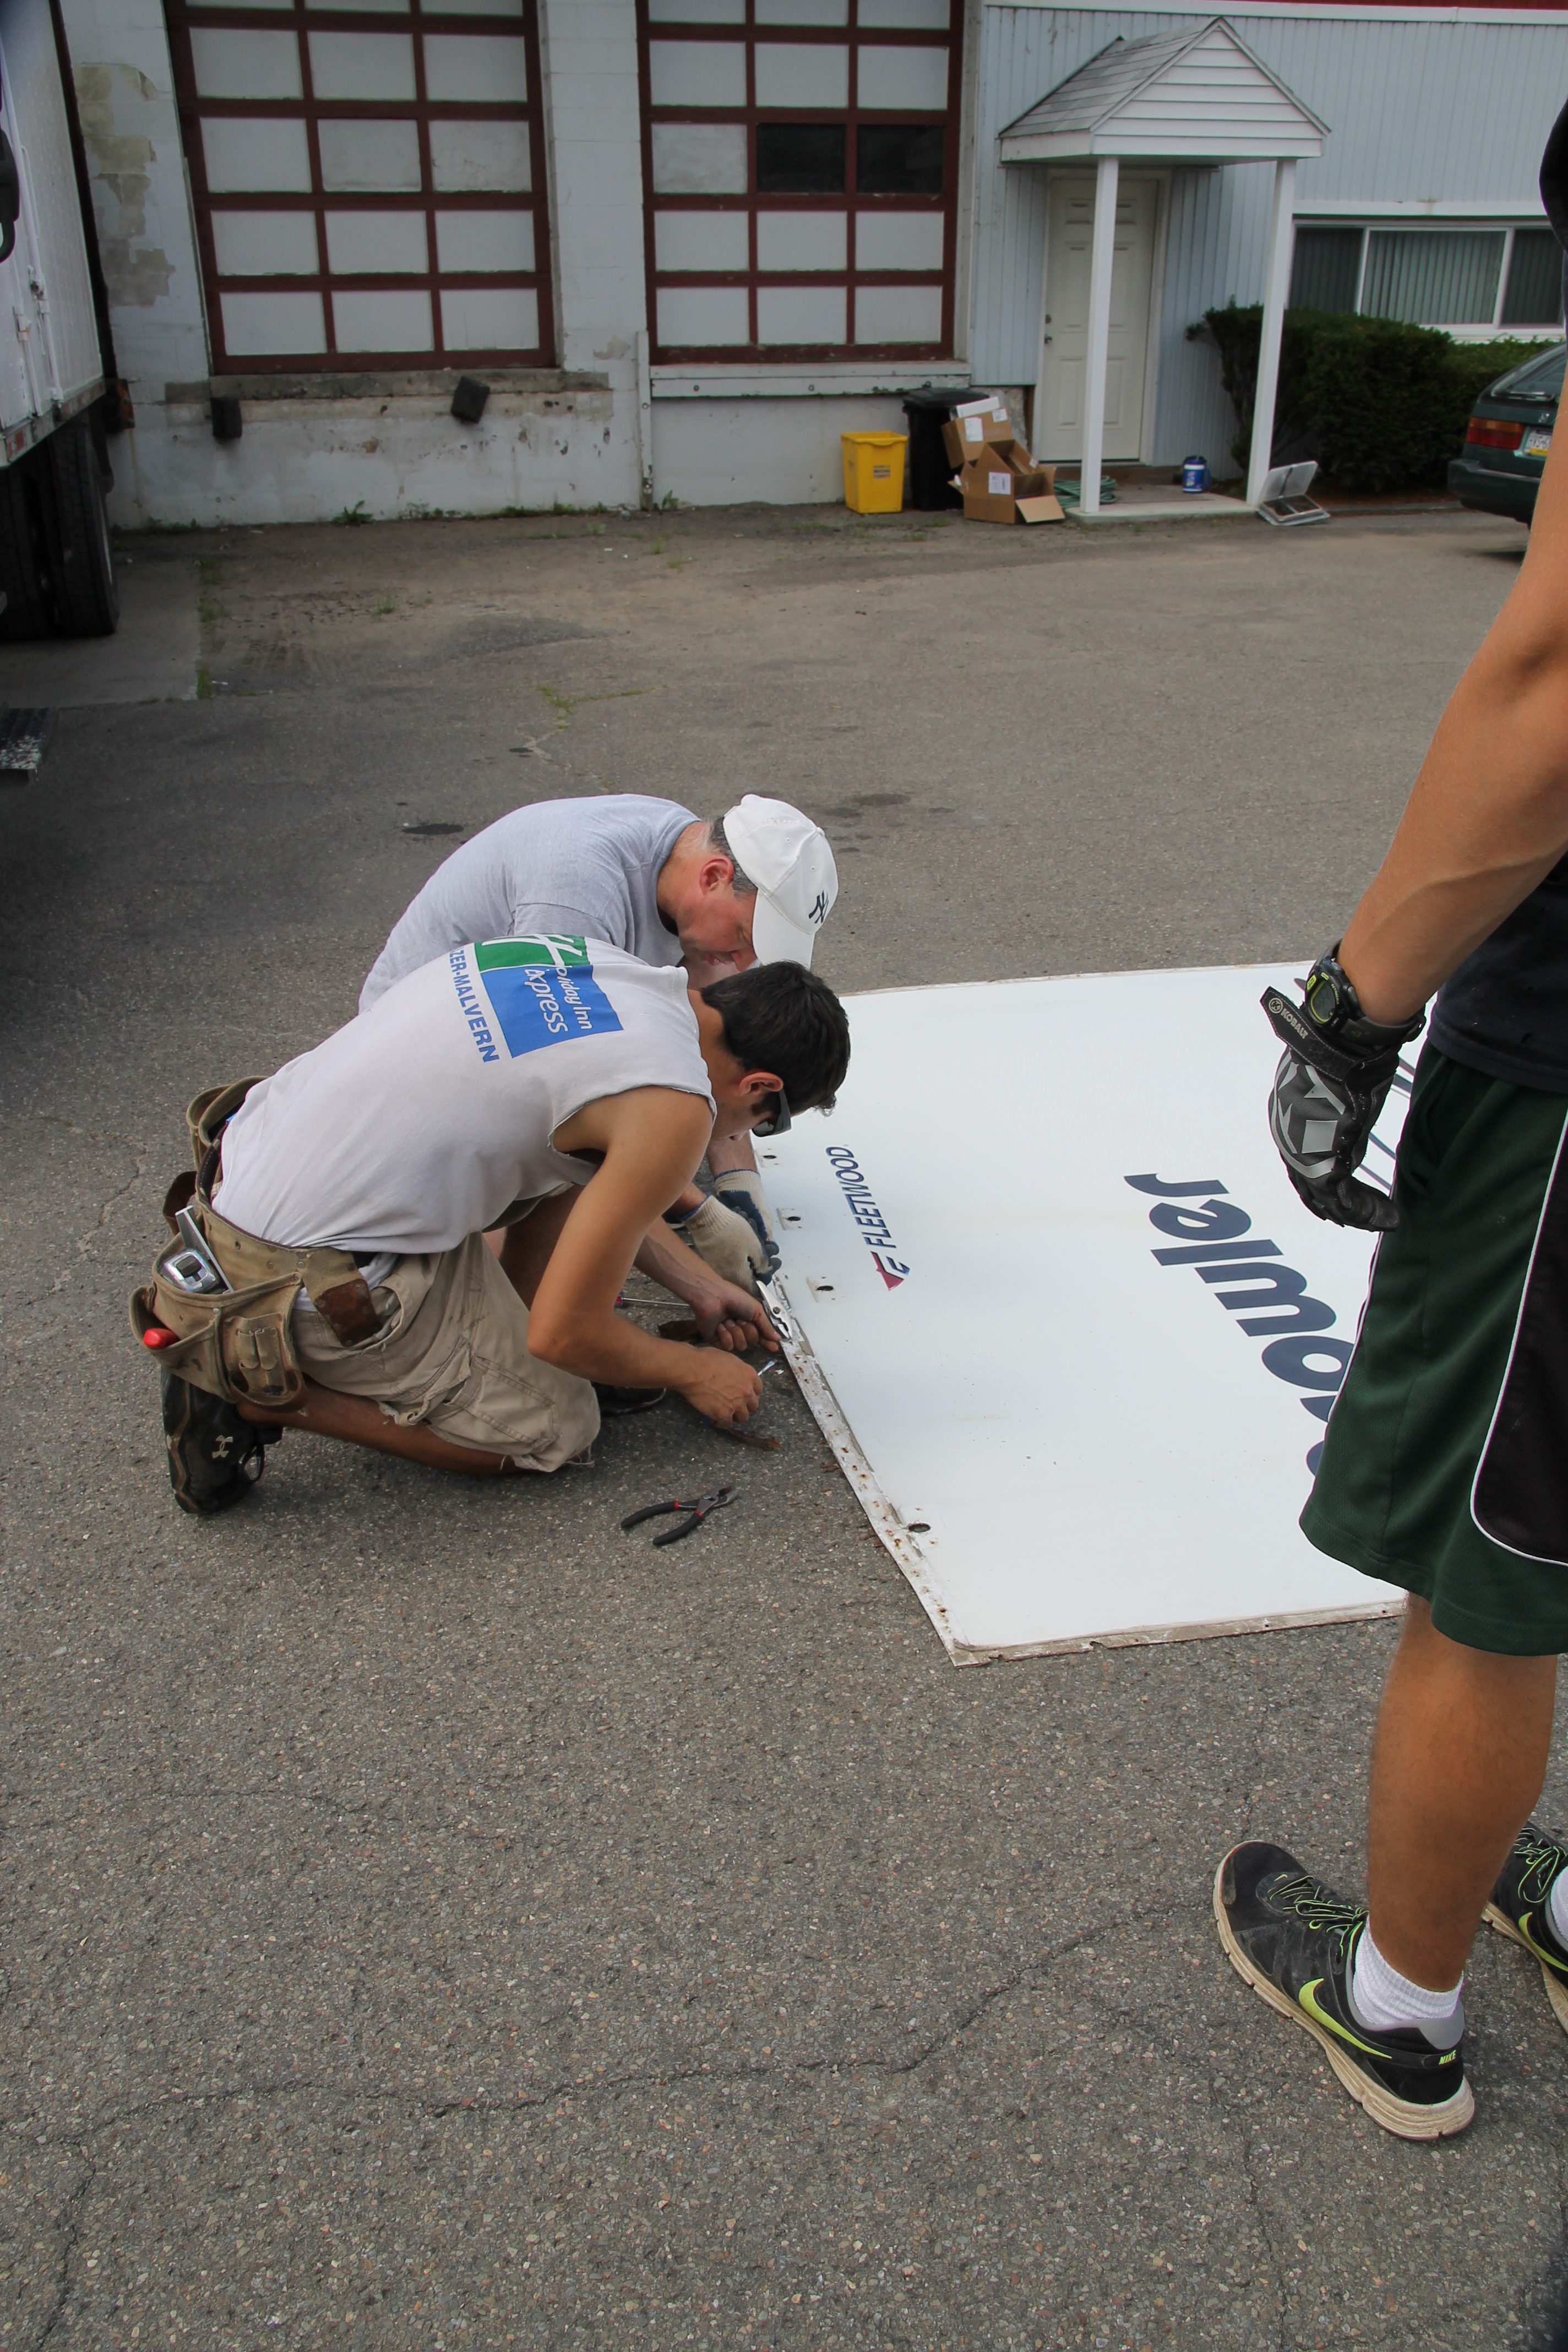
From Part 3, you’ll remember that we took the back wall panel off and set it aside for later. In this post we will be showing you how we were able to put it back on. Since we knew this project was going to take more than just 4 hands, we asked Luke’s family to come down and give us some help.
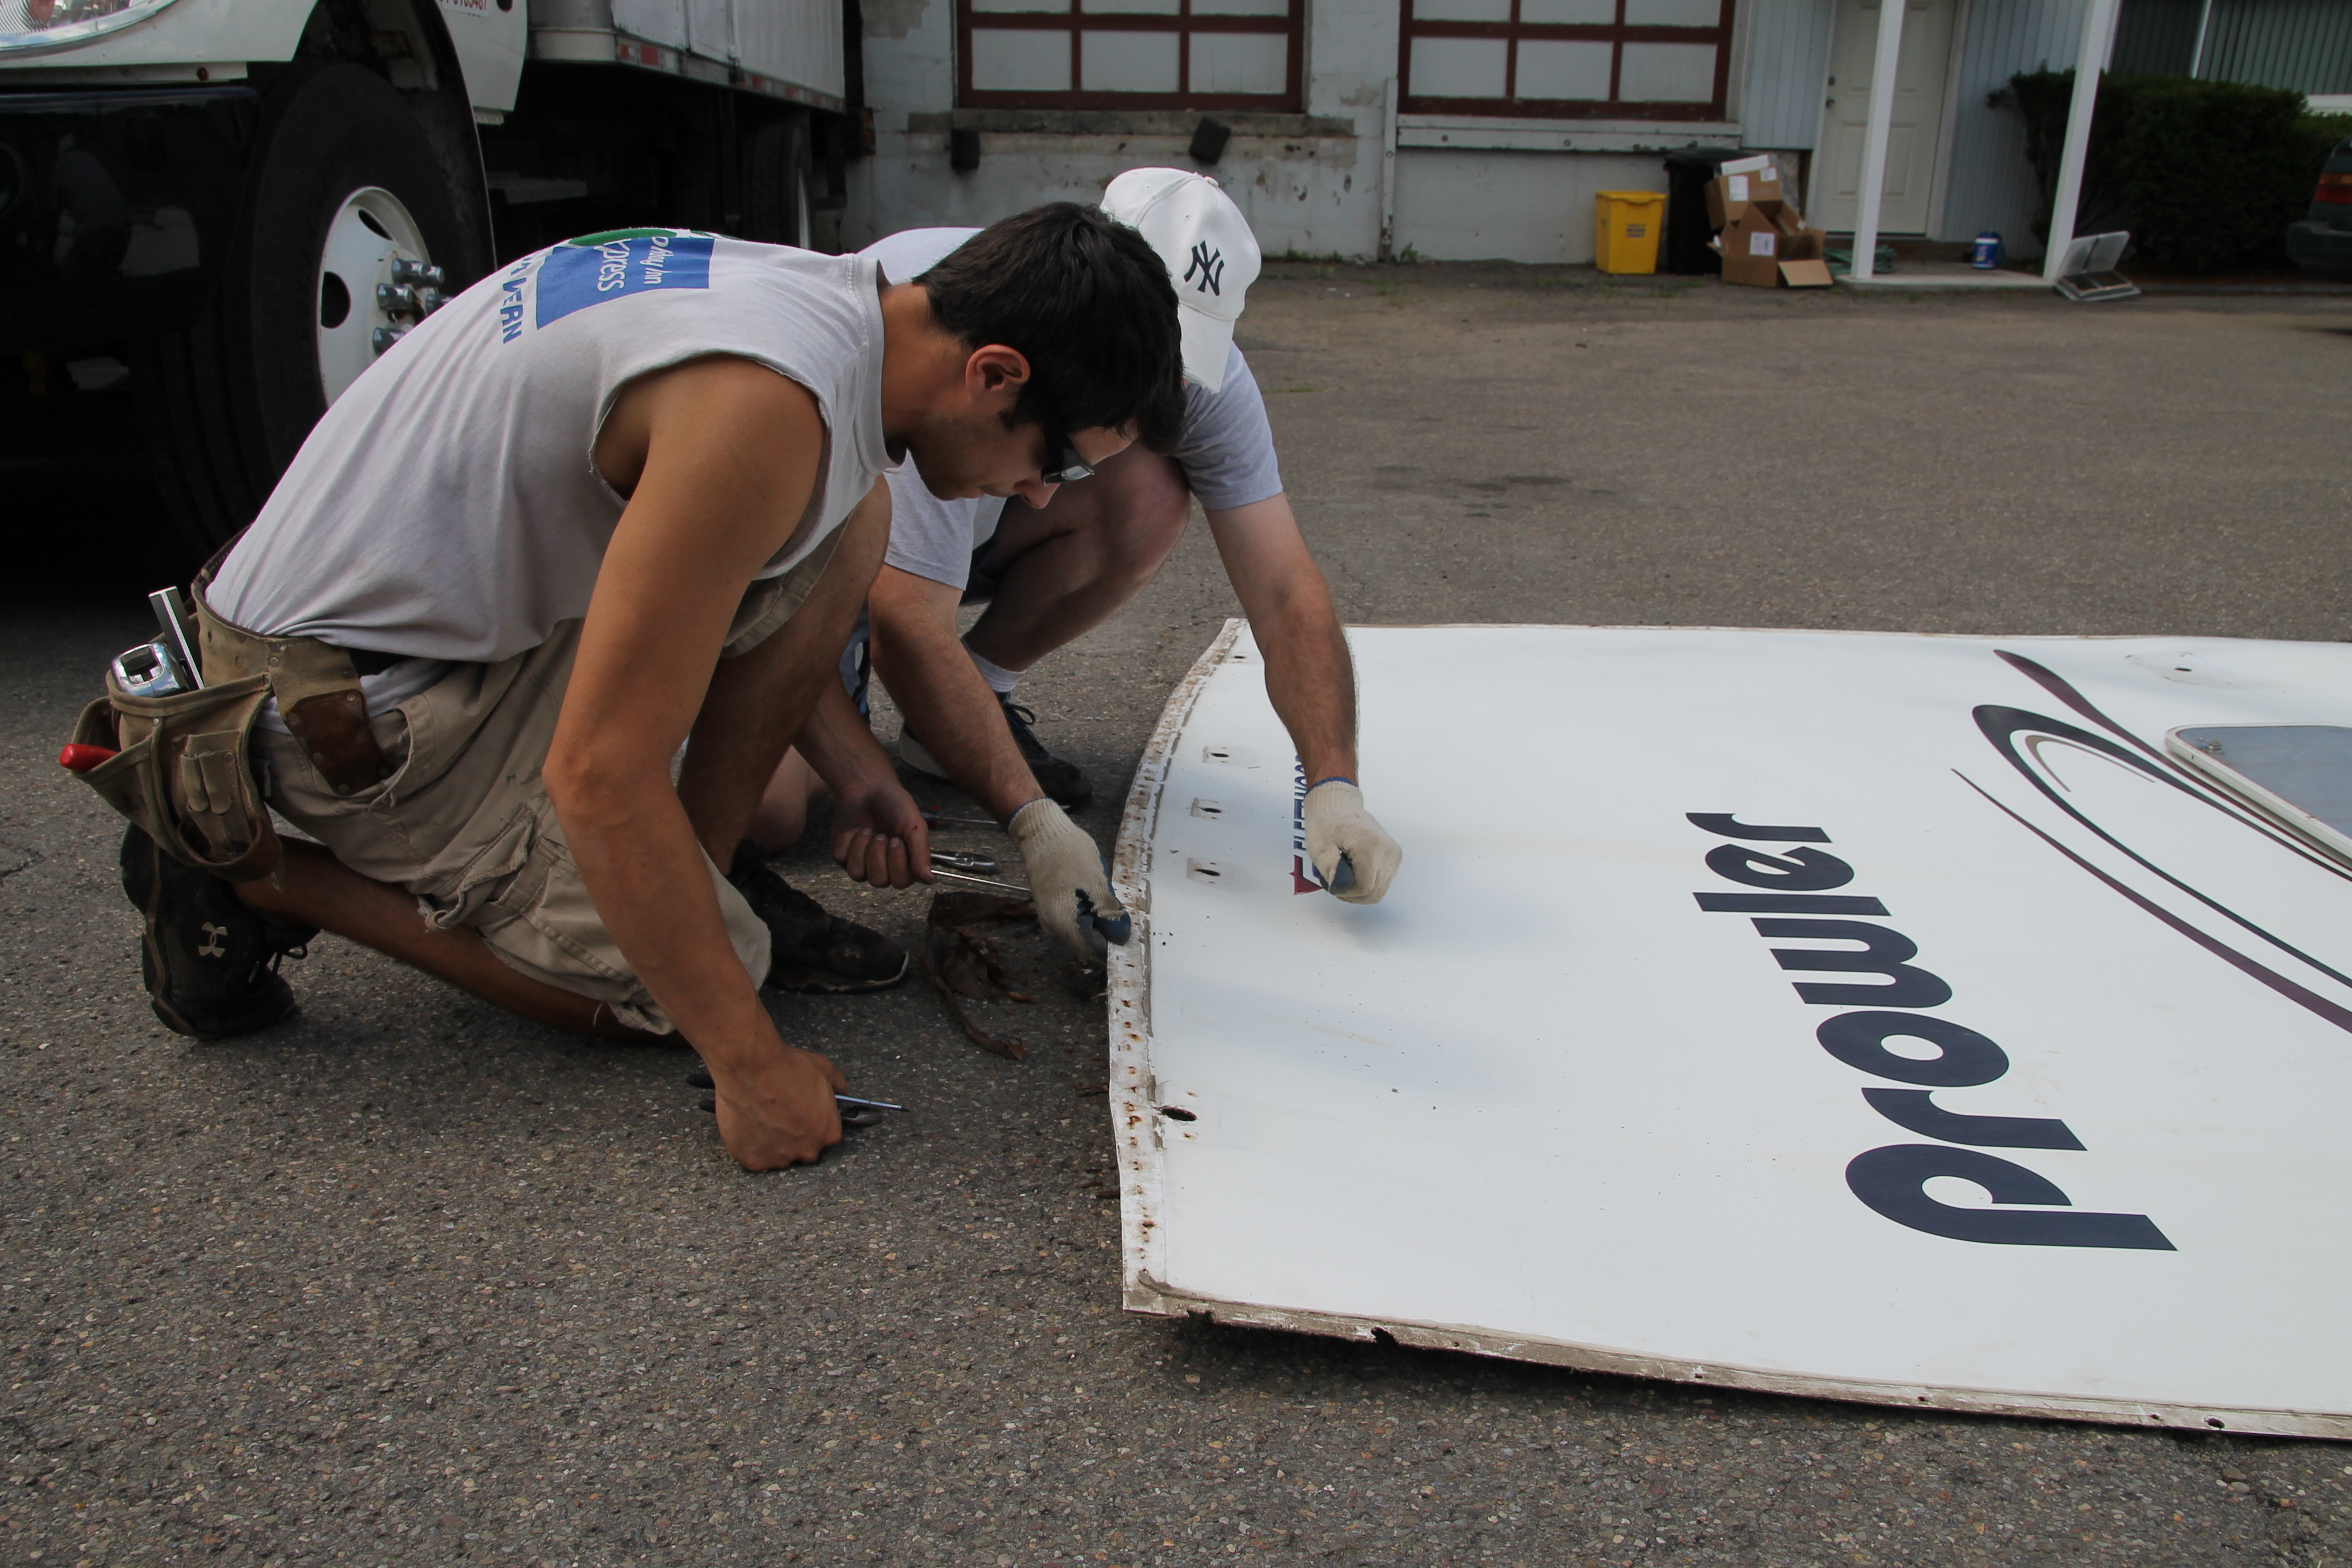
The first thing we had to do was make sure all of the staples were out.
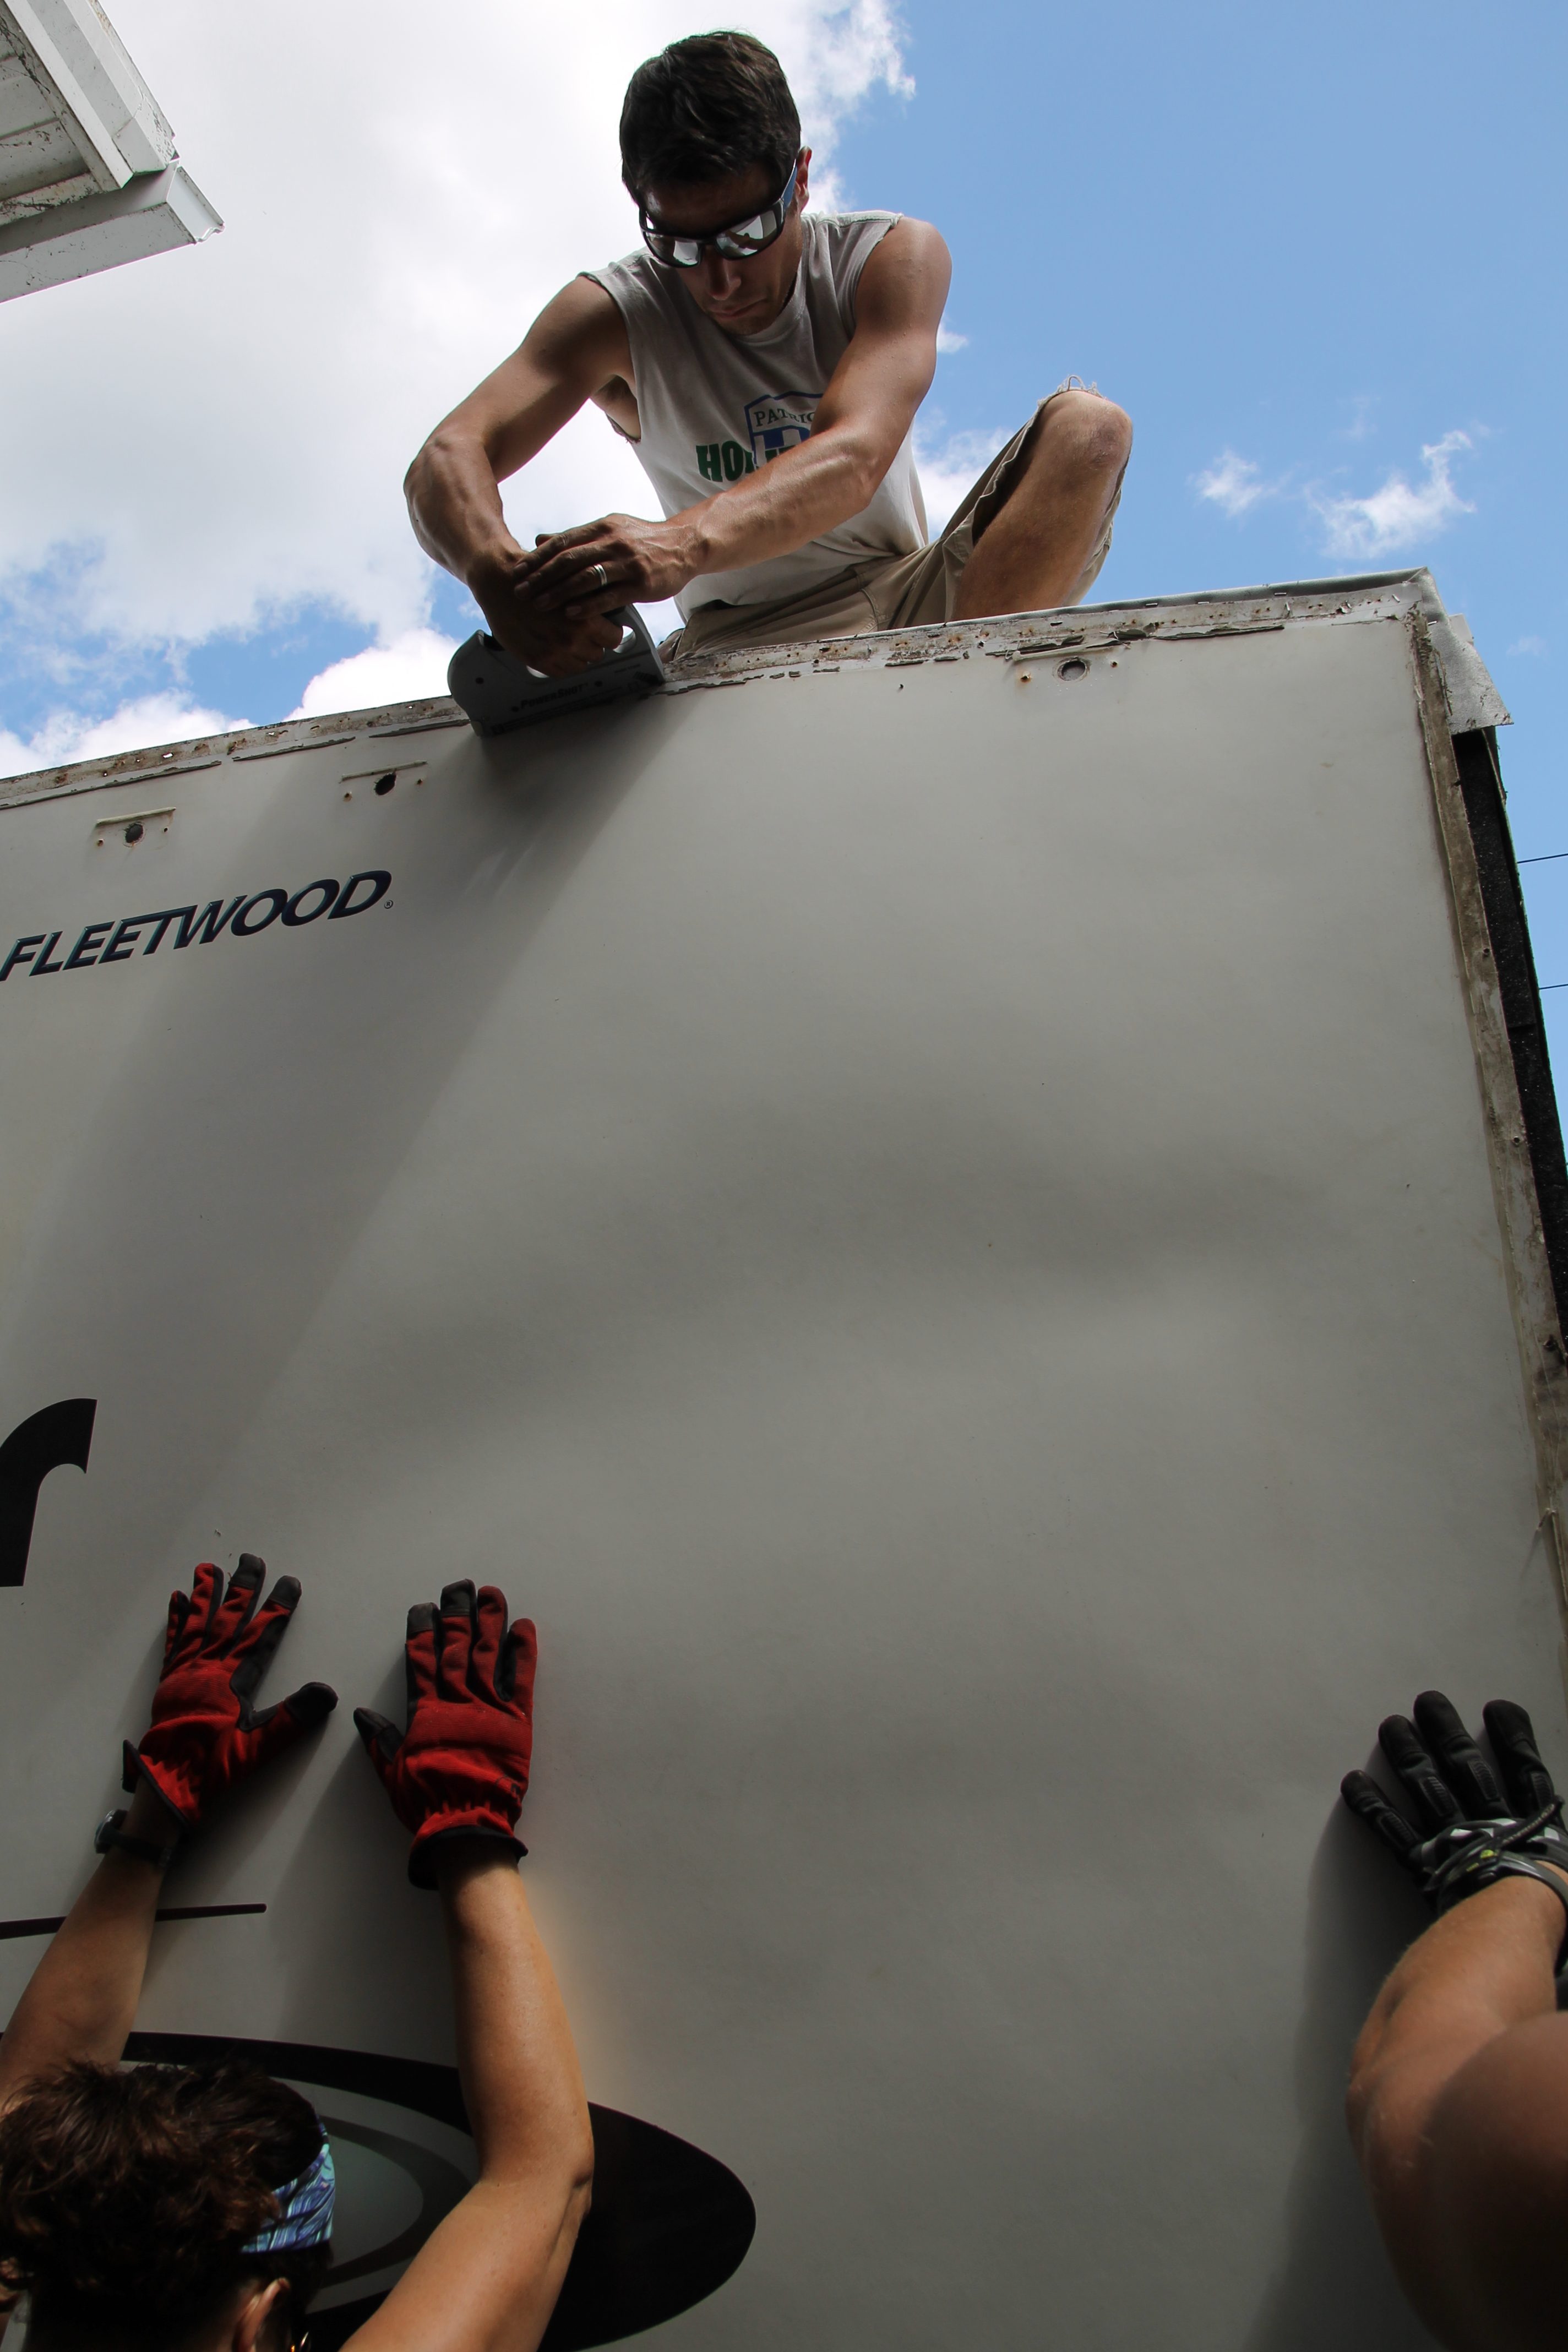
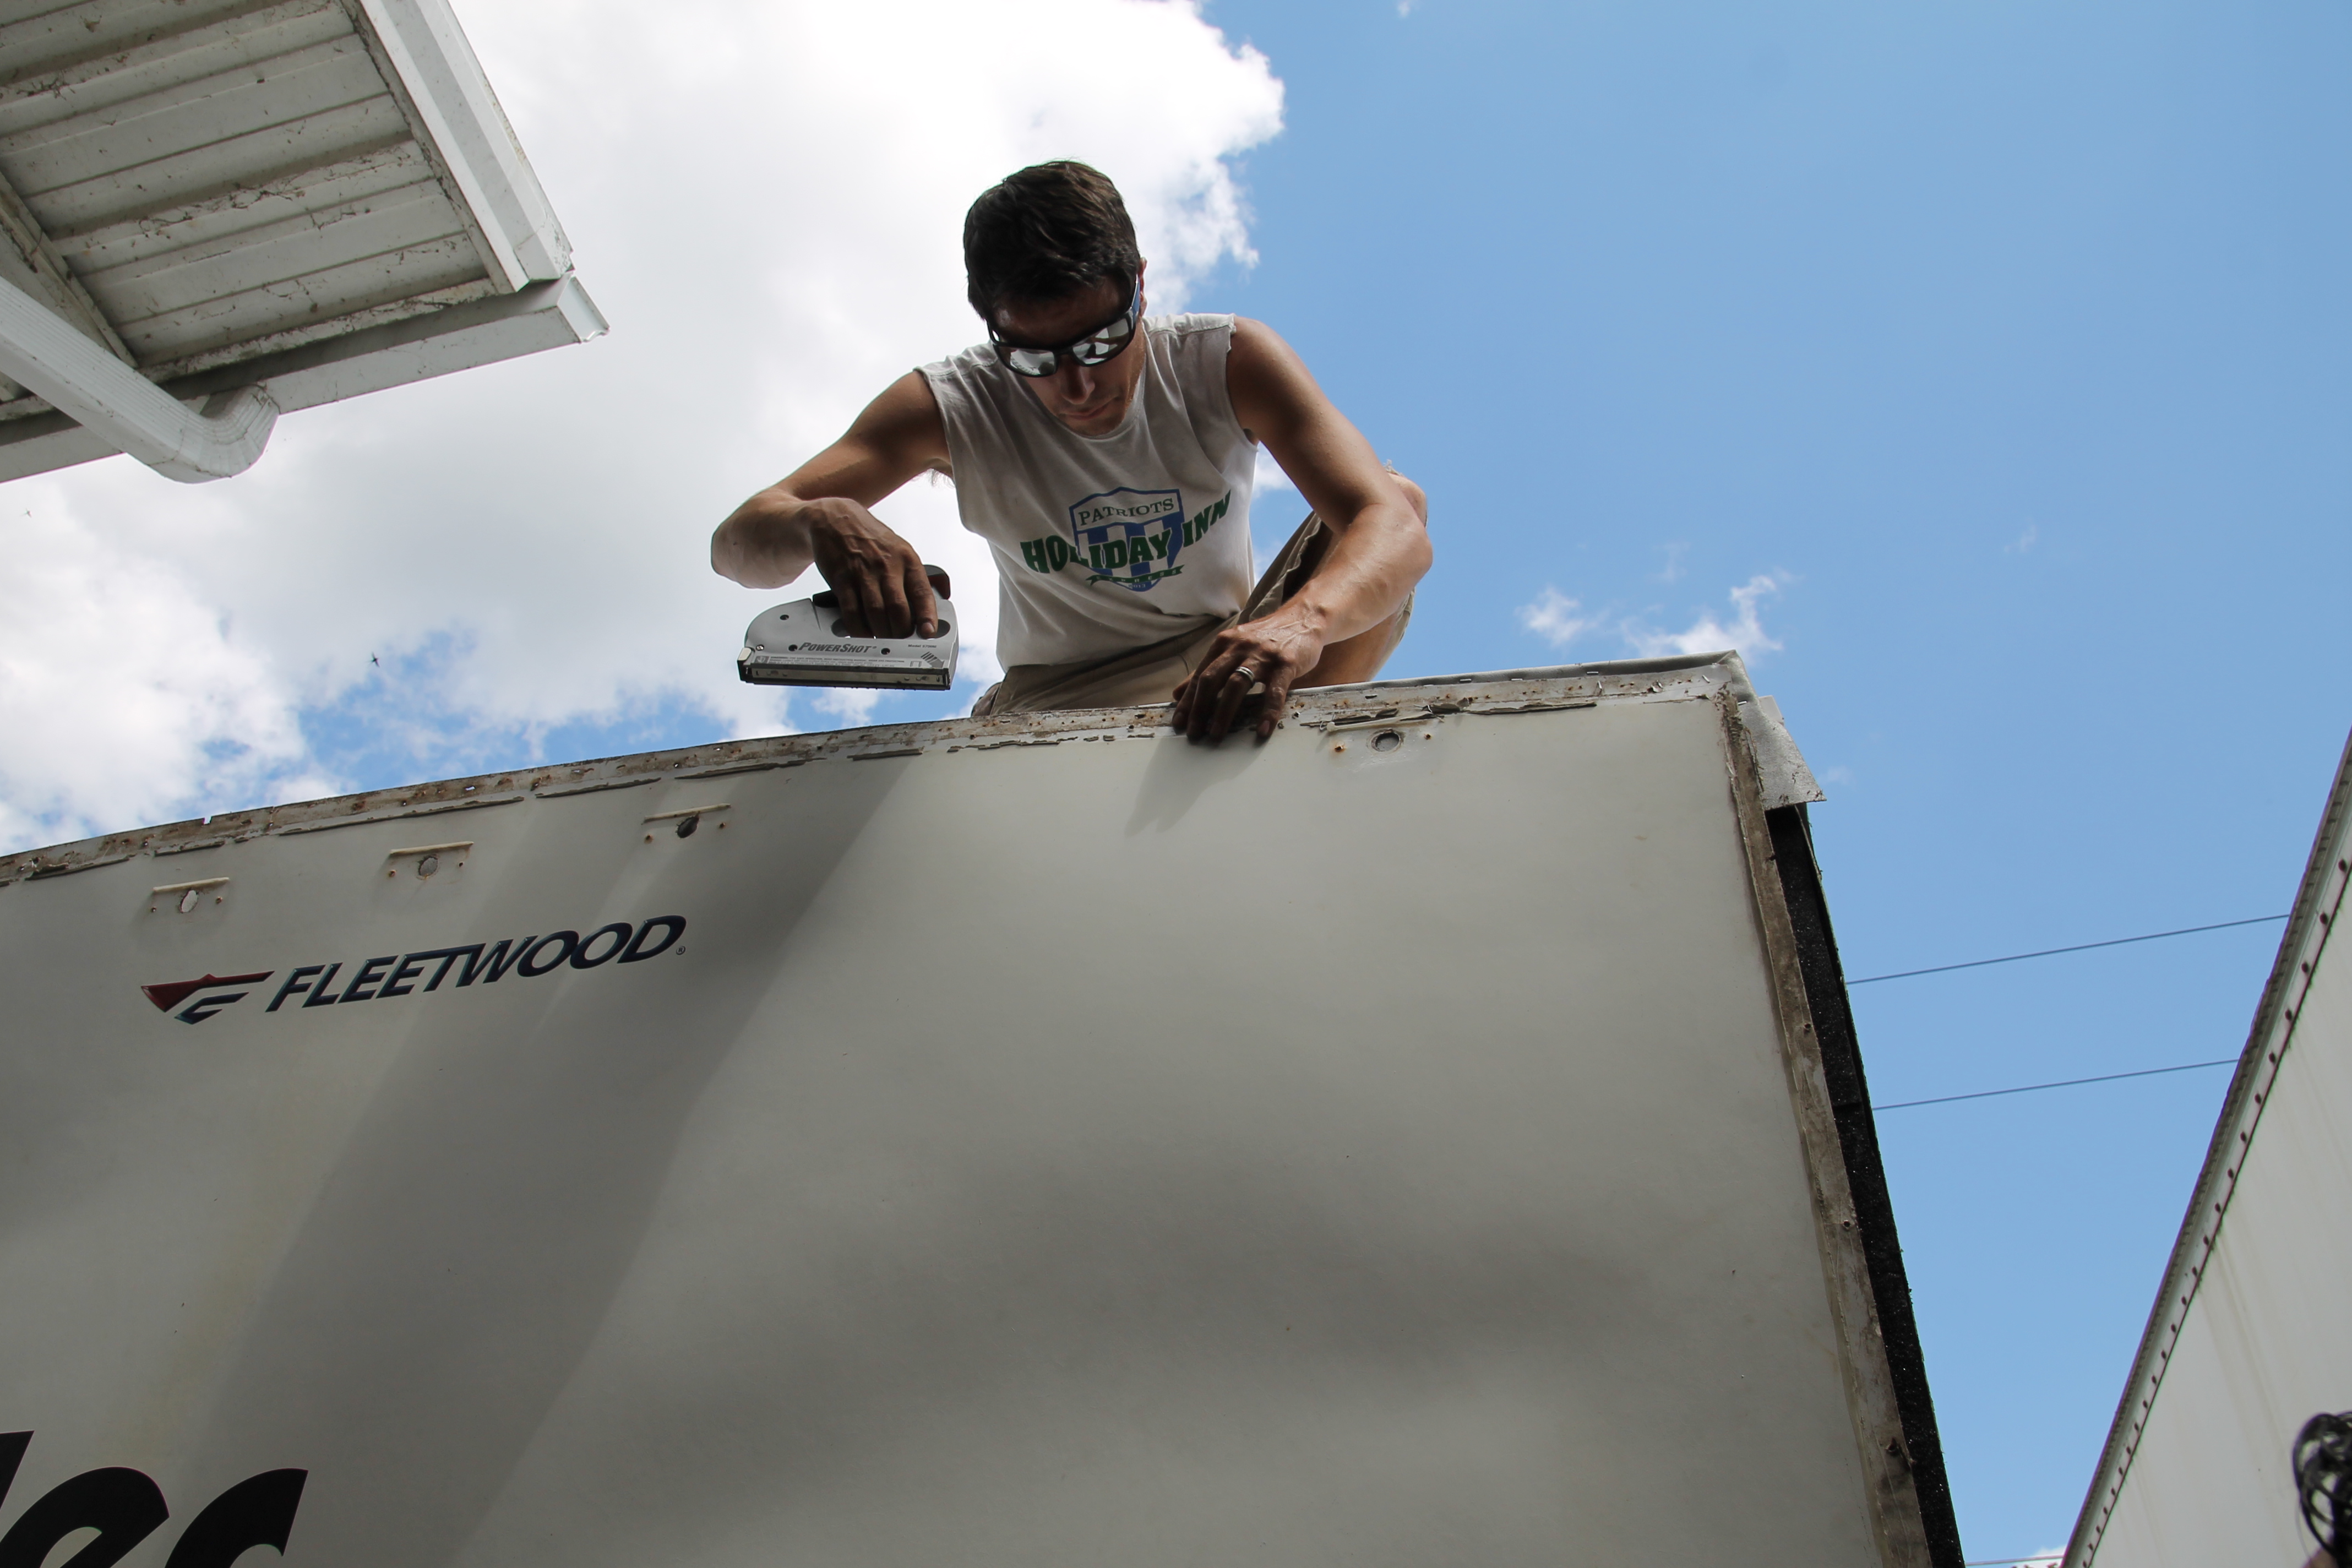
Next, Luke climbed on the roof and it was time to put it on the camper. The panels are very flimsy, so we had to be careful not to damage it in the process. Once we started putting it back on, we realized that the back wall we rebuilt was actually bigger than the original wall, which meant that the panel was slightly too small on each side.
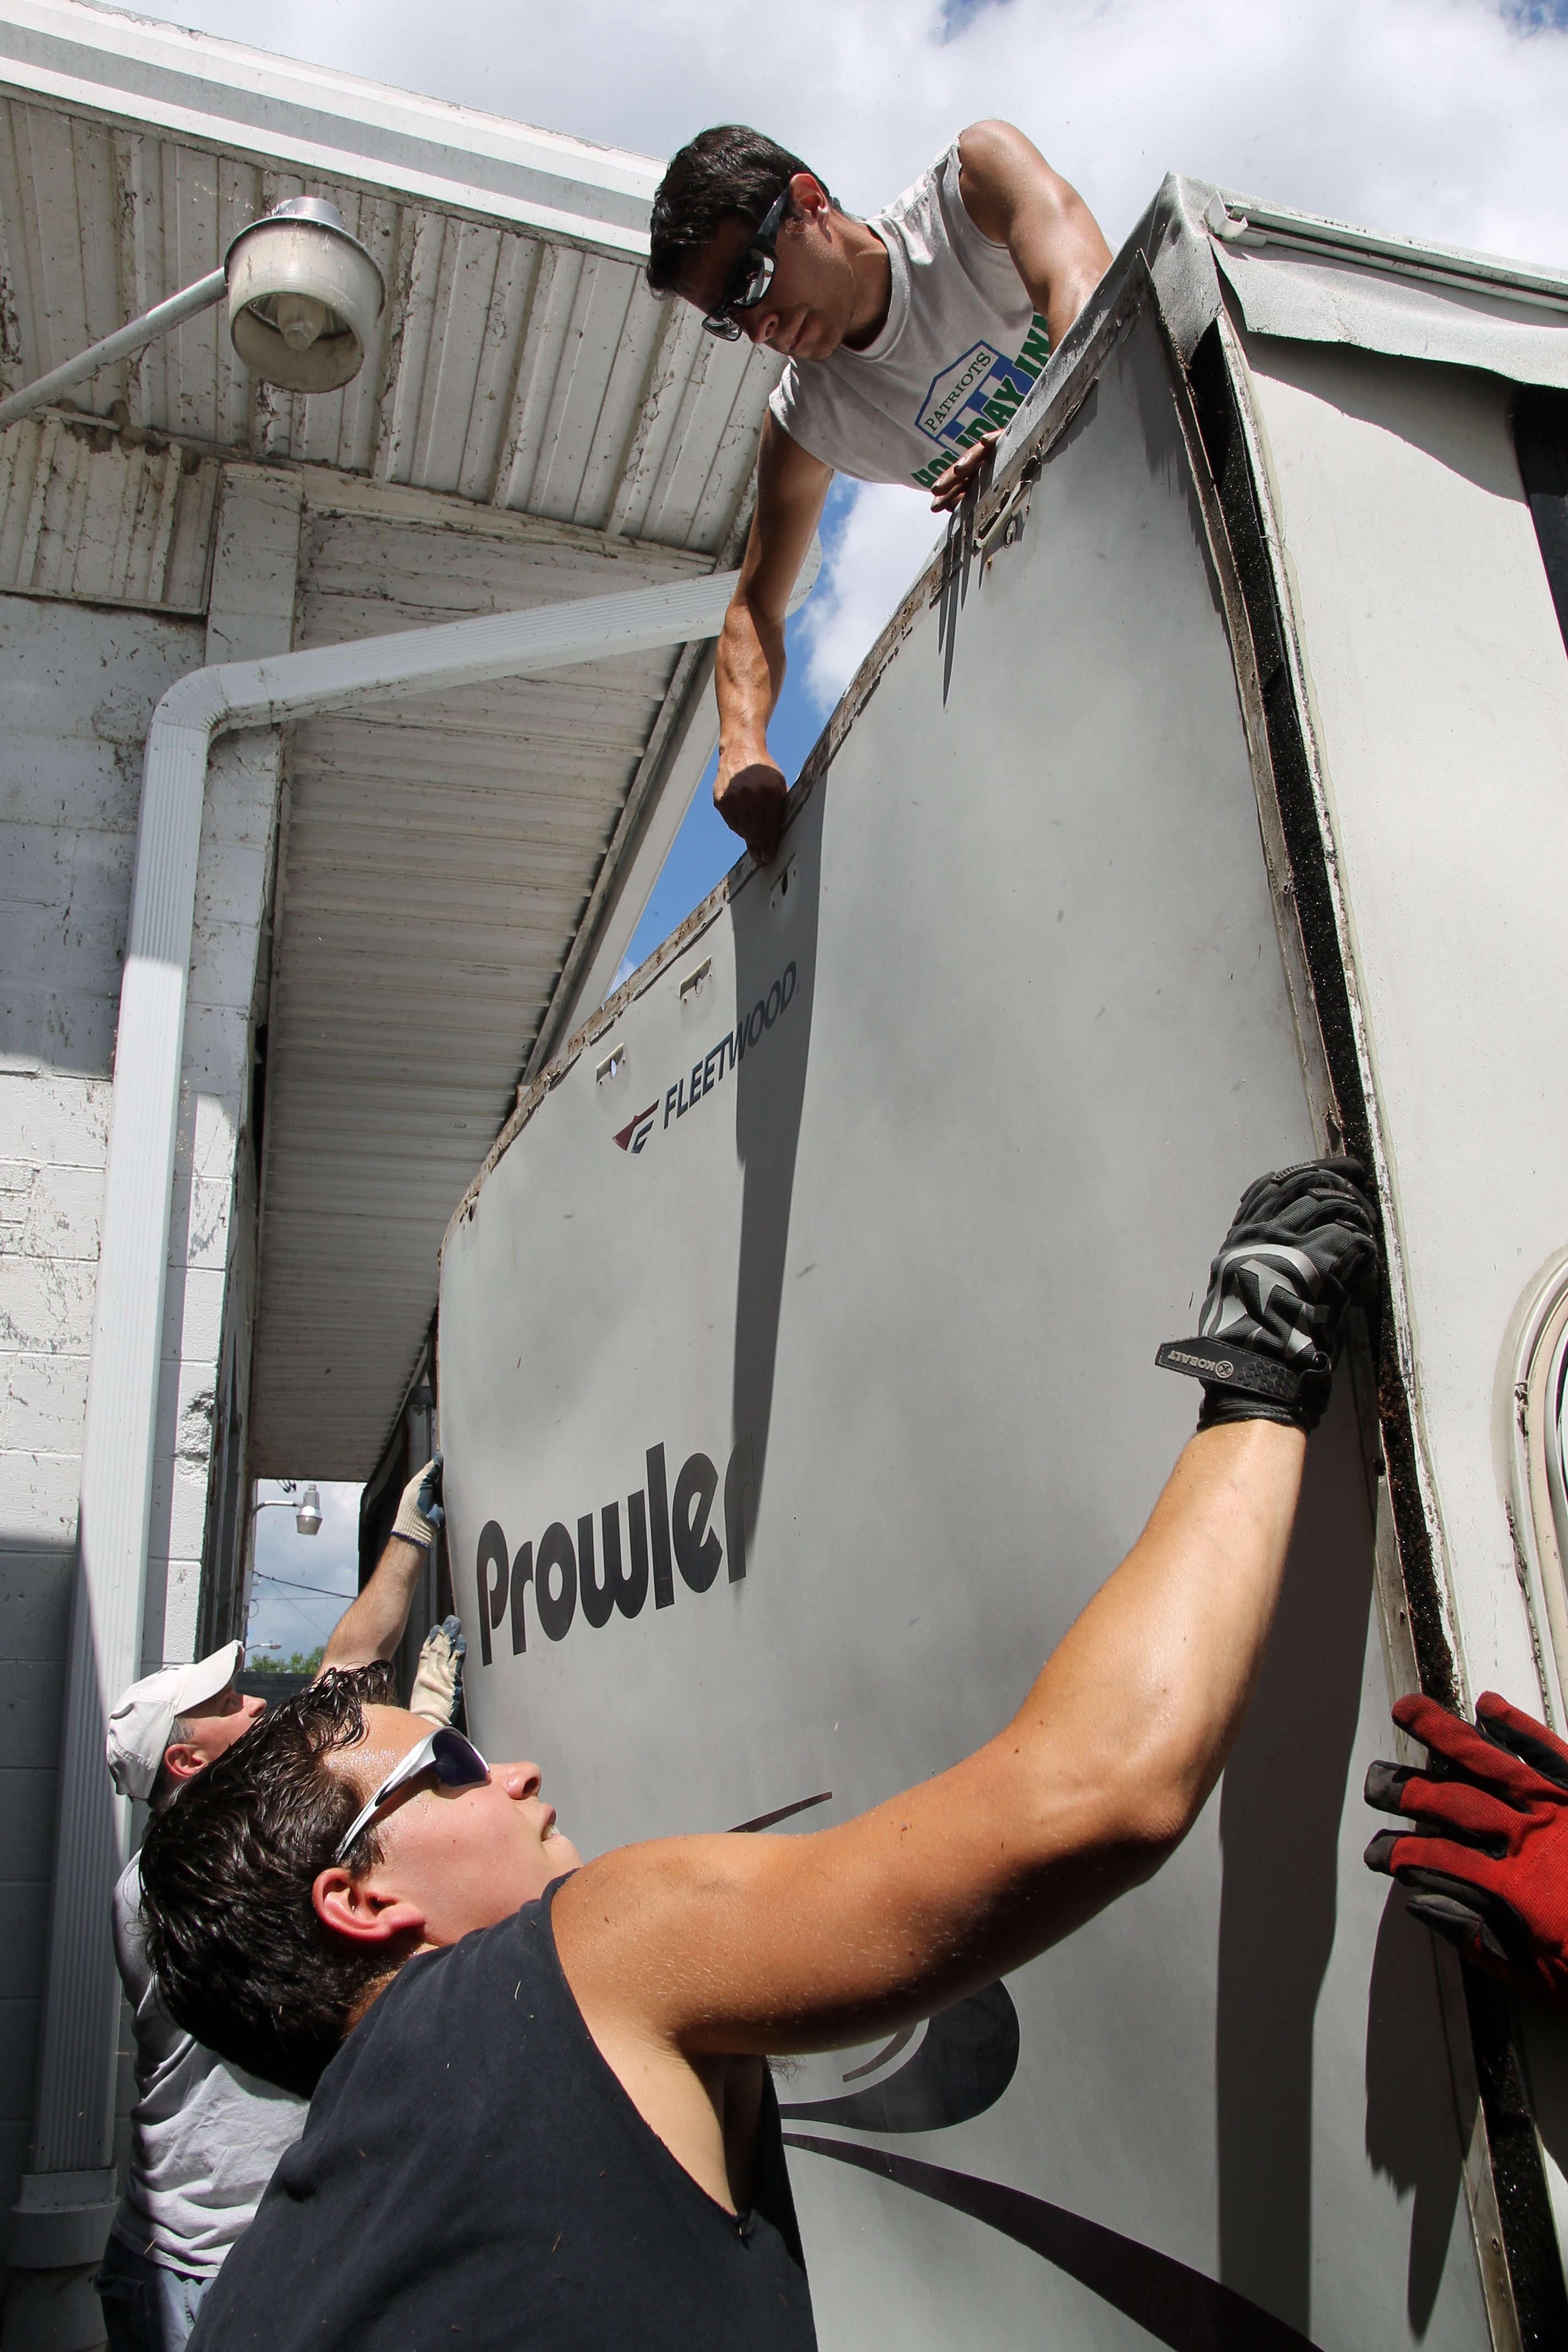
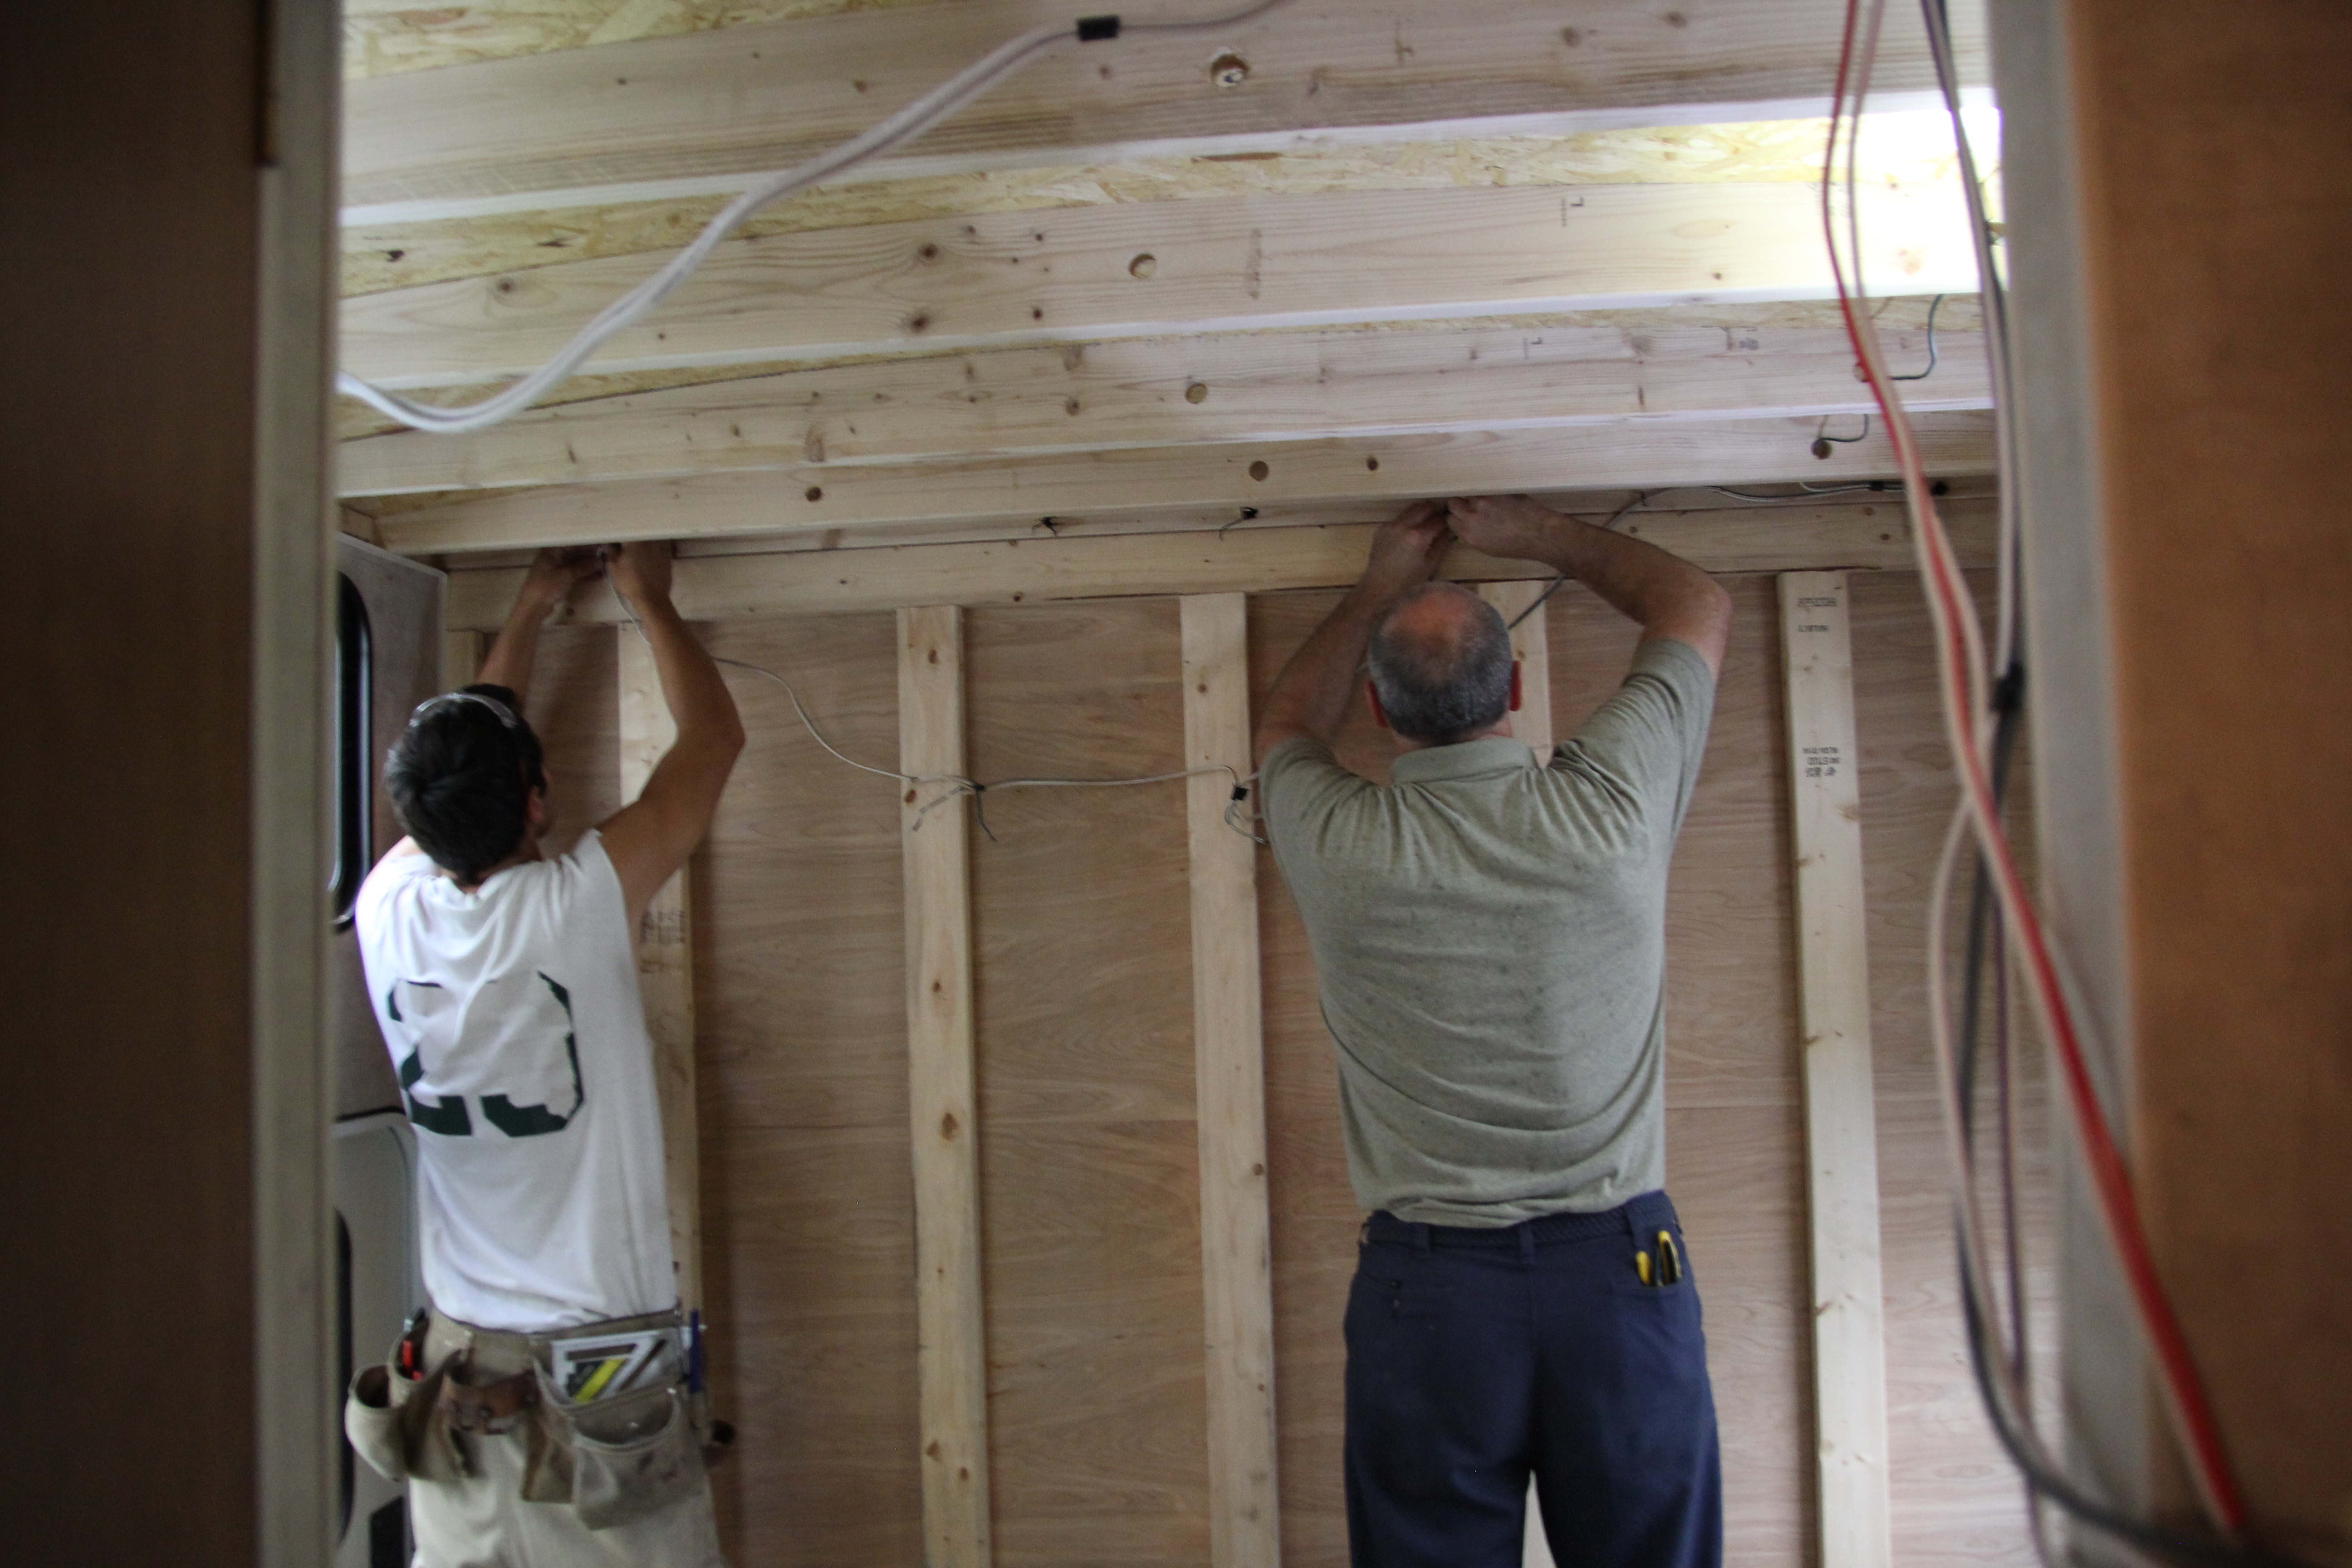
Once we figured out where to put it to keep it aligned with where the holes were going to need to be for the lights, Luke’s dad and brother held it in place while he stapled it in.
The left side was especially short, so we had to nail metal flashing to the corner to prevent leaks and cover the empty space.

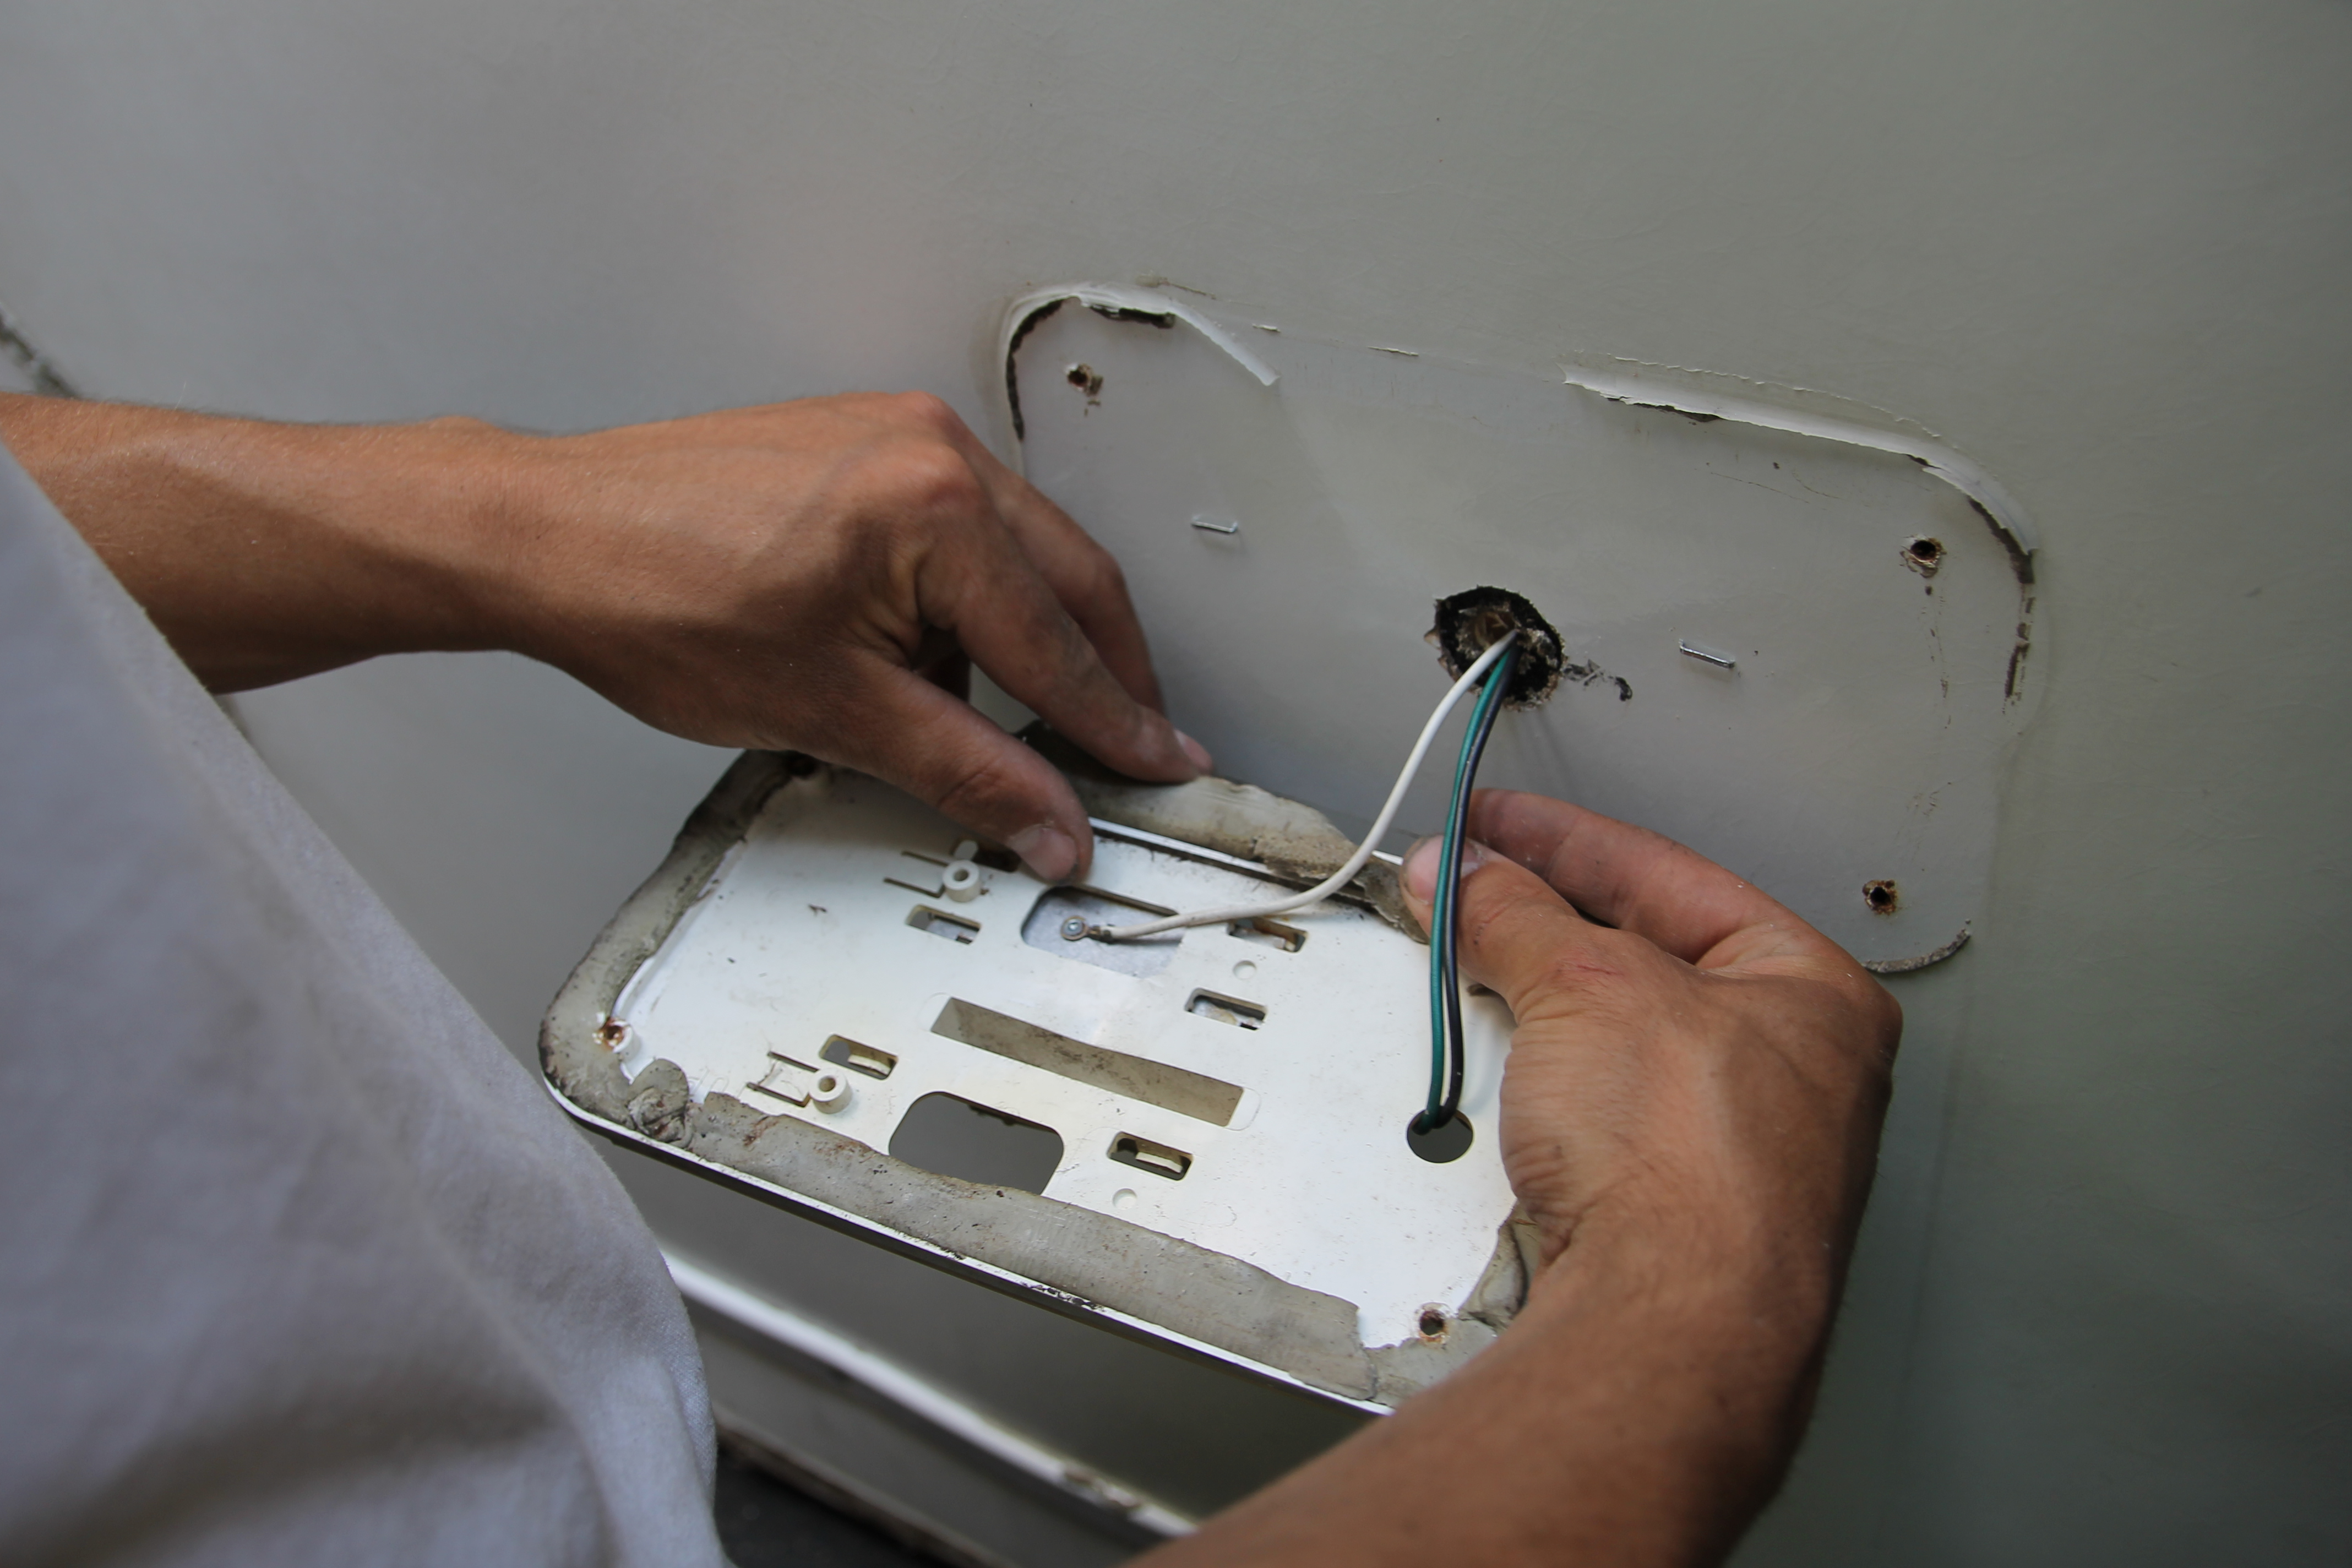
Next was installing the running lights and brake lights, which we had saved from when we originally took the panel off.
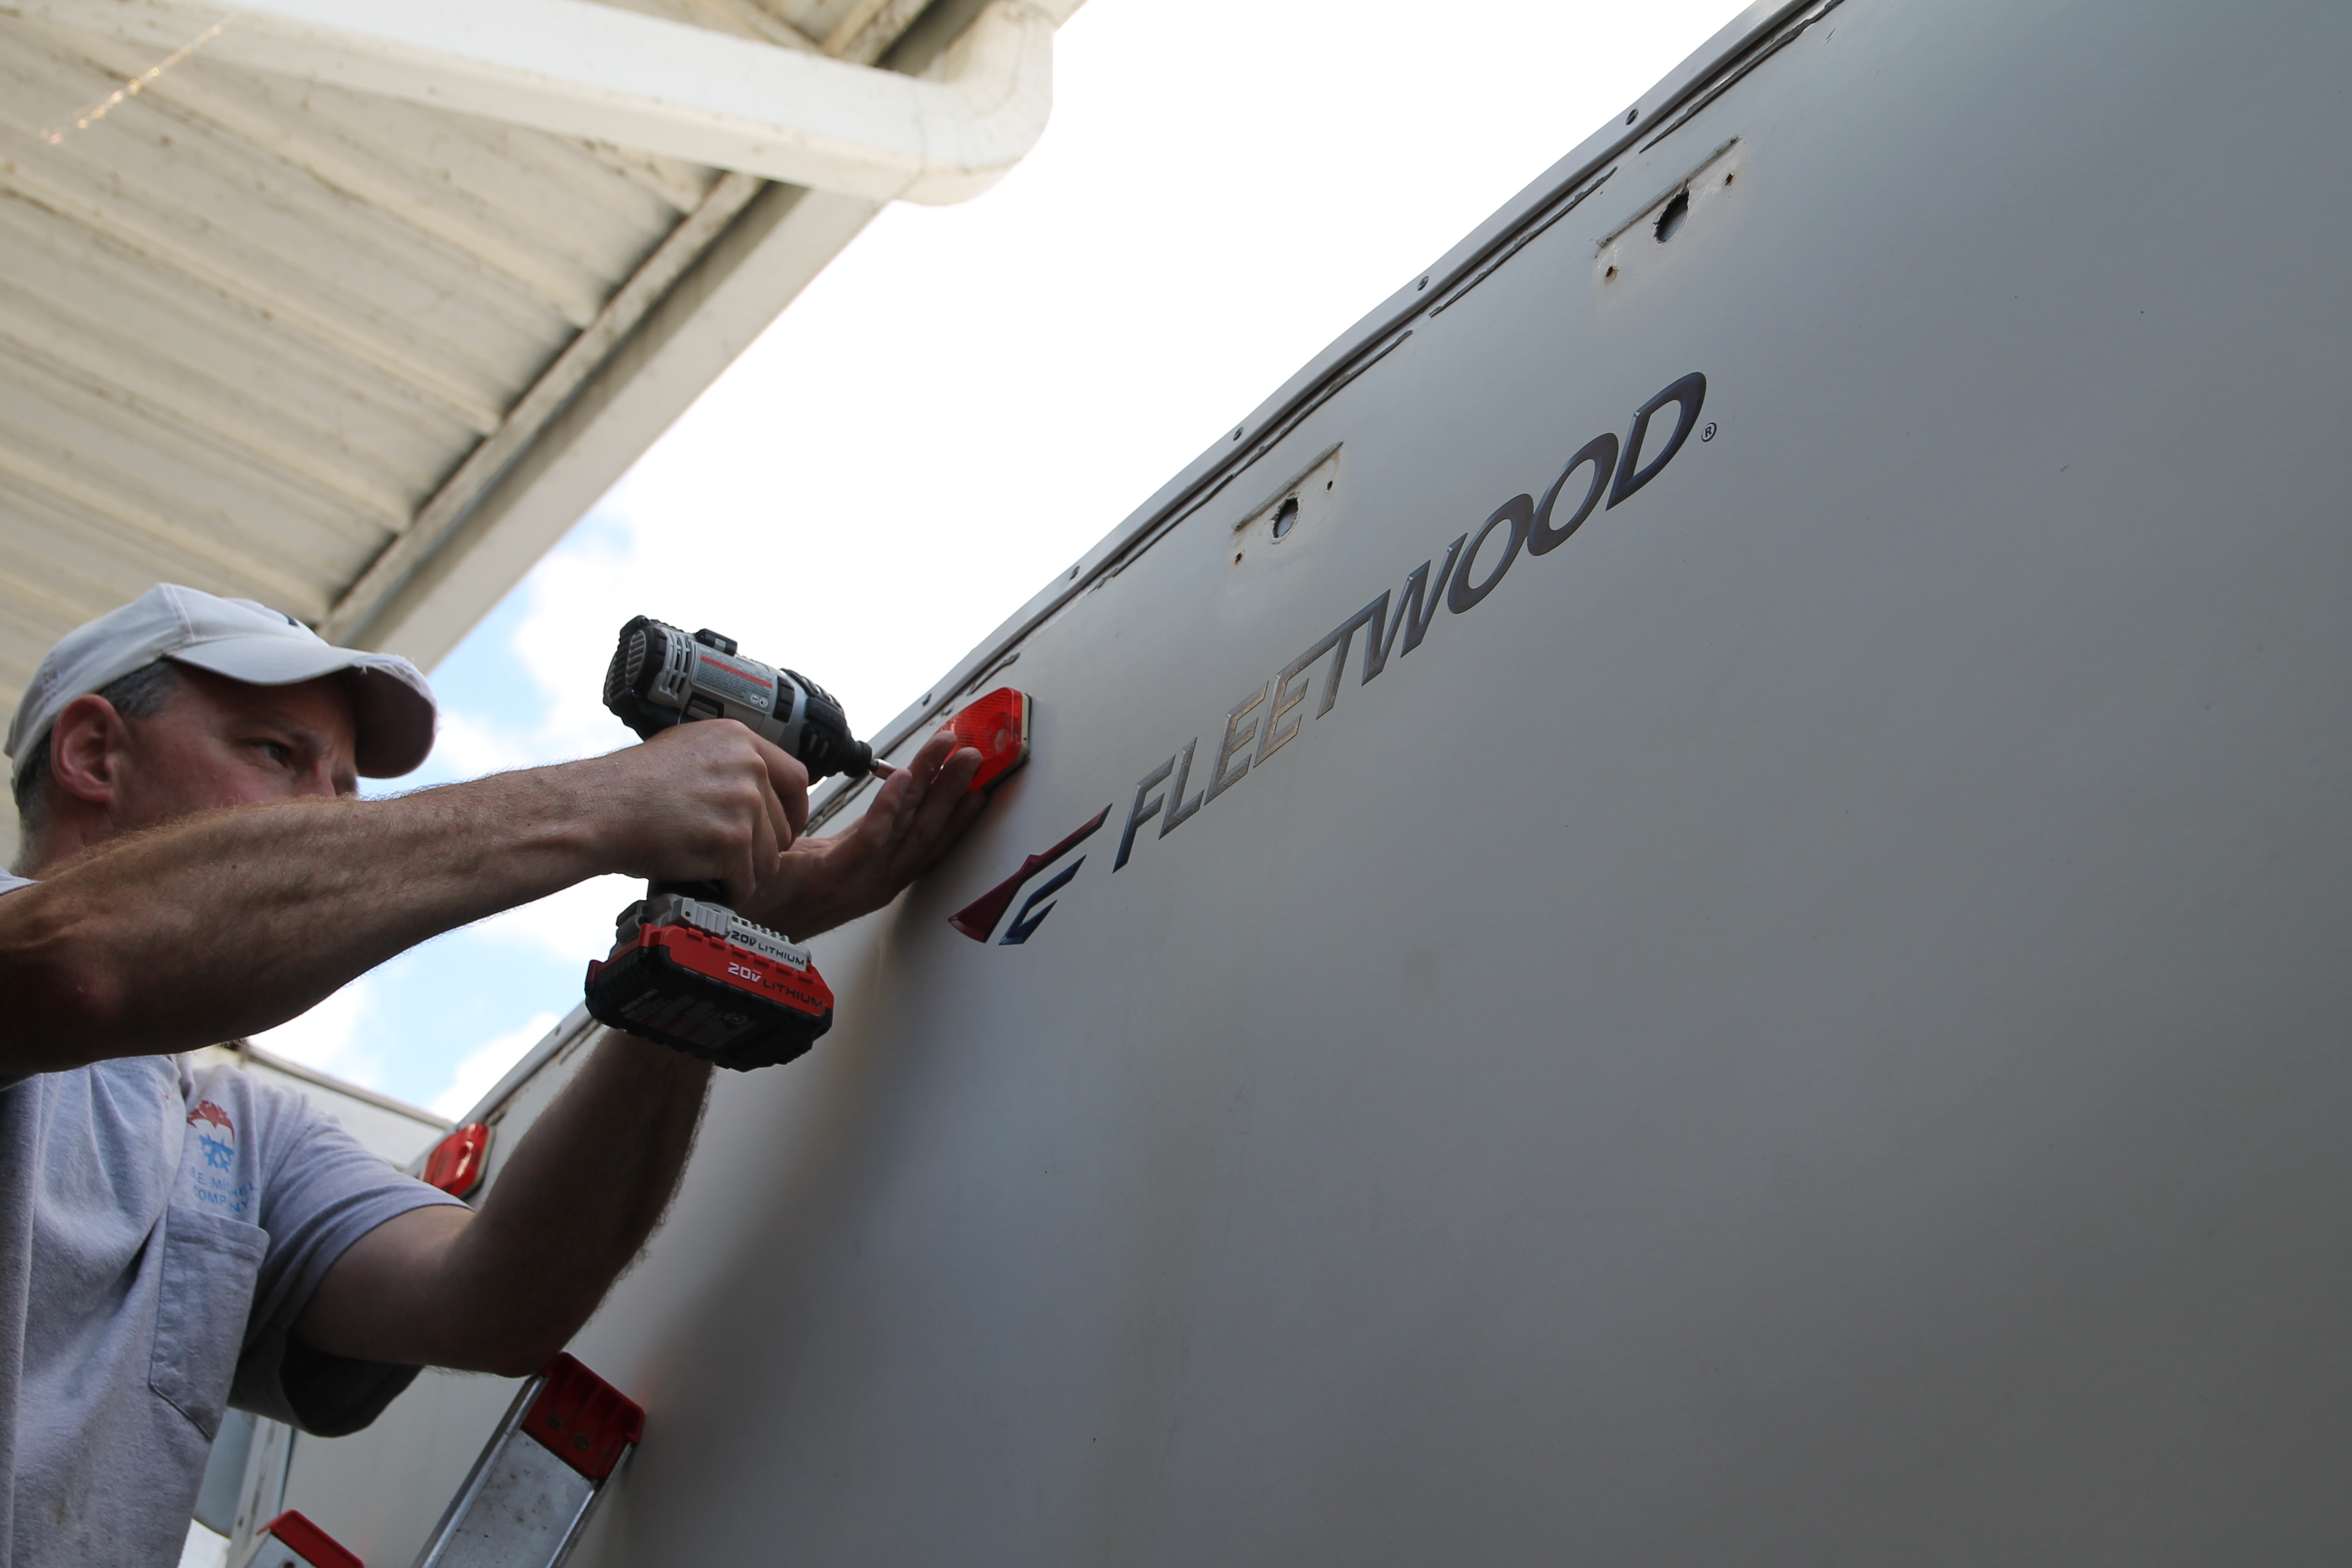

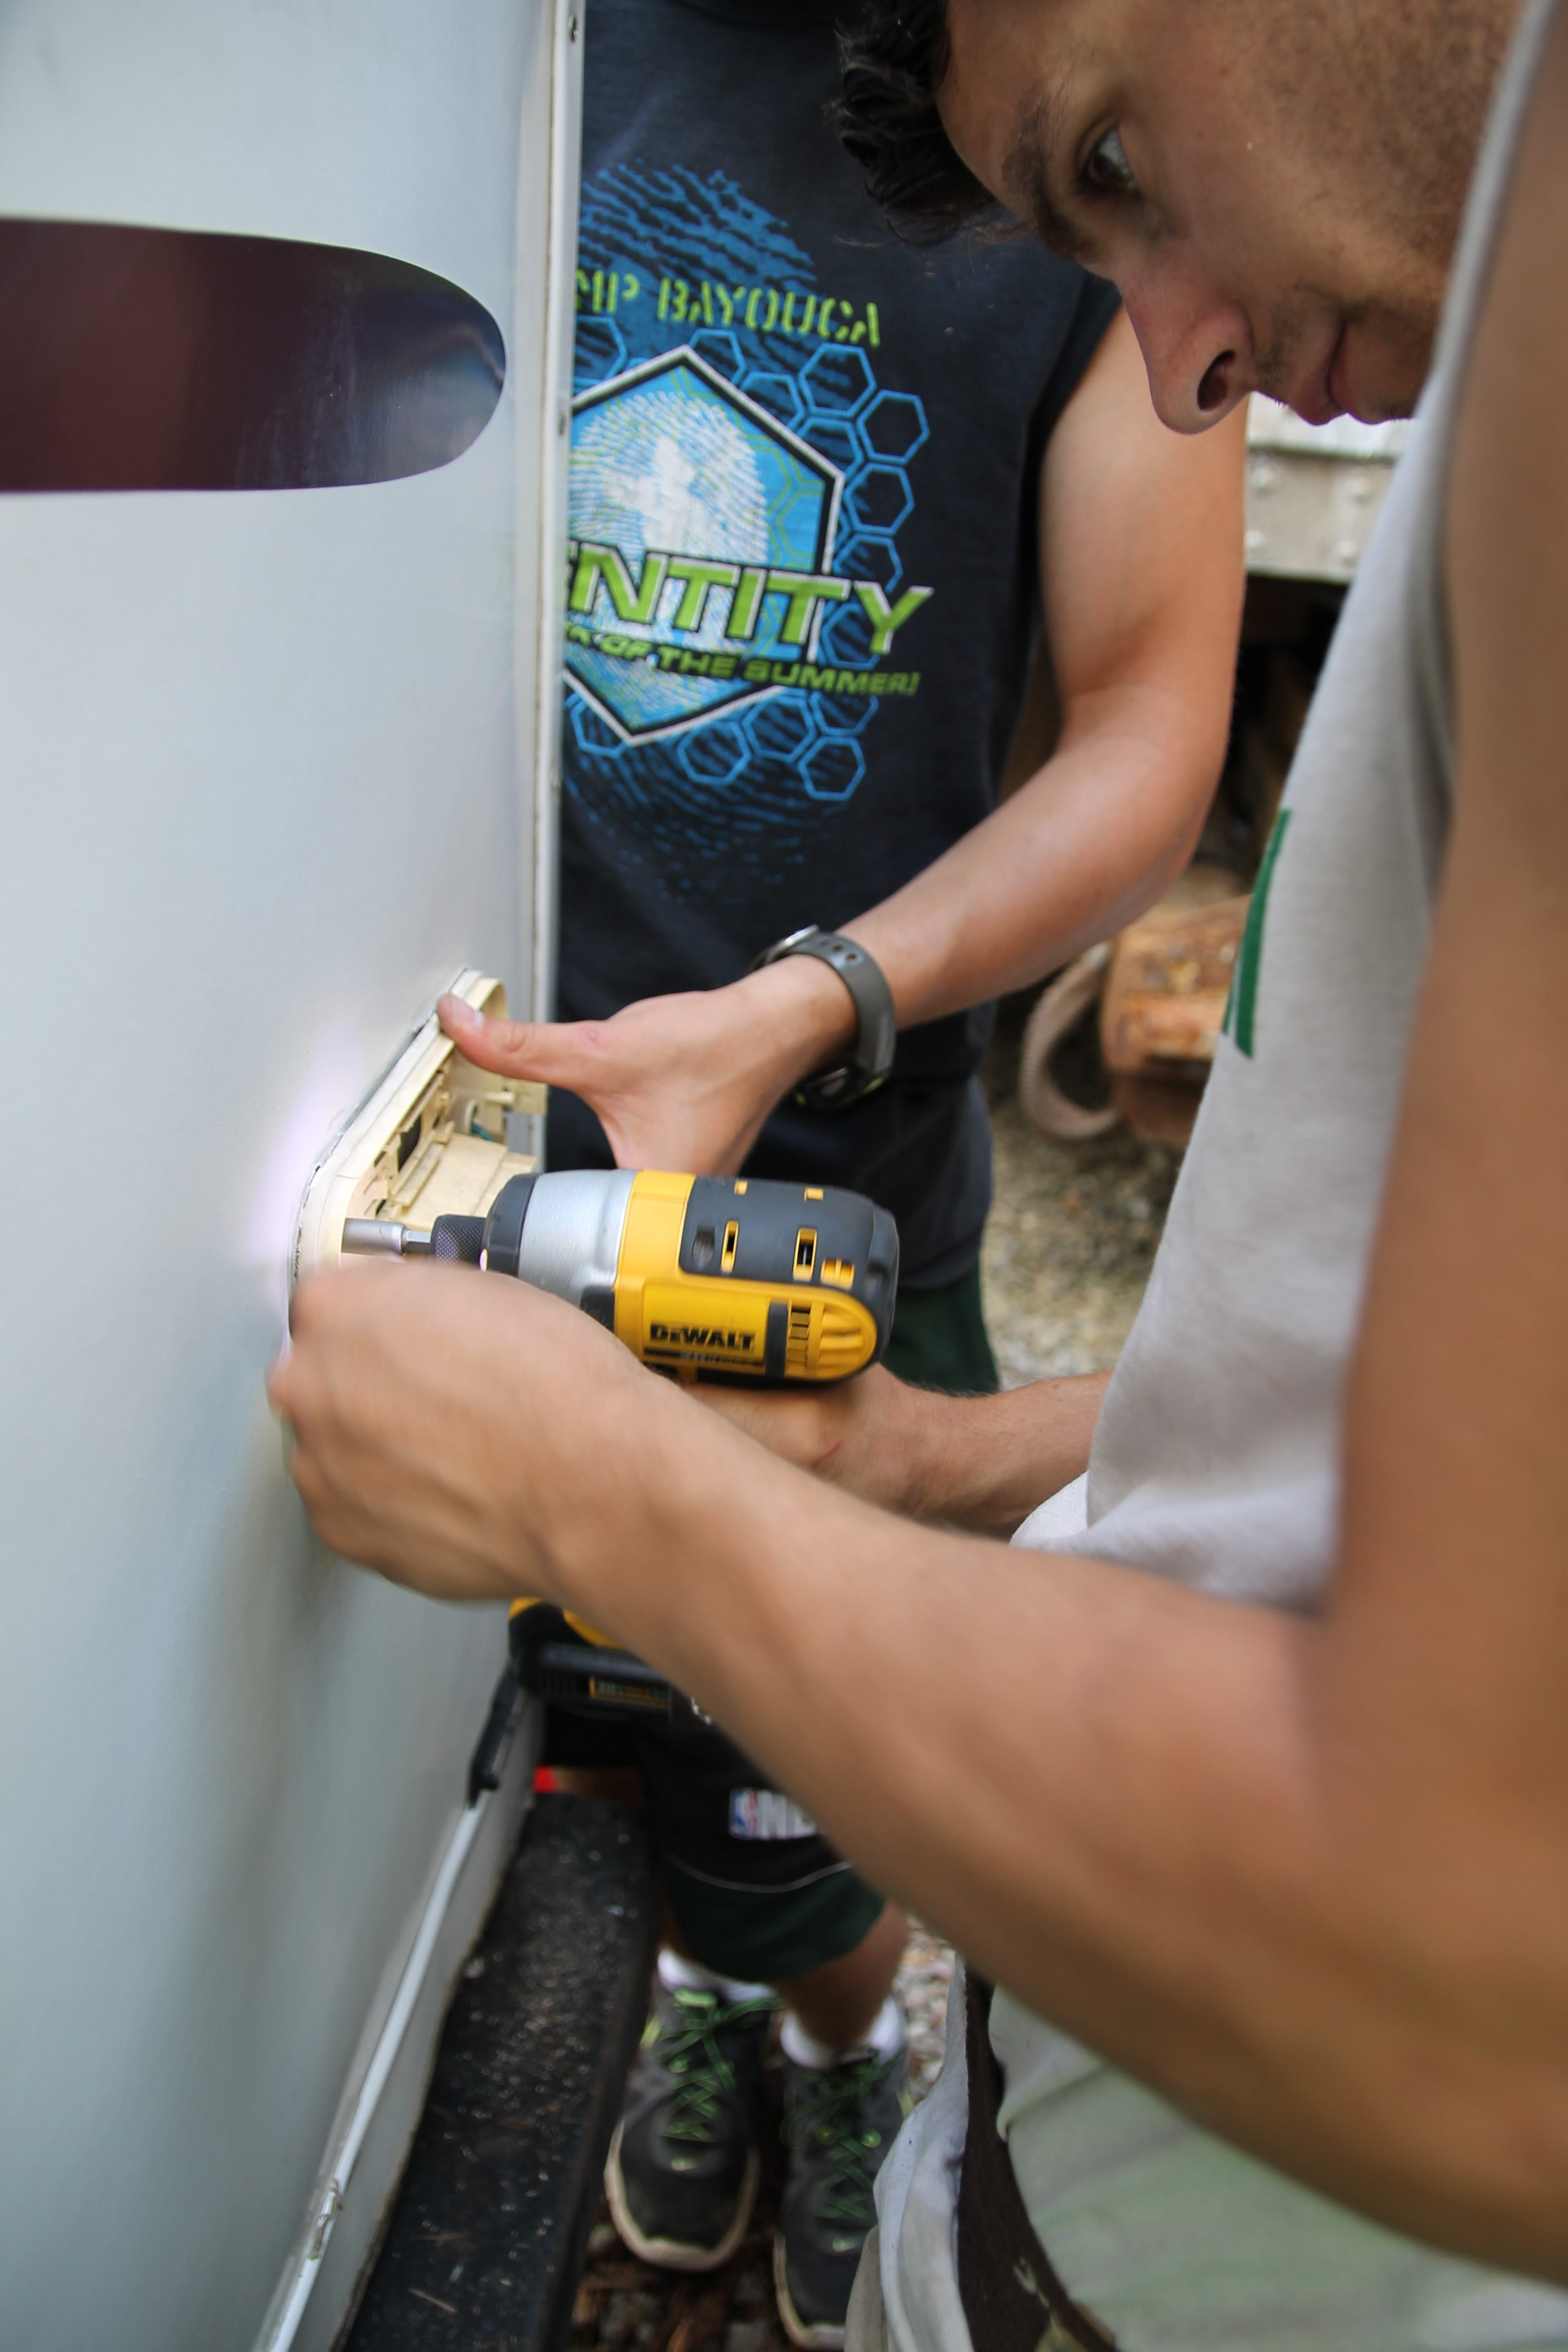
We saved the putty that was around the lights when we took the panel down, so we reused it and it sealed perfectly.
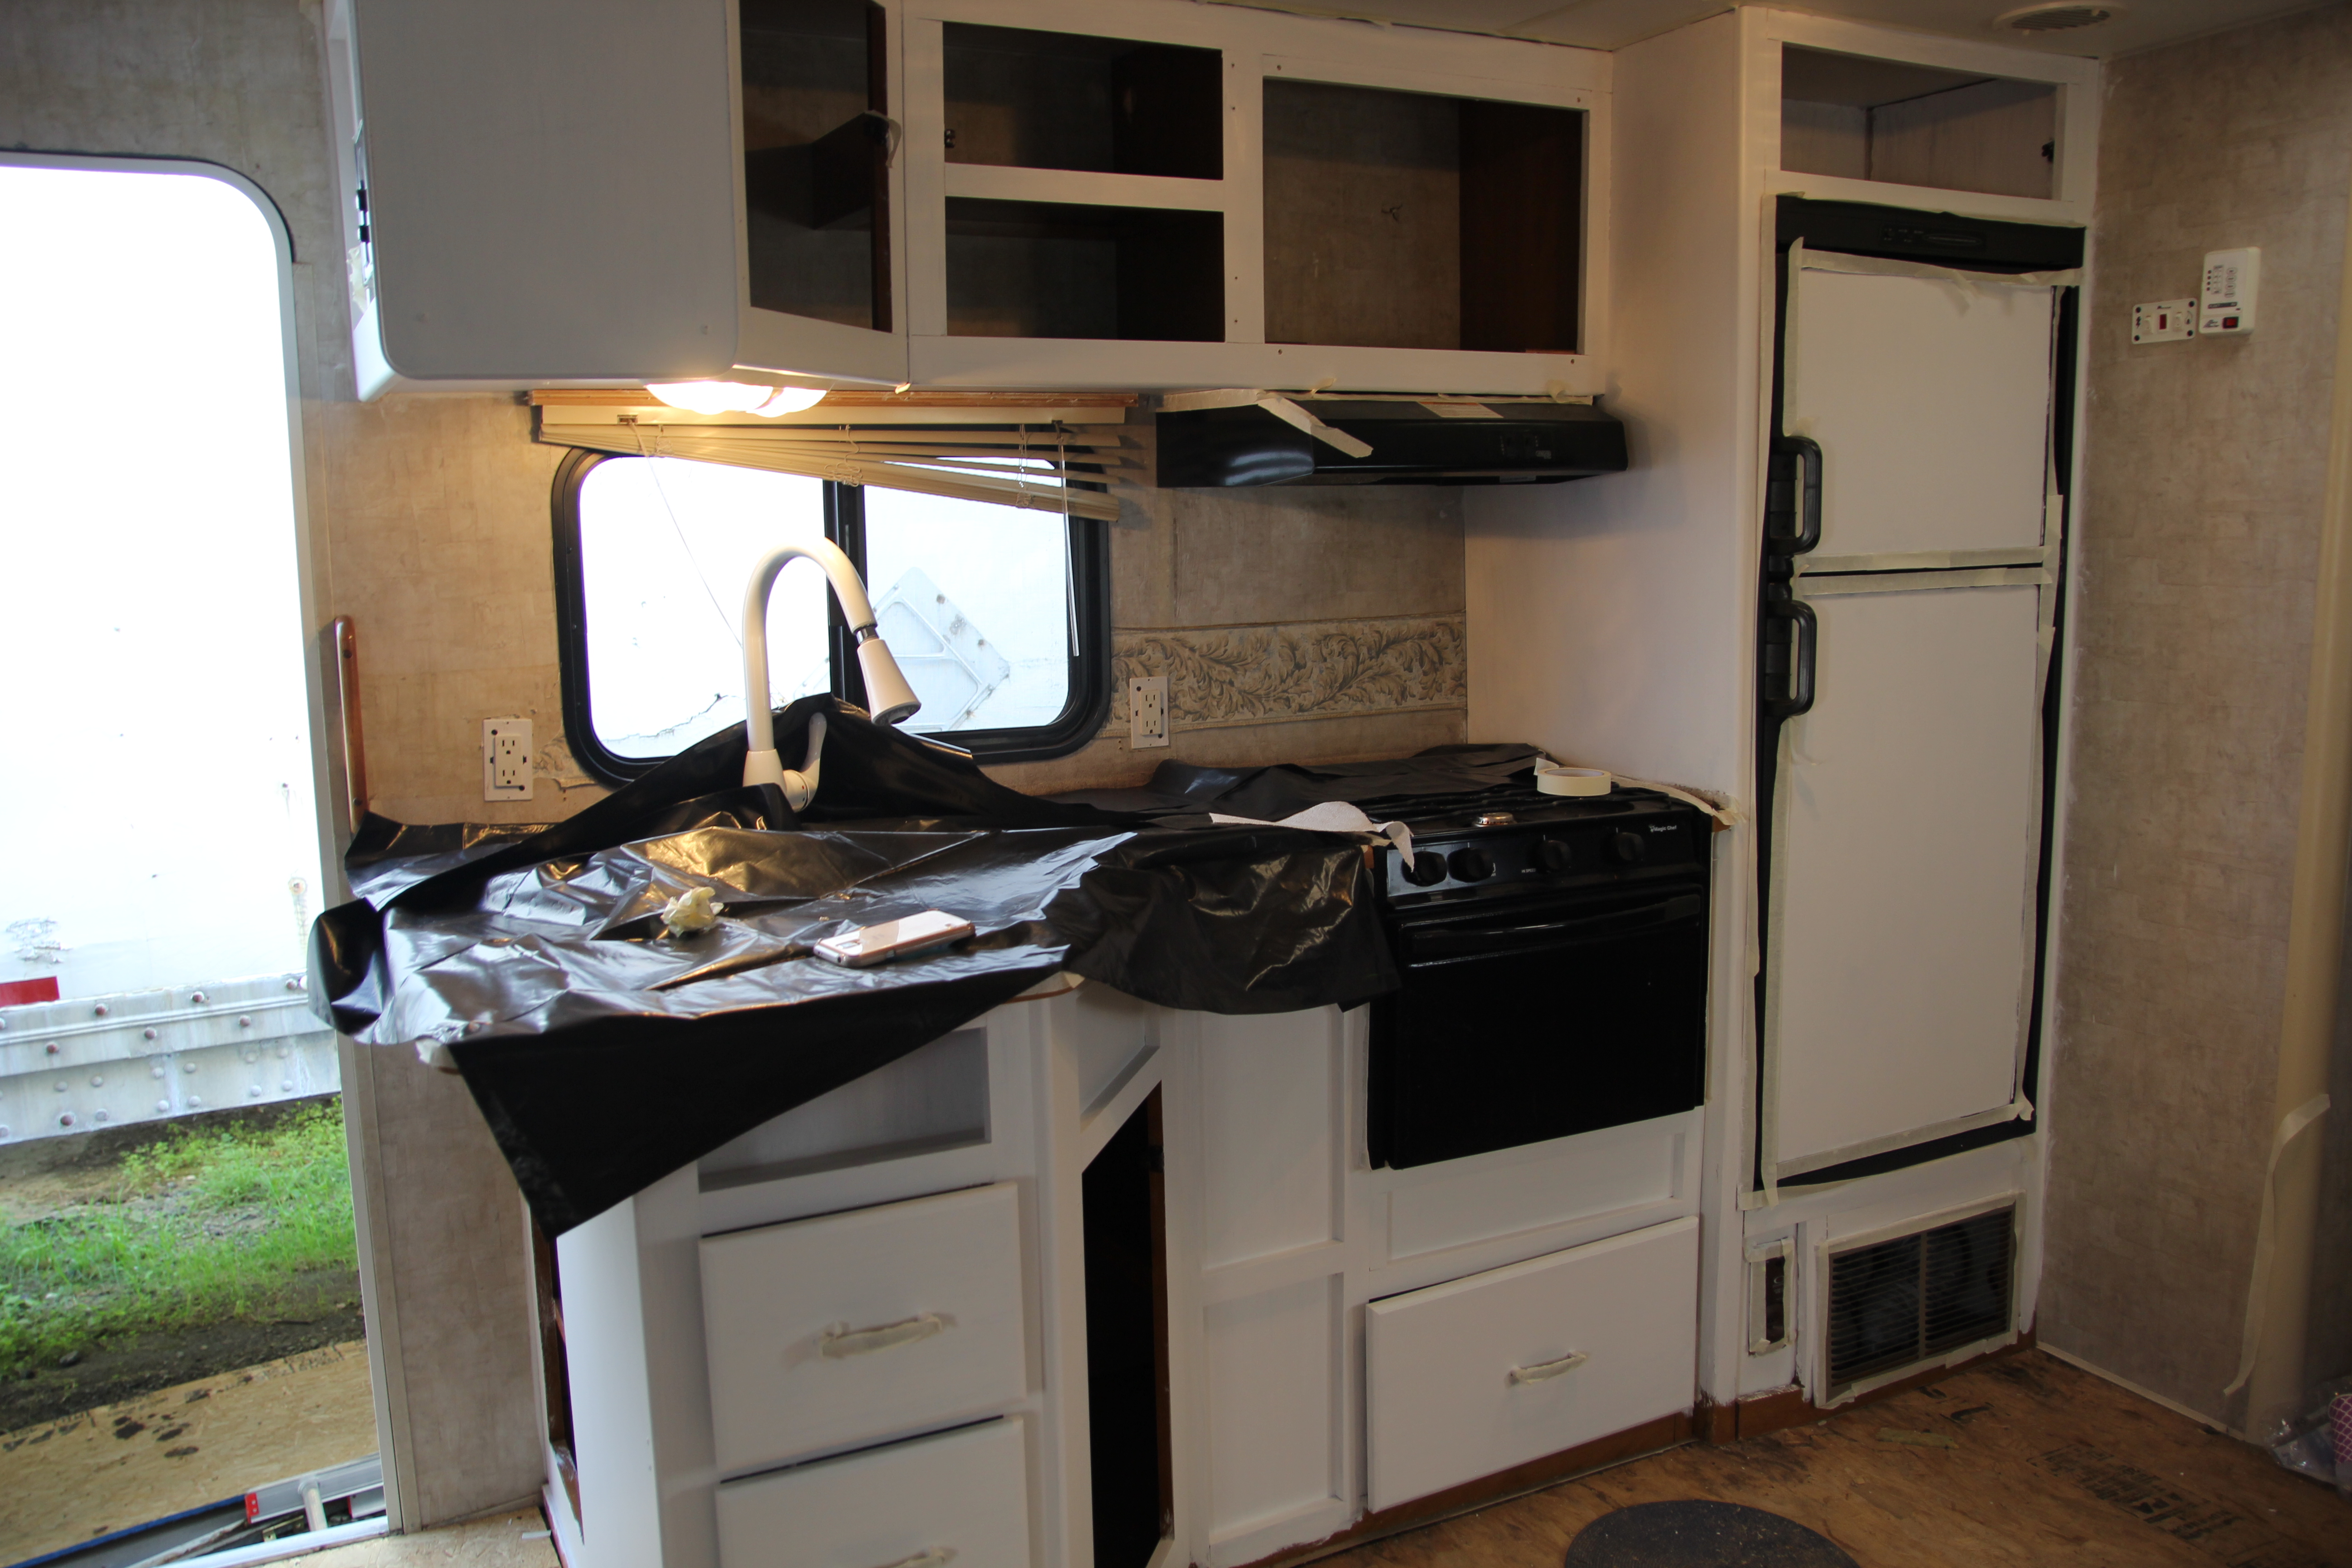
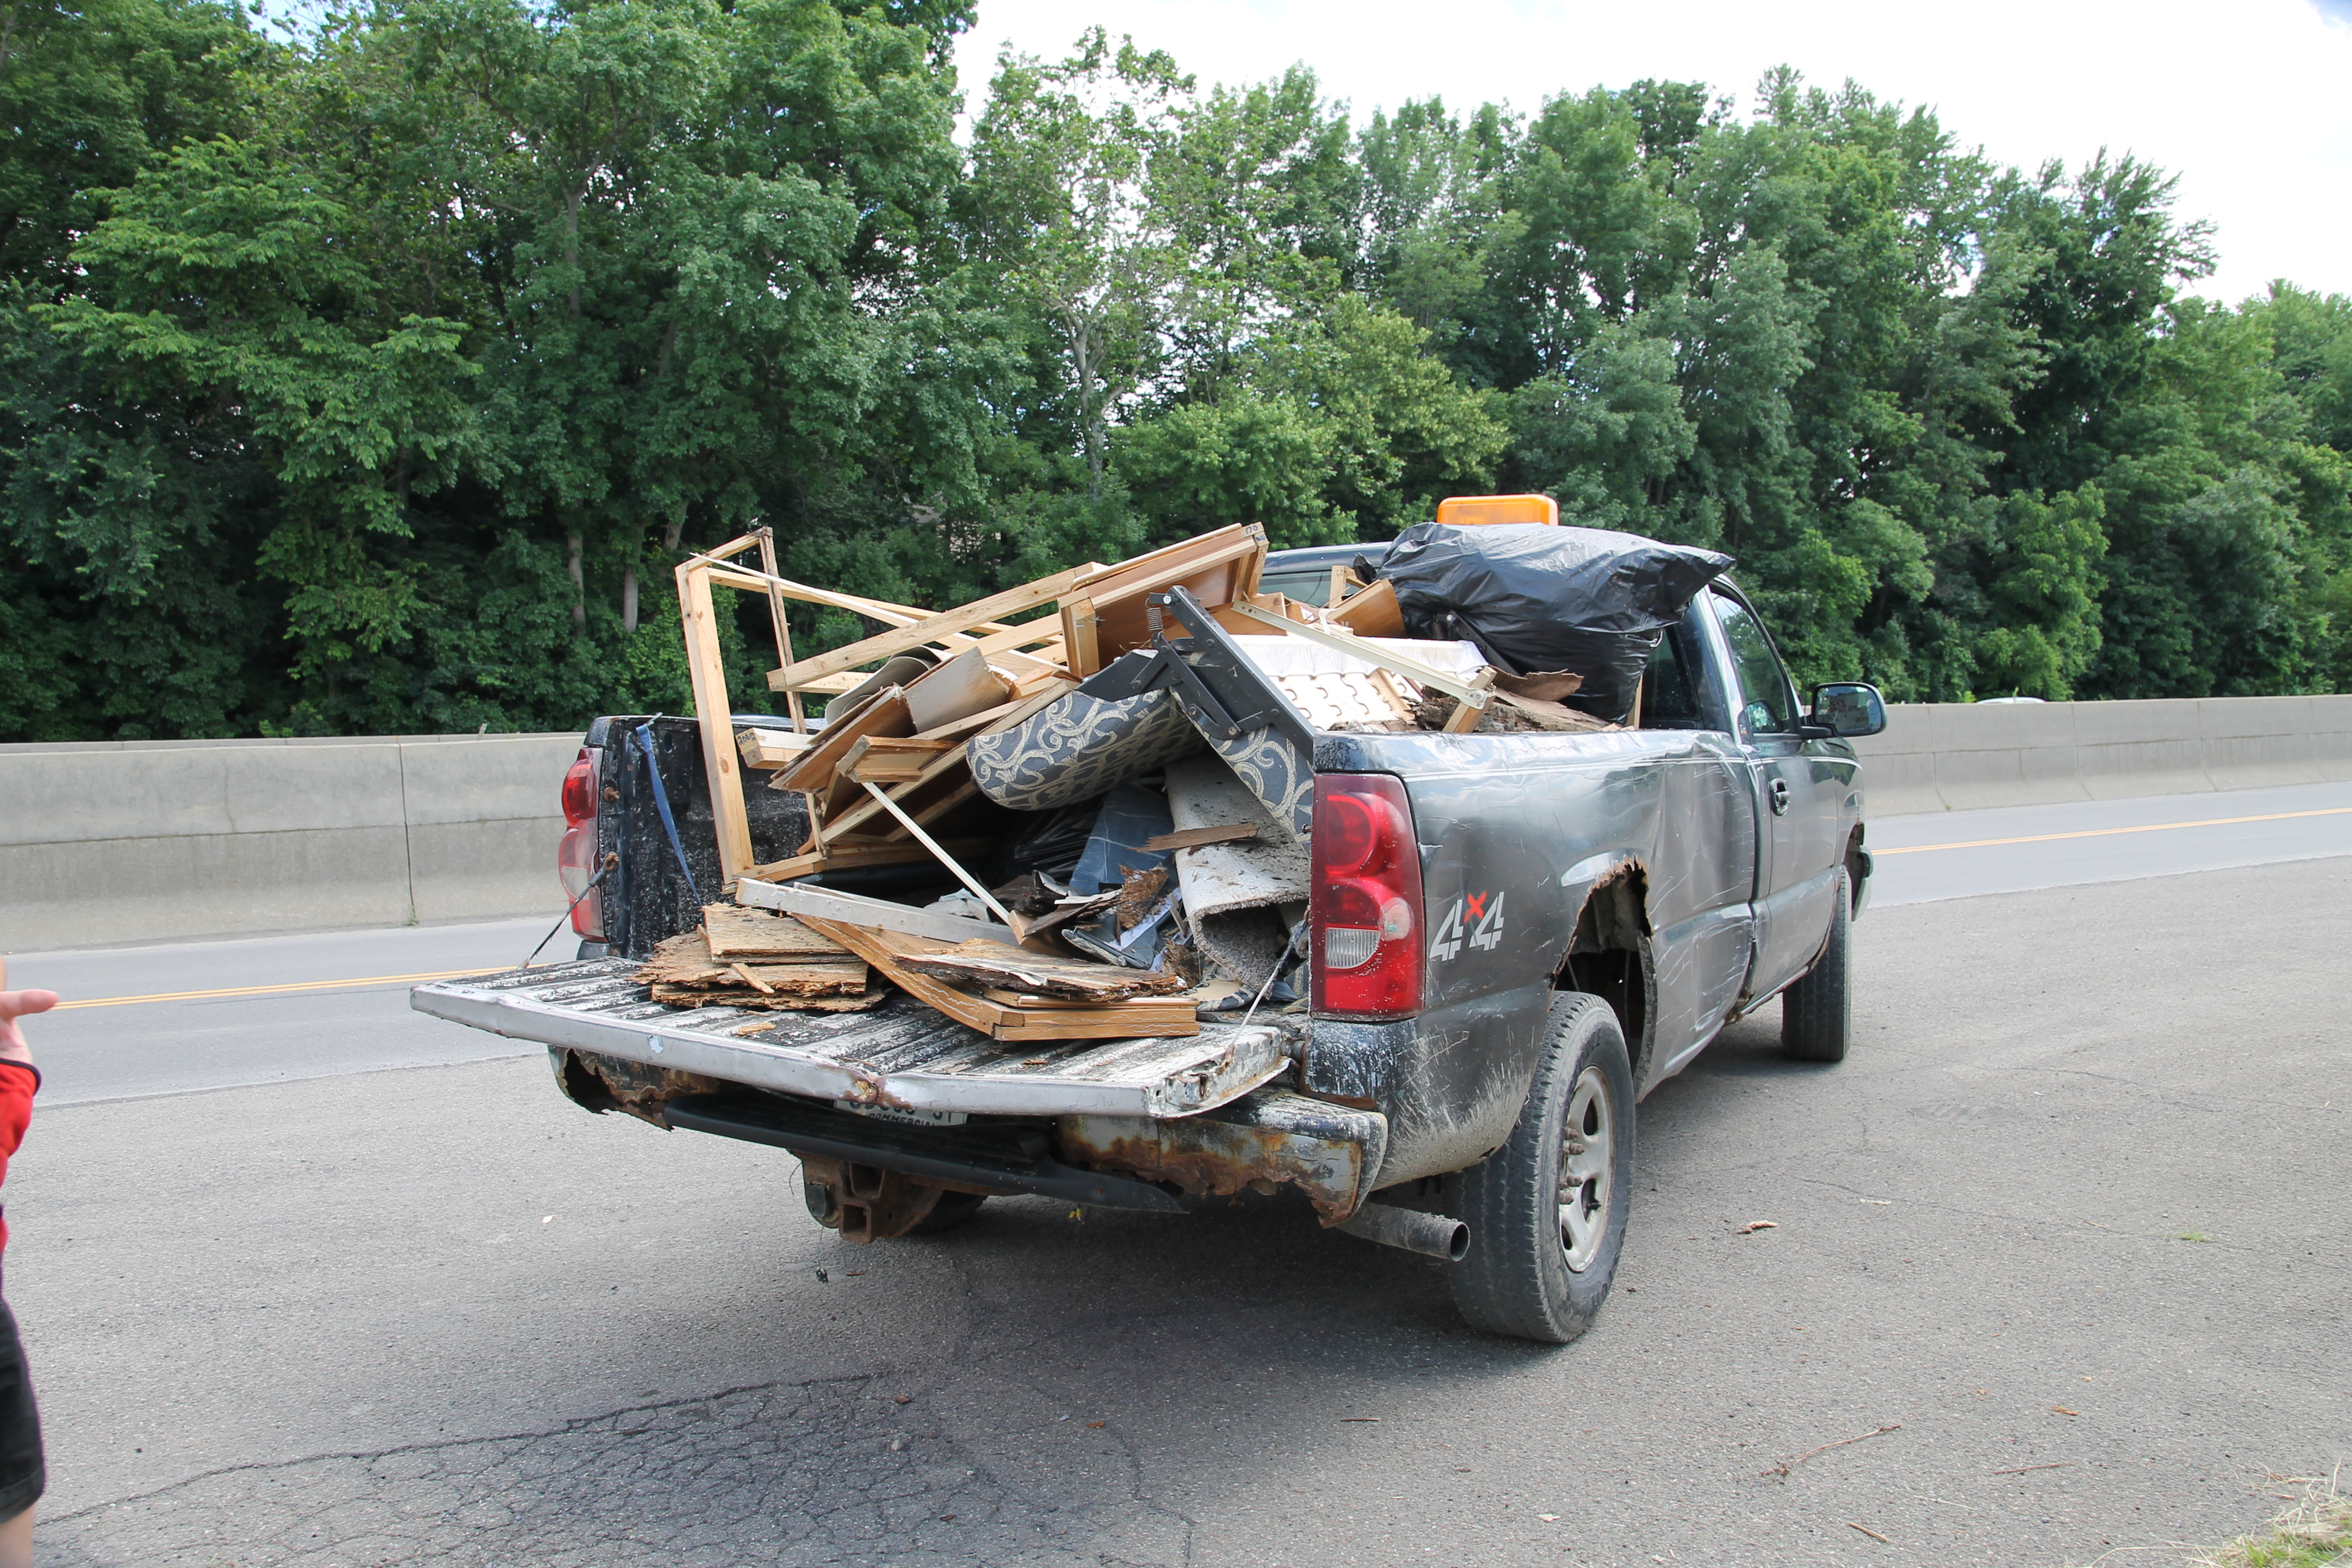
While Luke and his dad worked on the back panel, Luke’s brother, mom, and Tawny worked on cleaning out a lot of the junk that we had laying around the camper for weeks and took it to the dumpster. They also worked on scraping the rest of the wallpaper off of the walls as best as they could, and took all of the cabinet doors off to prepare them for painting….the fun part!
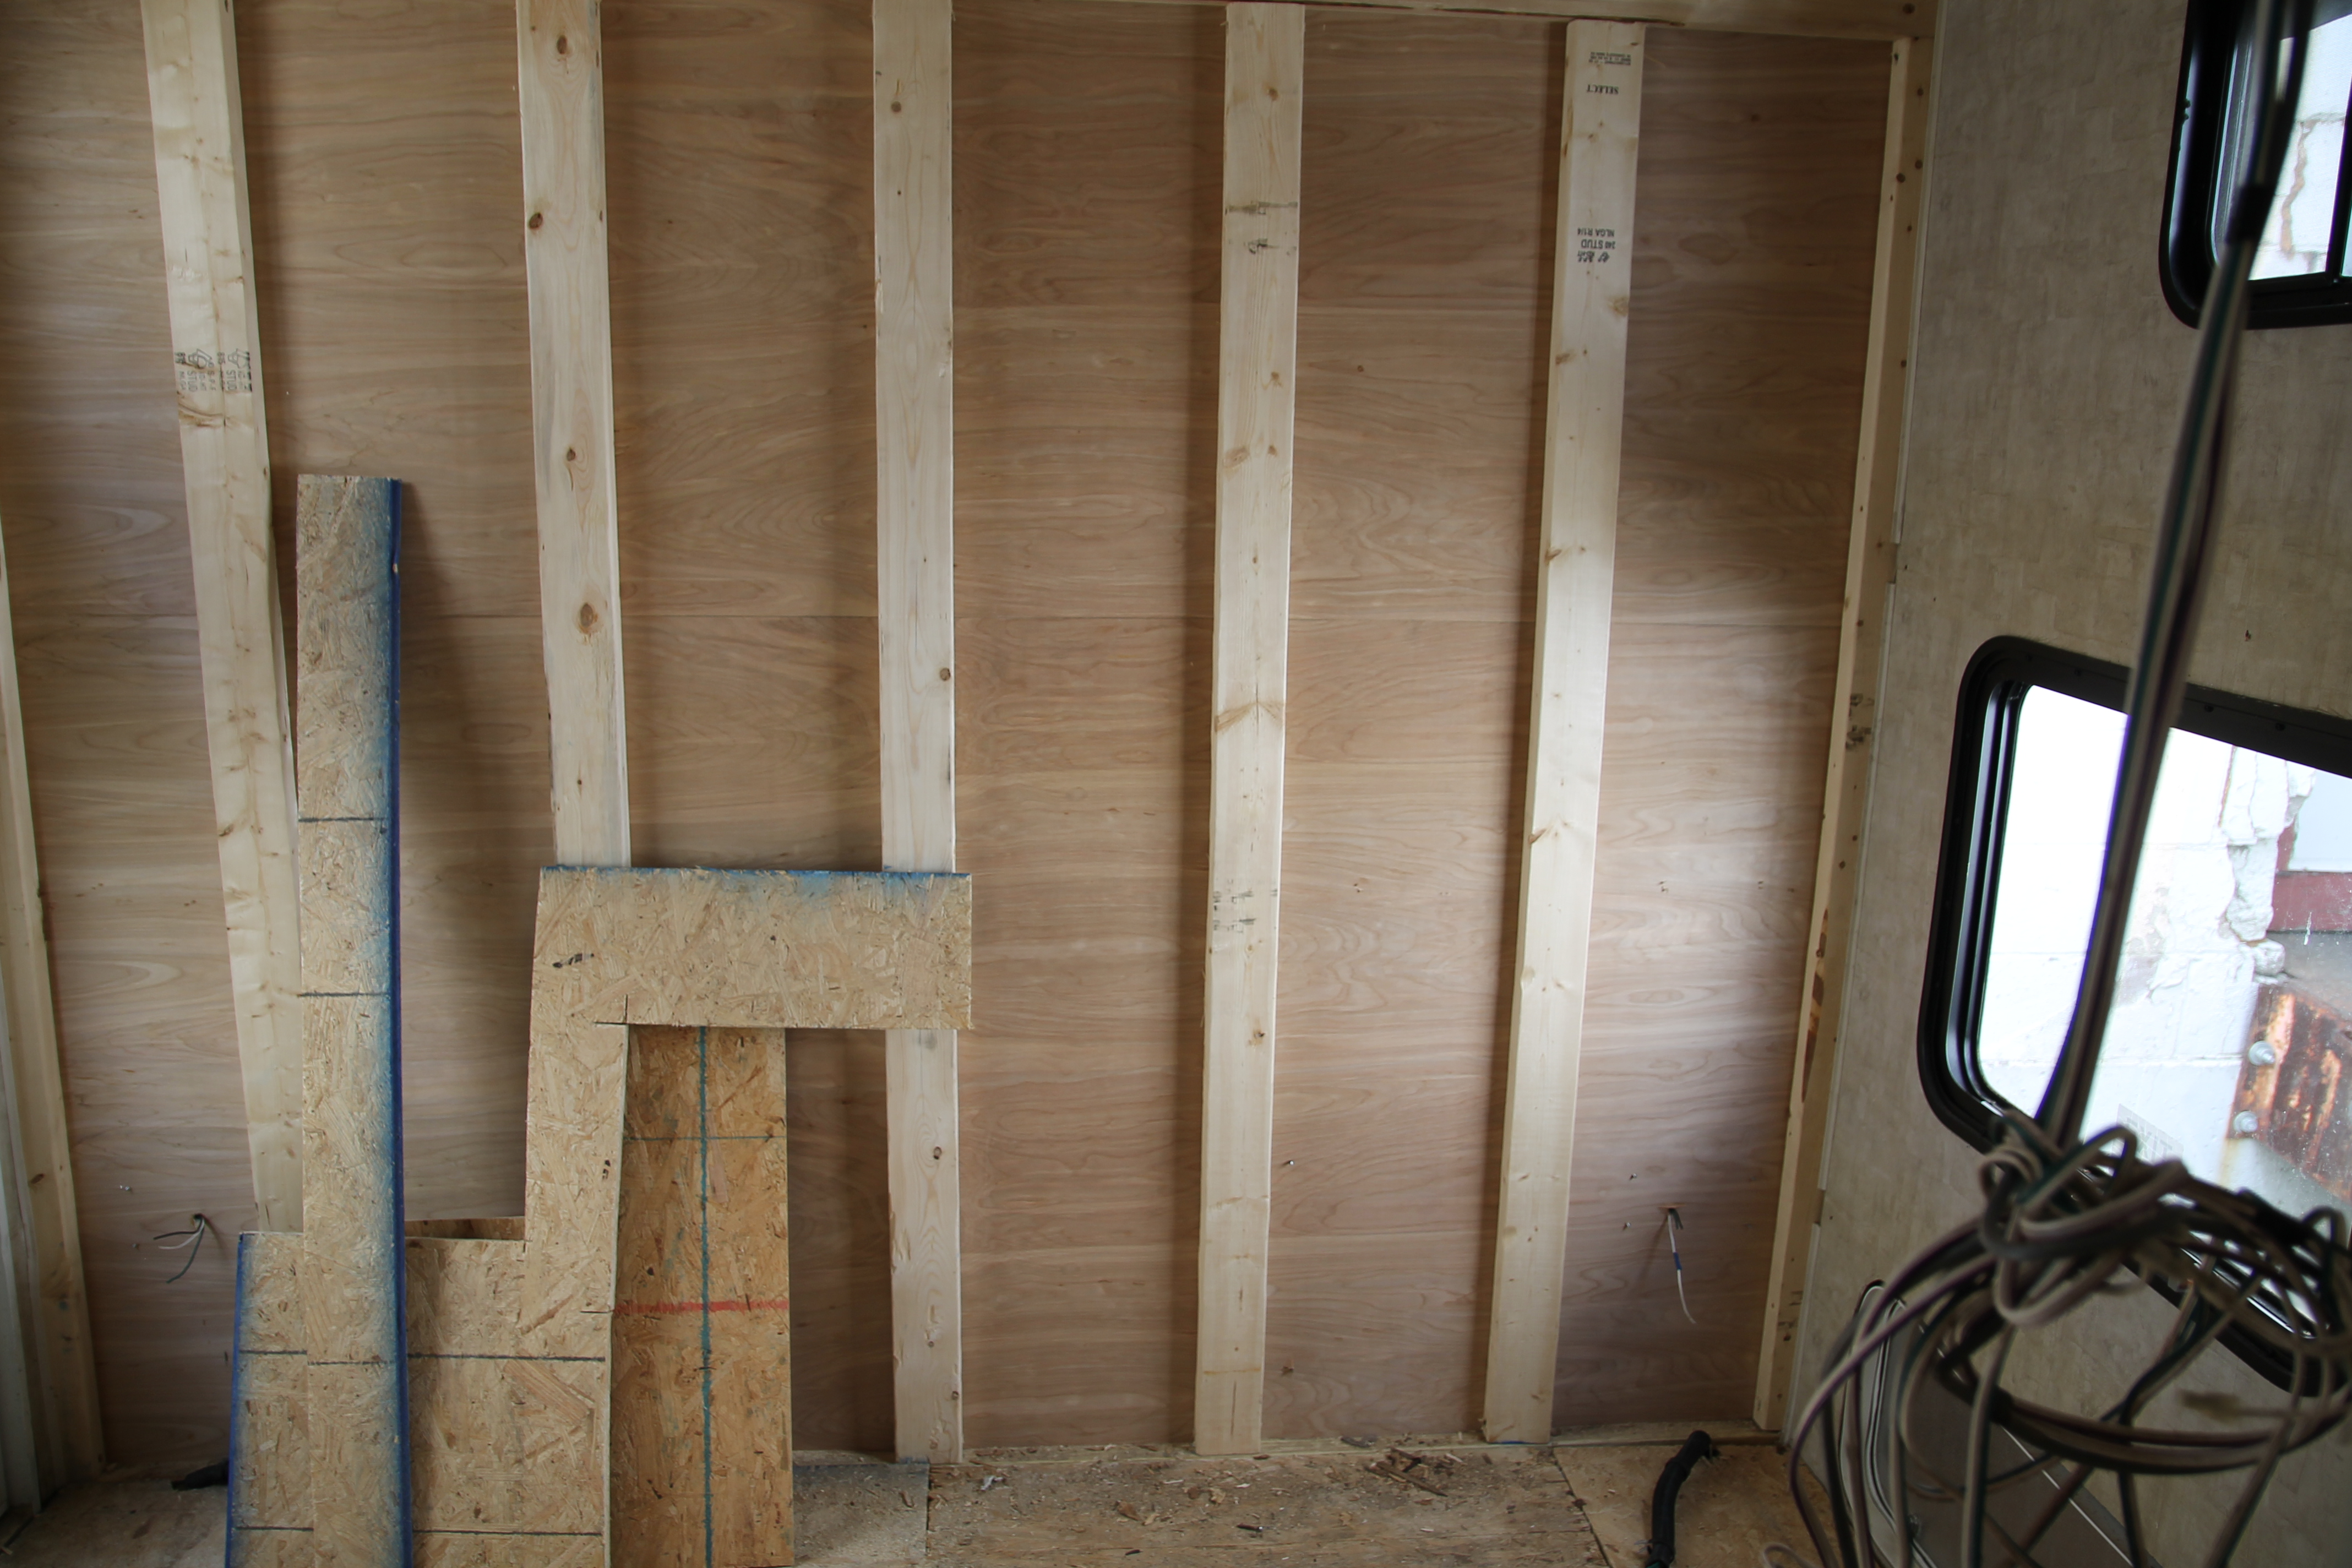
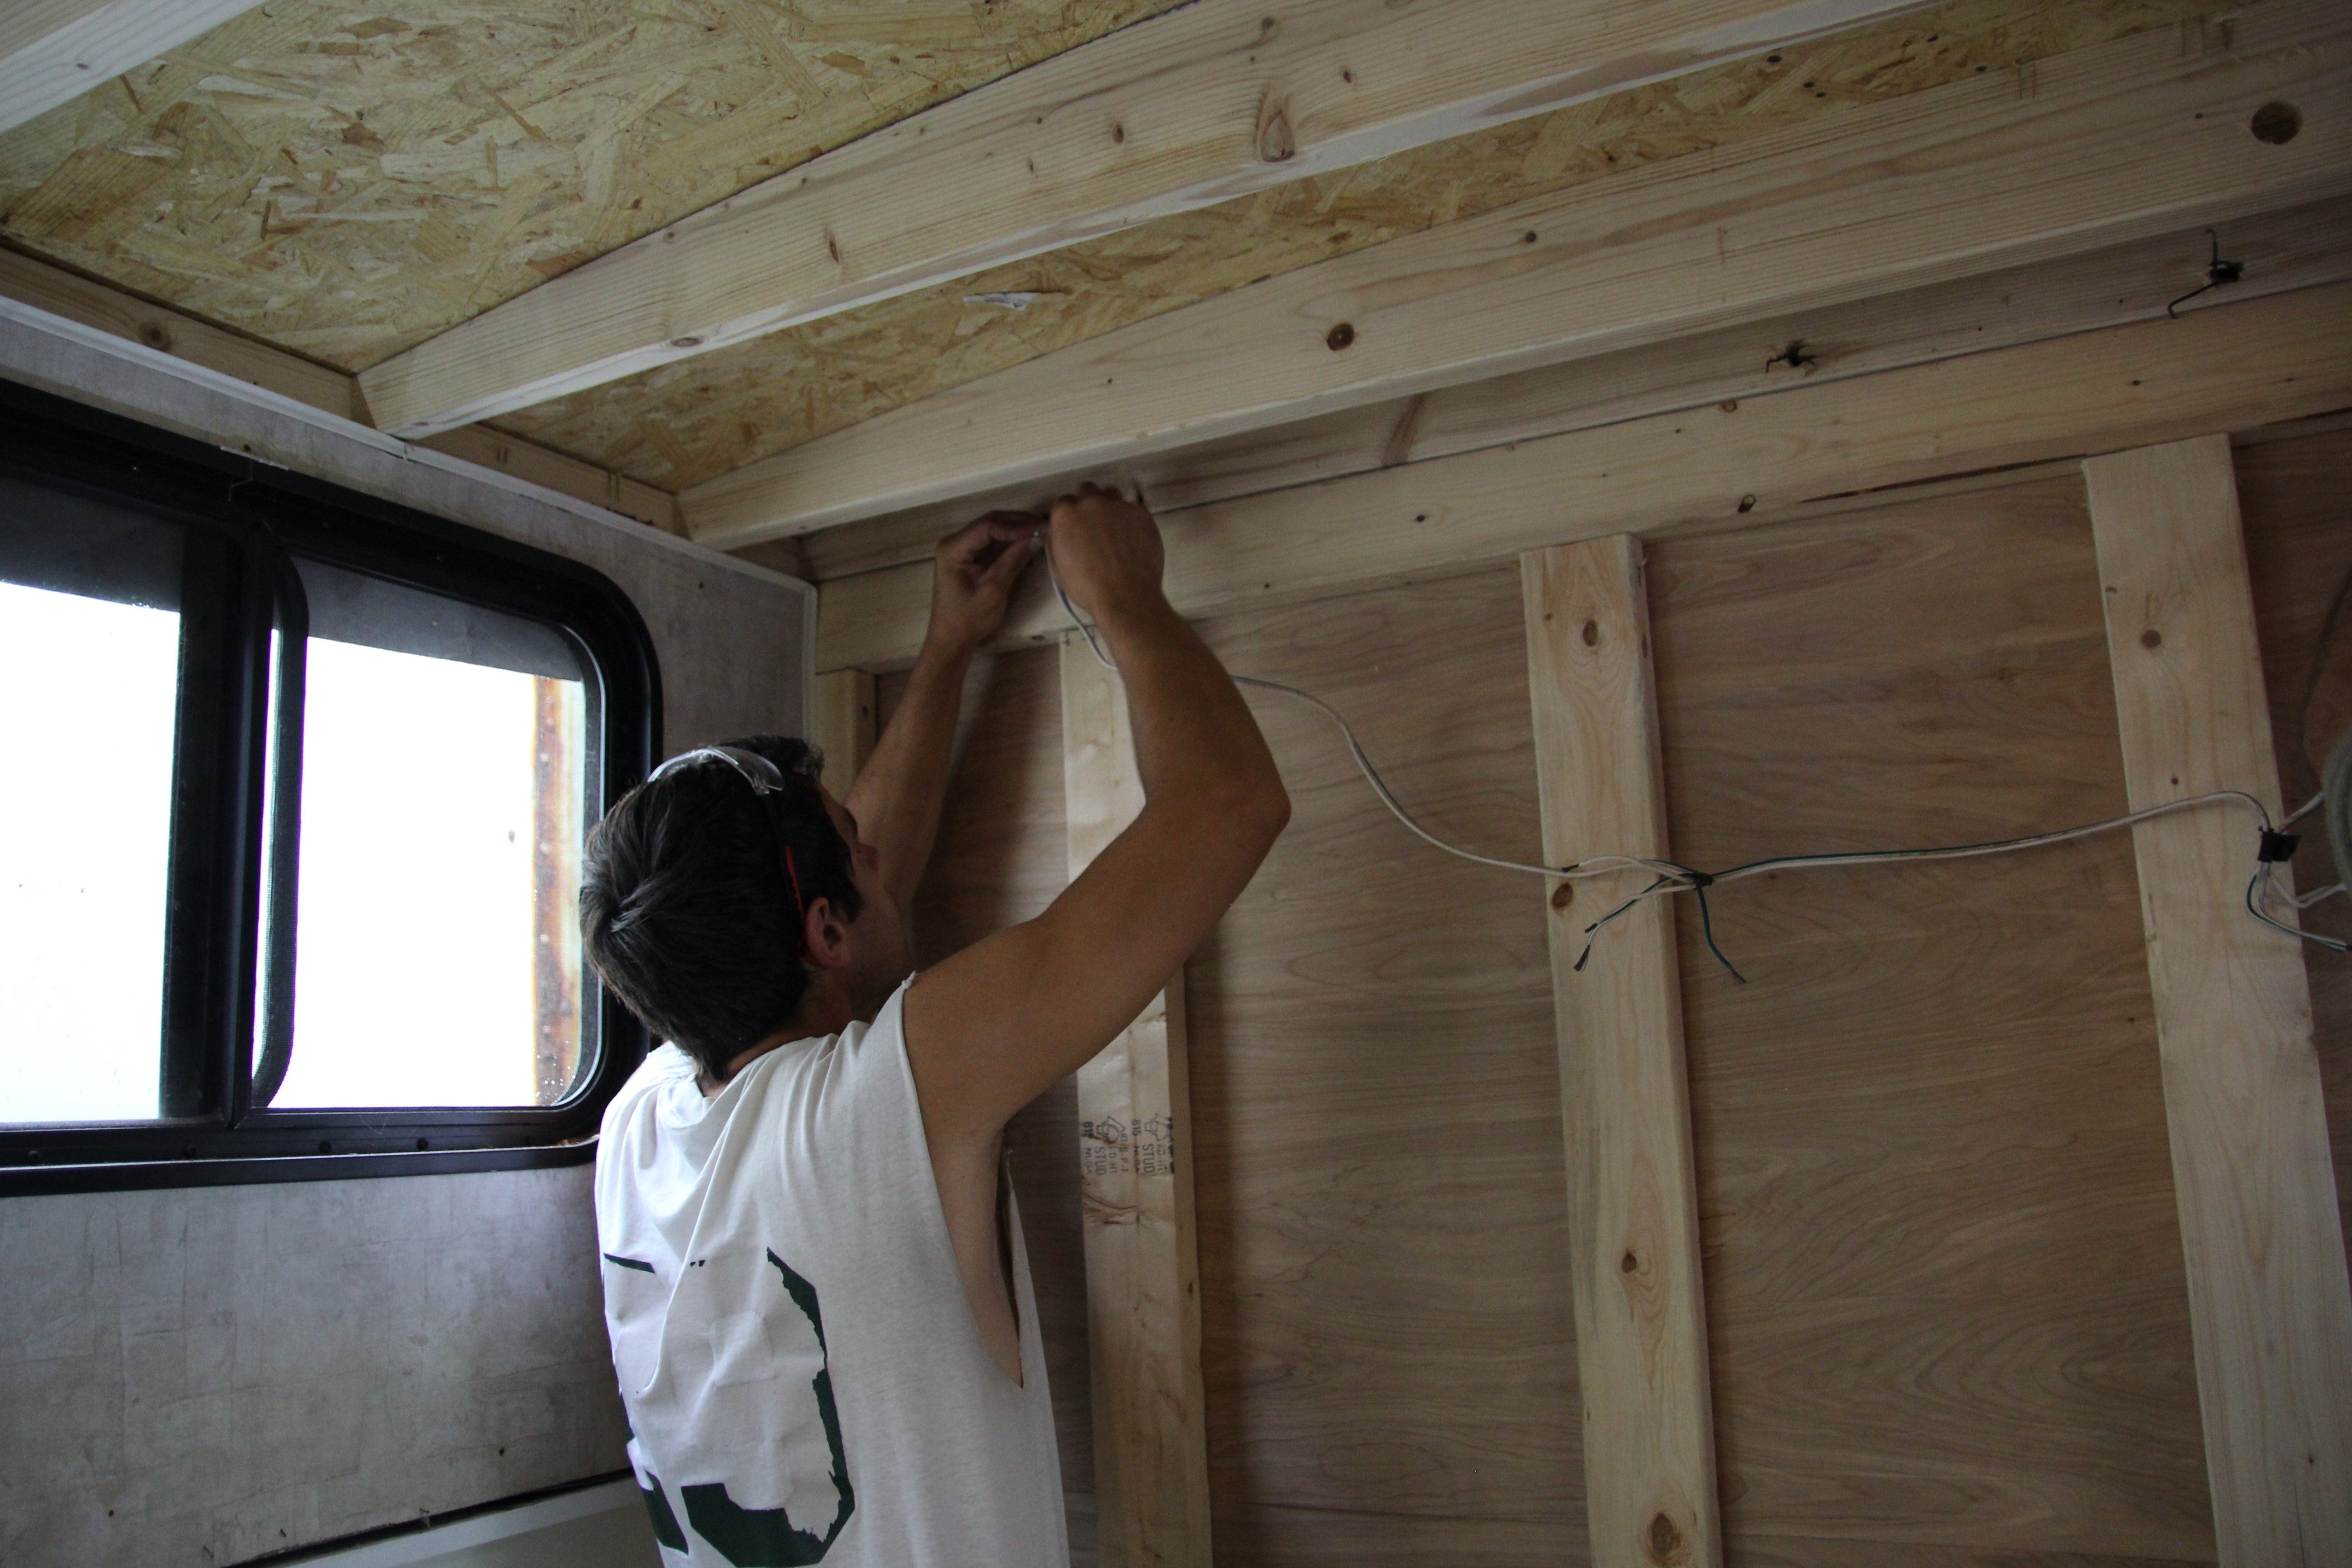
This photo shows the wires that we fed through for the brake lights. In the lower righthand corner is the TV cable that connected to this room that we ended up stuffing into the ceiling.
Here are the top wires that we fed through for the running lights.

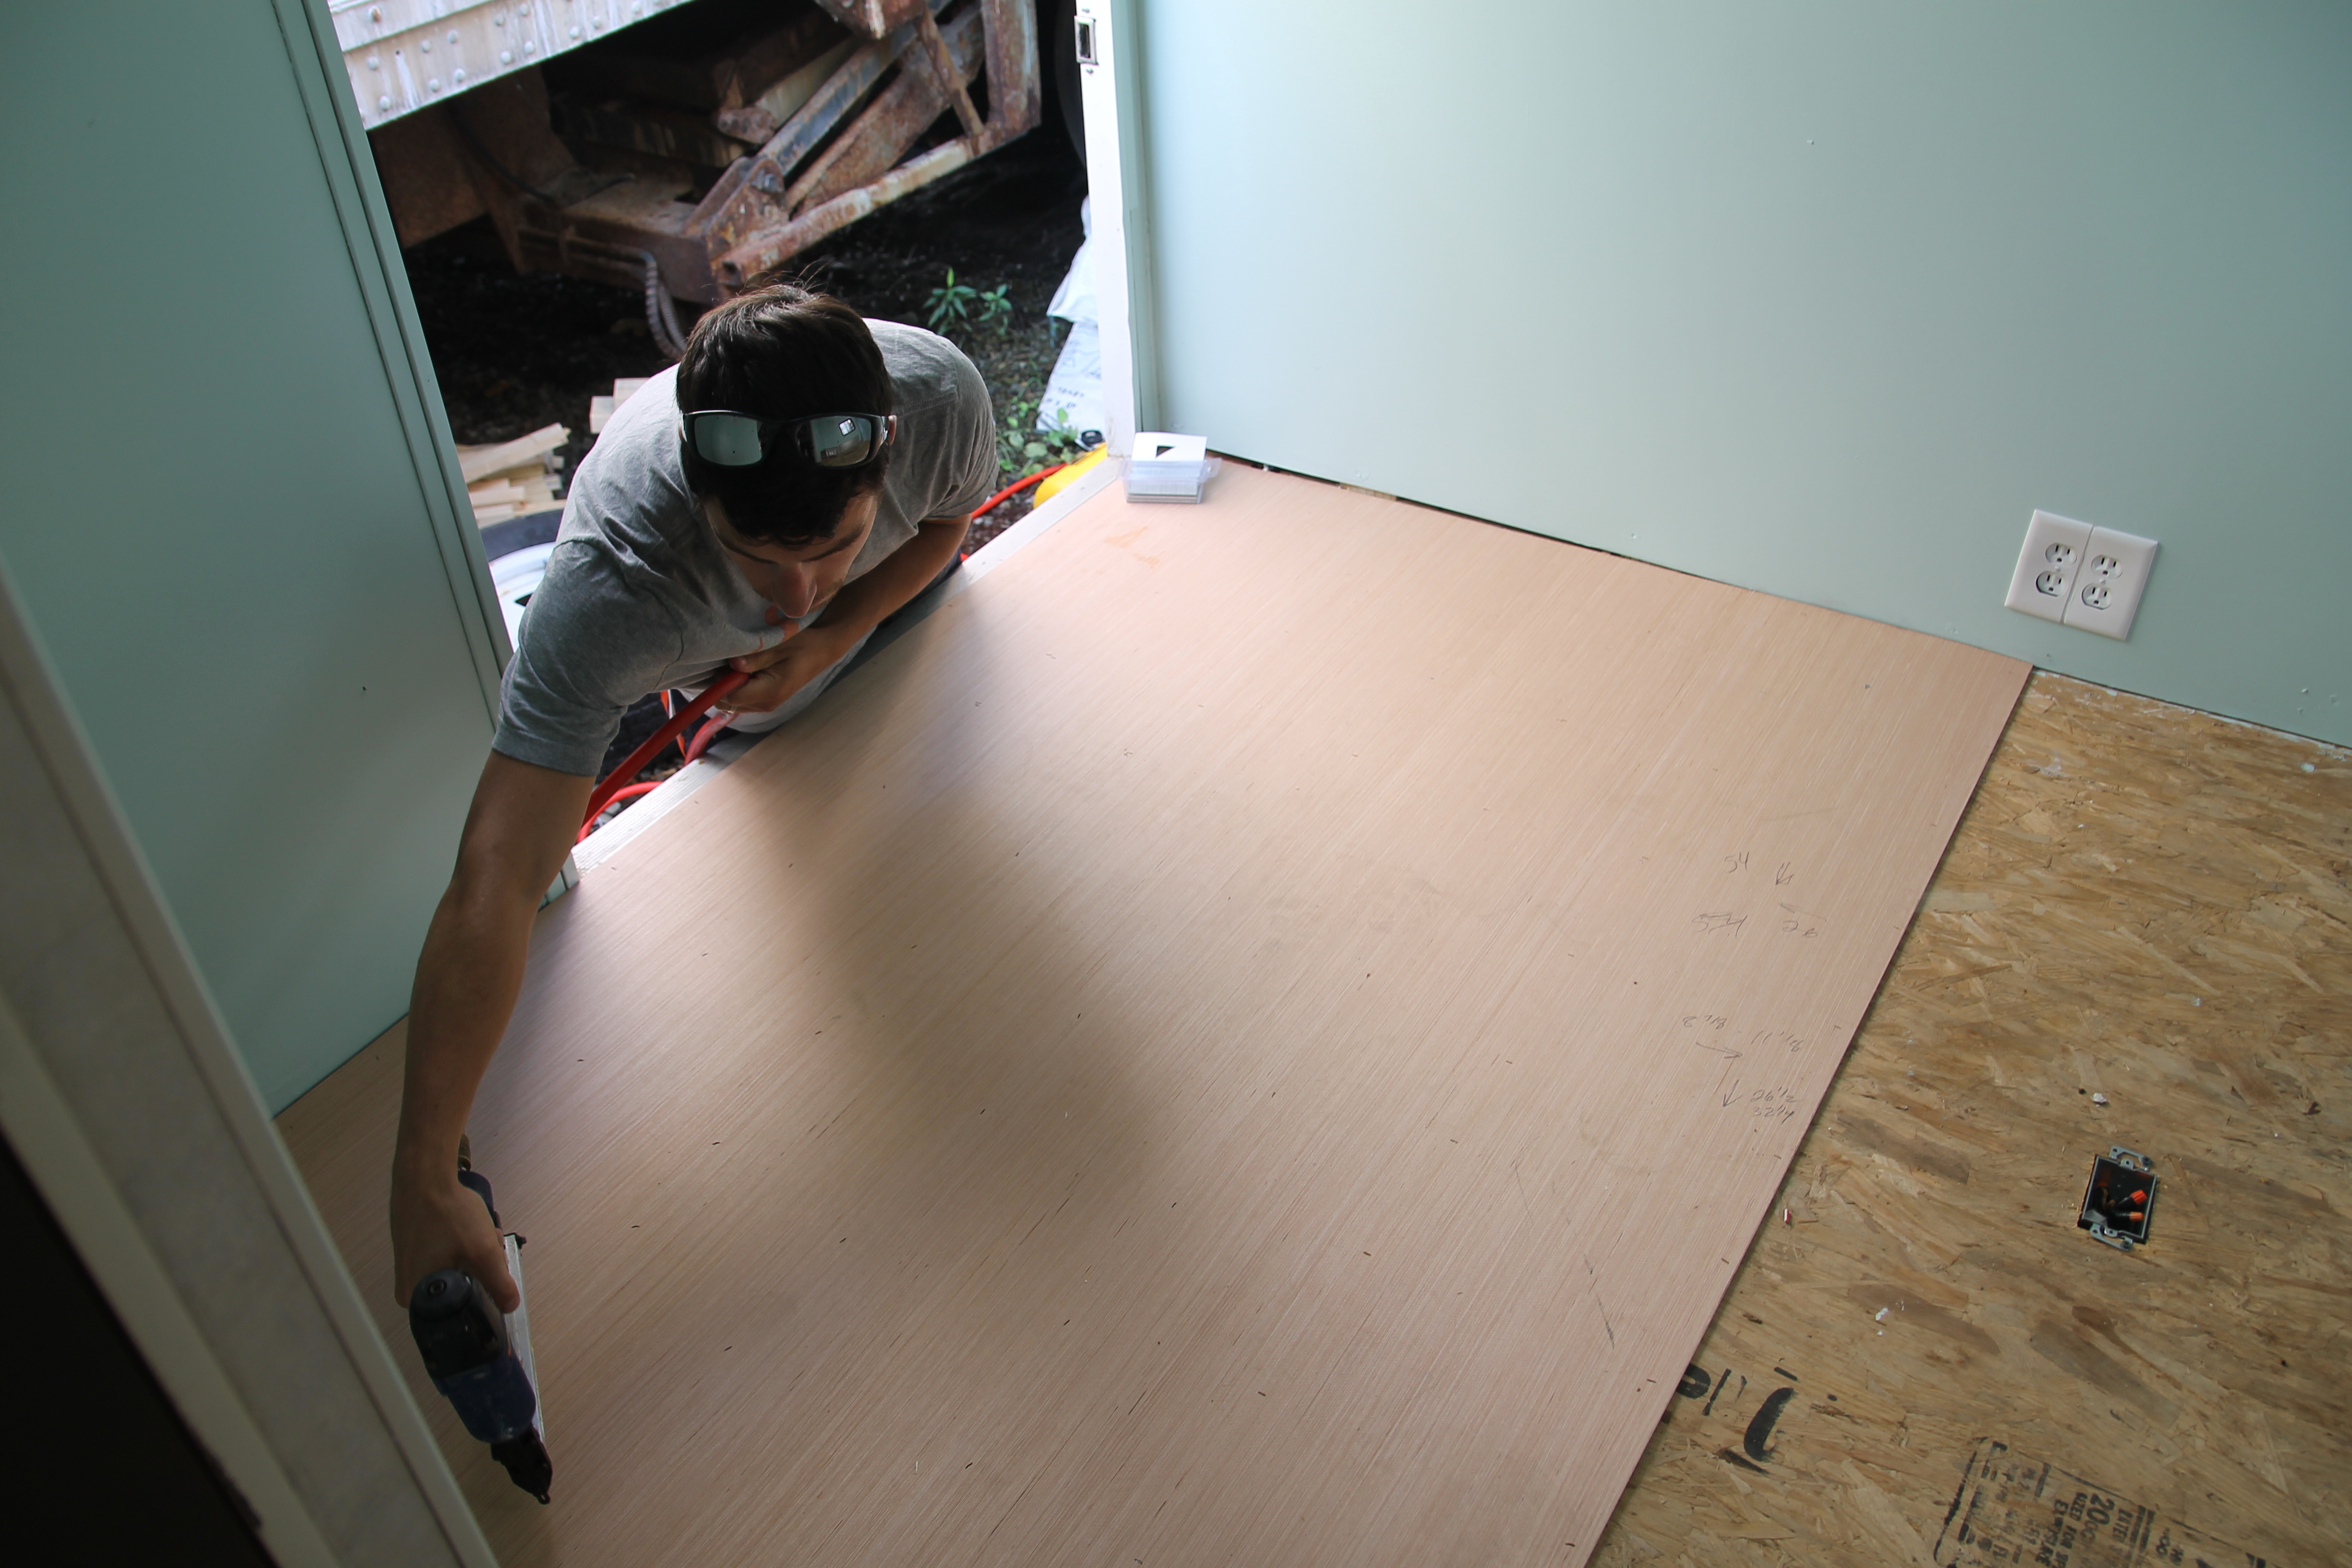
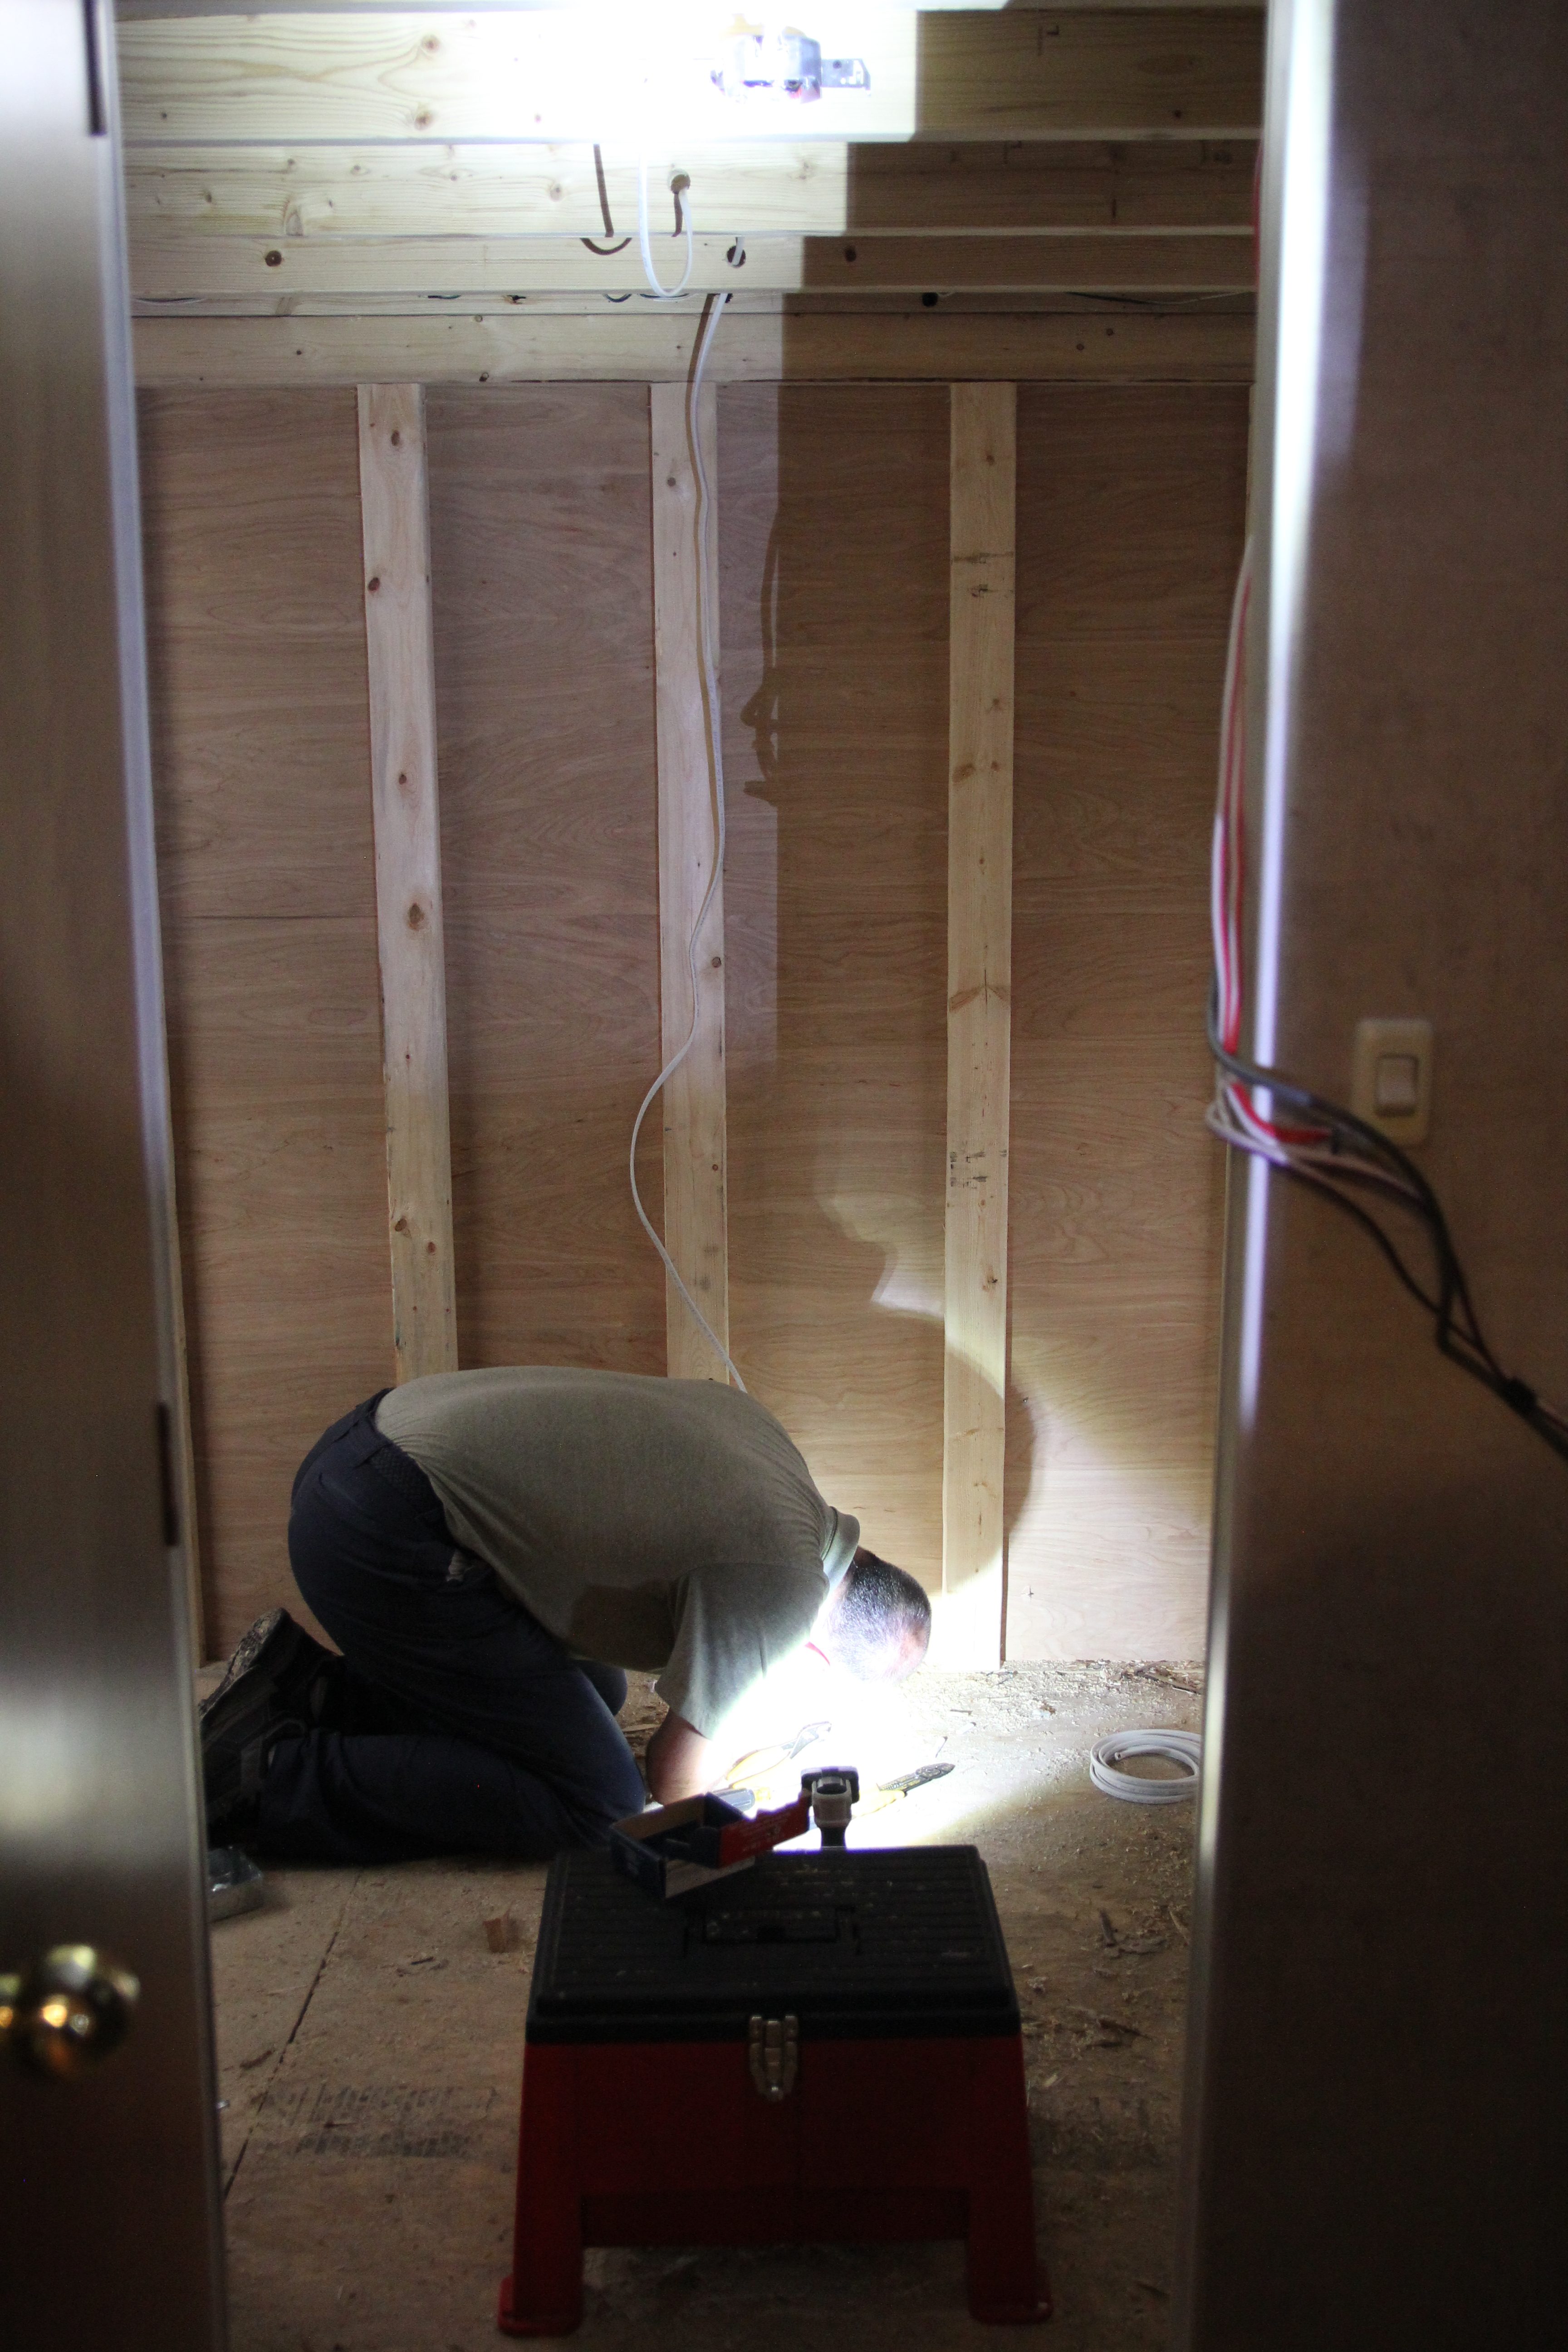
Luke’s dad came back on a later date to help Luke run wires in the back room and put in a new outlet. The first thing Luke had to do was drill holes in the rafters. We had to buy wire that would connect the existing wire to the back wall where we were installing the new outlet. We actually moved the outlet from the middle of the floor to the back wall, so we had to put an outlet cover over the hole in the floor.
We were able to save the wire for the running lights and reconnect them.

We were so thankful that Luke’s family were able to come help us, otherwise we wouldn’t have been able to get these projects done!
Stay tuned for our next installment of the Camper Chronicles!
Read More: Part 1 | Part 2 | Part 3 | Part 4 | Part 5 | Part 6 | Part 7| Part 8 | Part 9 | Part 10 | Before & After